
There’s a certain kind of magic in turning the simplest little odds and ends into something that looks straight out of an old storybook. These mini witch crystal balls start with a dollar store silicone cake pop mold and plain clear hot glue, and with a little patience, they come together into charming tiny decorations with that cloudy, enchanted look you’d swear came from a much fancier shop.
I love projects like this because they’re easy on the budget, quick enough for one afternoon, and still feel special when they’re done. If you like Halloween crafts, whimsical décor, or just the satisfaction of making something lovely from everyday materials, this one is a treat. The finished crystal balls are just right for a tiered tray, mantel, bookshelf, or tucked into a little seasonal vignette where they can catch the light.
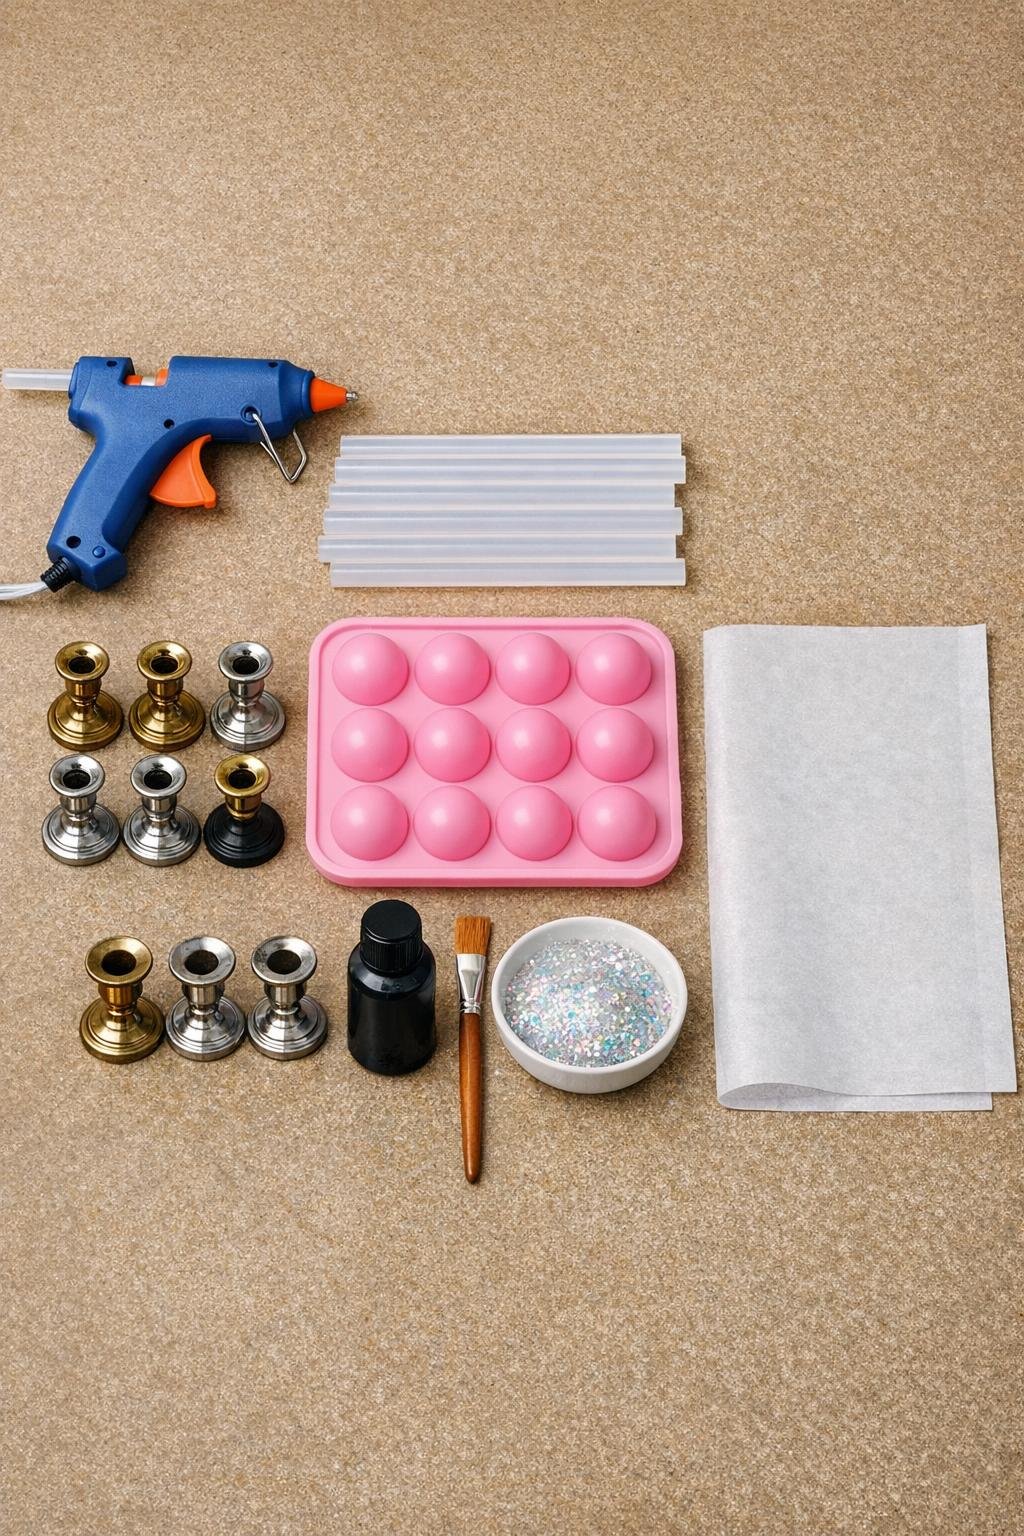
Materials
Instructions
1. Set your cake pop mold on parchment paper or a silicone mat, plug in the glue gun, and let it heat fully so the glue flows smoothly. Lay out the candlesticks, paint, and glitter before you begin, because once the glue is hot, things move along quickly.
2. Fill each mold well slowly with hot glue in two or three light passes instead of one big squeeze, stopping just shy of the top edge each time so bubbles can rise and pop. Top off each well until the surface is slightly rounded and glossy.
3. While the glue is still warm in half of the wells, sprinkle a tiny pinch of iridescent glitter over the surface of 6 domes, using just enough to catch the light without turning them opaque. Leave the other 6 plain so the finished spheres keep that soft, cloudy crystal-ball look.
4. Let the mold sit undisturbed for 10 to 15 minutes, until the glue is fully cool and no longer warm to the touch. This resting time is what gives you smooth domes and saves your fingers from the kind of lesson we only need once.
5. Gently flex the silicone mold and pop out all 12 glue domes, setting them on your parchment paper with the flat sides up. If you see a thin string or ragged edge, trim or peel it away while the pieces are cool and firm.
6. Run a thin bead of hot glue around the flat rim of one plain dome, then press a glittered dome to it to form a full sphere. Hold the seam for a few seconds, then repeat until you have 6 crystal ball spheres.
7. Paint the mini candlesticks black, covering the tops, stems, and bases evenly, and let them dry completely. If the finish looks streaky, add a second light coat so the bases look rich and solid.
8. Add a small dot of hot glue to the top of each painted candlestick and set a glue sphere on top, seam side down or centered neatly so it reads as one tidy crystal ball. Hold each one steady until the glue grabs.
9. Check the seam all the way around each ball, and if needed, smooth any obvious gap with the tiniest extra line of hot glue applied with a craft stick while it’s still warm. Keep the seam light and neat so the sphere stays translucent and polished.
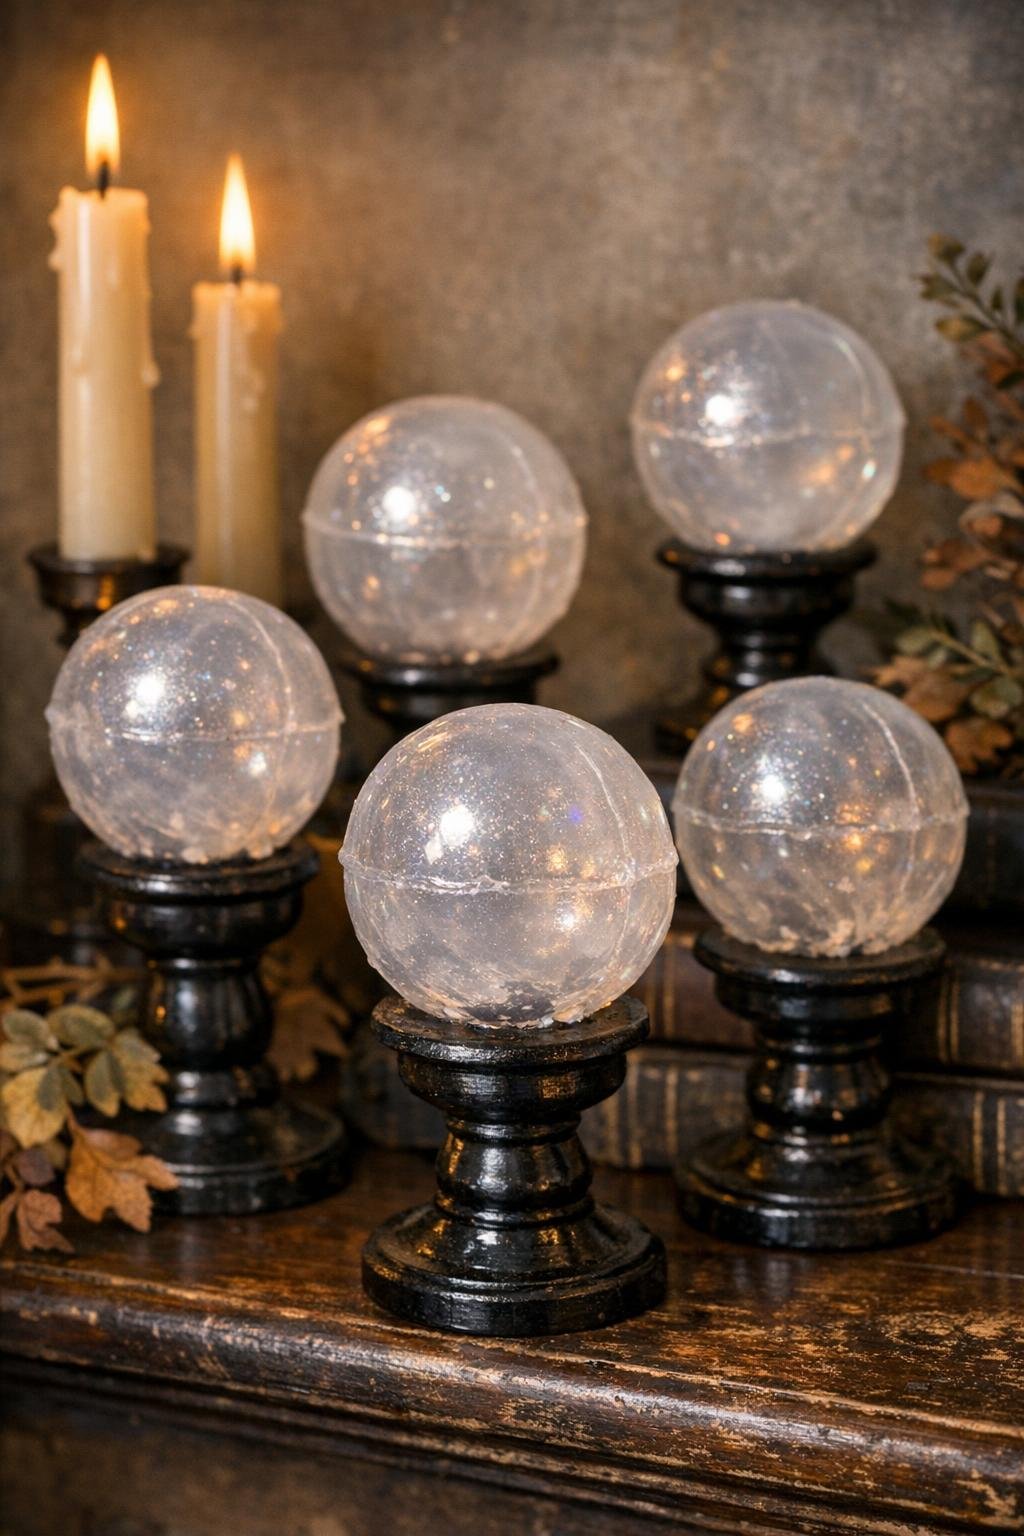
10. Let the assembled crystal balls cool for another 5 minutes, then arrange them together so the cloudy glue and glitter can catch the light. They’re ready for a mantel, shelf, table centerpiece, or a little Halloween corner that needs something playful and magical.
Variations & Tips
For a smokier crystal ball: Mix in the faintest dusting of extra fine silver or pearl glitter instead of larger iridescent glitter. It gives the hot glue a misty, old-fortune-teller look without losing the translucent finish.
If bubbles keep getting trapped: Slow down and fill each well in stages, letting the glue settle between passes. In my experience, patience here makes all the difference between a pretty crystal ball and a lumpy little marble.
For a sturdier base: Choose candlesticks with a wider foot and a flat top. Tiny thrifted pieces are full of character, but a stable base helps the crystal balls sit nicely on mantels and shelves where they may get bumped.
To make them look more polished: Use just a whisper-thin seam of glue when joining the domes, then turn the ball so the neatest side faces front. That one little bit of fussing makes them look far more finished.
Color option: Paint the candlesticks deep plum, bronze, or aged gold instead of black for a different Halloween mood. Black gives them that classic witchy look, but warmer tones can feel old-world and elegant.
Display tip: Group all 6 together at different heights with candles and a small stack of vintage-looking books. A bunching display always looks more magical than scattering them one by one around the room.
Safety note: Hot glue can burn in a hurry, so keep your fingers clear of fresh glue and let the domes cool fully before unmolding. I always say these are easy, but they’re much easier when you don’t try to rush them.