
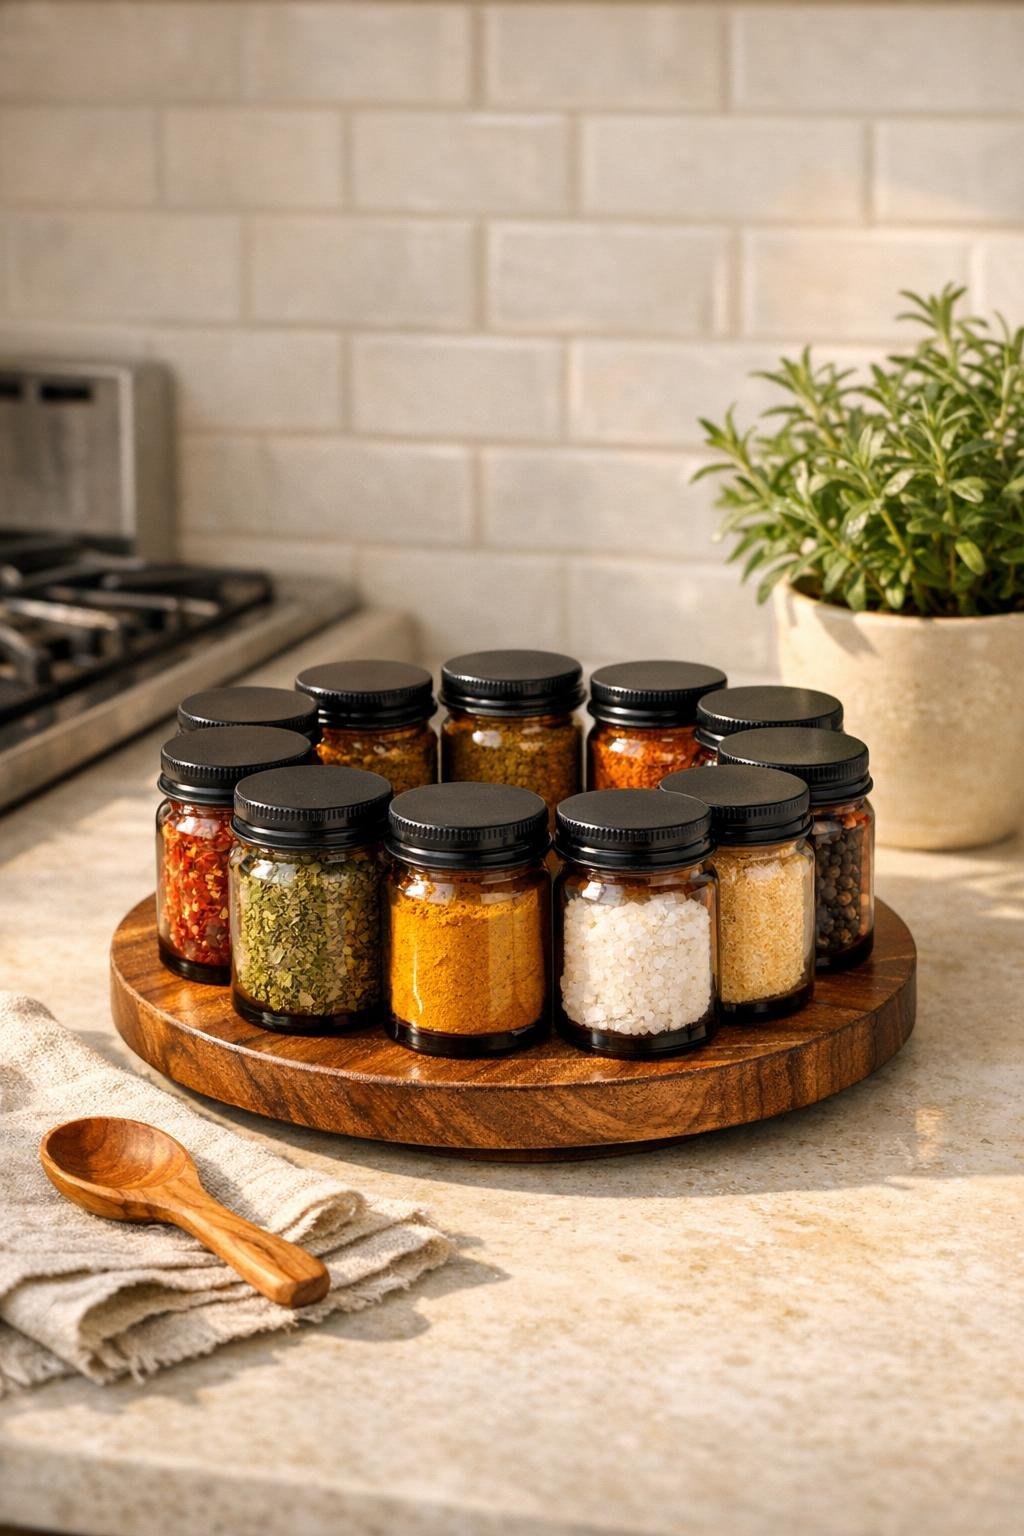
If your spices are forever getting shoved to the back of a cabinet, this little carousel fixes that in one afternoon and looks genuinely pretty sitting out on the counter. The idea is simple: small amber glass jars are glued around a wooden lazy Susan so the whole piece spins, keeps your most-used seasonings in reach, and turns a basic organizer into something that feels custom.
I love kitchen projects that solve a real problem without looking utilitarian, and this one does exactly that. It’s especially good for small kitchens, apartment cooks, and anyone like me who keeps a generous spice collection going at all times. The amber jars give it a warm apothecary look, while the wood base softens everything so it still feels at home in a working kitchen.
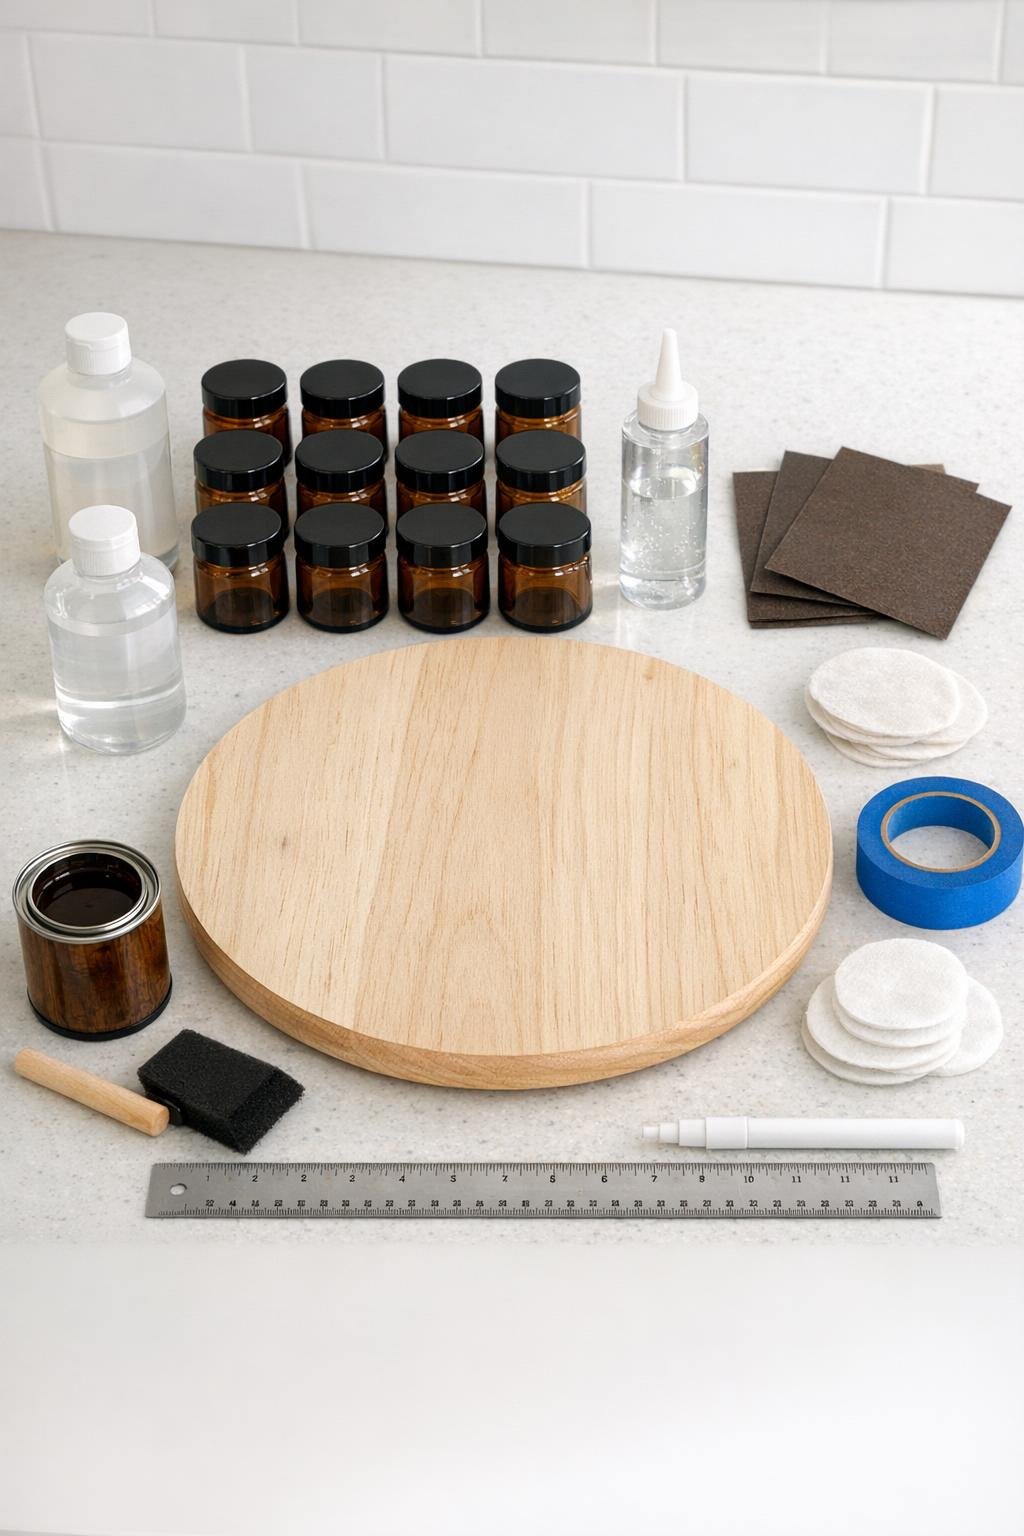
Materials
Instructions
1. Lightly sand the top edge and upper surface of the wooden lazy Susan so the finish goes on smoothly, then wipe away all dust with a dry cloth.
2. Apply a thin, even coat of wood stain to the top, outer edge, and any visible lower rim; let it soak for a minute or two, then wipe off the excess and dry fully.
3. Seal the stained base with 2 light coats of matte or satin sealer, allowing the first coat to dry before applying the second, so the carousel can handle everyday kitchen use.
4. Clean the outside bottoms and lower sides of all 12 amber jars with rubbing alcohol and let them dry completely; this removes residue so the glue bonds well.
5. Measure the lazy Susan and mark a light guide ring about 1 1/2 inches in from the outer edge, then divide the circle into 12 evenly spaced points for the jars.
6. Dry-fit all 12 jars on the guide marks before gluing, adjusting the spacing until the ring looks balanced and the lazy Susan can still spin freely without the jars overhanging too much.
7. Run a generous bead of clear adhesive on the lower side of the first jar where it will touch the wood, press it onto a marked spot, and hold for 30 to 45 seconds.
8. Continue gluing the jars one at a time around the outer ring, keeping each jar straight and snug to the guide line so the finished carousel looks tidy and intentional.
9. Wrap painter’s tape loosely around the outside of the jar ring if needed to keep everything aligned, then let the adhesive cure fully according to the package directions, preferably overnight.
10. Fill each jar with spices or herbs, leaving about 1/2 inch of headspace so the contents pour easily and the jars stay neat when opened.
11. Label the lid tops with a paint marker or apply clear label dots first and write over them, keeping the names short and centered so they’re easy to read from above.
12. Add felt pads underneath the base if your countertop is delicate, then give the carousel a gentle spin and place your most-used spice blends in the front half for everyday cooking convenience.
Variations & Tips
For a larger spice collection: Use a 14-inch lazy Susan and 14 to 16 smaller 2-ounce amber jars instead of 12 larger ones so you can fit more varieties without crowding.
For easier cleaning: Choose a satin or matte topcoat rather than raw stained wood alone; kitchen dust and spice residue wipe off much more easily from a sealed surface.
For stronger adhesion: Let the stained and sealed base cure completely before gluing, and avoid hot glue here because glass-to-wood joints hold up far better with a heavy-duty permanent adhesive.
For a polished look: Keep all lids matching, center every label carefully, and fill the jars to similar heights; that little bit of consistency makes the whole carousel look custom-made.
For smart spice placement: I like to group daily staples such as garlic powder, paprika, oregano, cumin, chili flakes, and cinnamon together, then rotate in seasonal blends depending on what I’m cooking most.
For a renter-friendly finish style: Skip dark stain and use a clear sealer over natural wood if your kitchen leans lighter or more Scandinavian; the amber jars still give plenty of warmth and contrast.