
If your bathroom counter always seems to collect hand soap, lotion, a candle, and a few little extras, this easy vanity riser is such a satisfying fix. I love projects like this because they use simple everyday pieces, take almost no building skill, and still make the whole room feel more pulled together and intentional.
This version uses a wooden cutting board set over two small upside-down terra cotta pots, then finished so it looks polished enough to leave out every day. It’s a wonderful beginner project, especially if you want quick results and a little extra height on the counter for pretty bottles, a small plant, or guest towels.
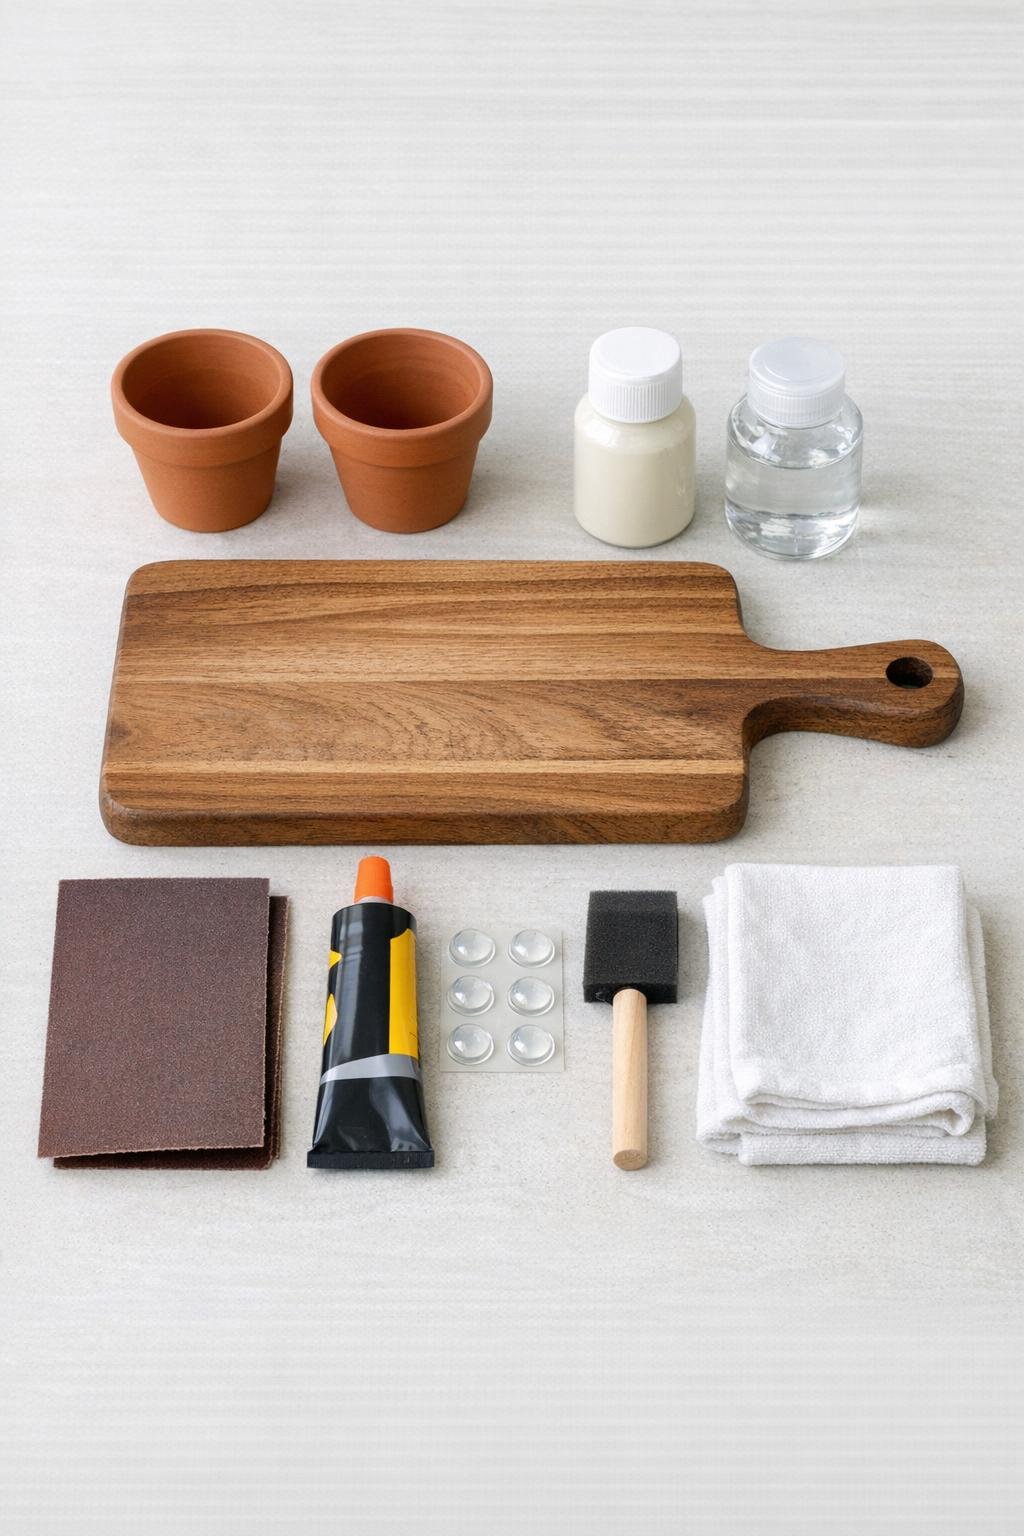
Materials
Instructions
1. Wipe the cutting board and both terra cotta pots clean with a damp cloth, then let everything dry completely so paint and adhesive will stick well.
2. Lightly sand the cutting board, especially the top face and edges, to smooth the finish and help the paint or sealer grip evenly.
3. Sand the rim and outside of each terra cotta pot with medium grit sandpaper to remove dust and rough spots, then wipe away the residue.
4. Paint the pots in one to two thin coats if you want a softer bathroom look; I like white or warm cream because it brightens the clay without making the project feel fussy.
5. Seal the painted pots with a thin coat of clear sealer, and brush a coat of sealer over the cutting board too if you want better moisture protection for bathroom use.
6. Turn the pots upside down and place them 6 to 8 inches apart, spacing them so the cutting board will sit evenly centered with a little overhang on both ends.
7. Mark the pot placement lightly underneath the cutting board with a pencil so you can return them to the same position during assembly.
8. Apply a generous ring of construction adhesive around the bottom edge of each upside-down pot, avoiding the center drainage hole so excess glue does not squeeze out visibly.
9. Set the cutting board onto the glued pots, using your placement marks, then press gently and evenly so the board bonds flat across both supports.
10. Let the riser cure undisturbed for the full time listed on the adhesive packaging; I usually leave it overnight so it feels solid and dependable the next day.
11. Flip the riser upright once cured, and add two clear rubber bumpers under the bottom edge of each pot to protect the counter and keep the piece from sliding.
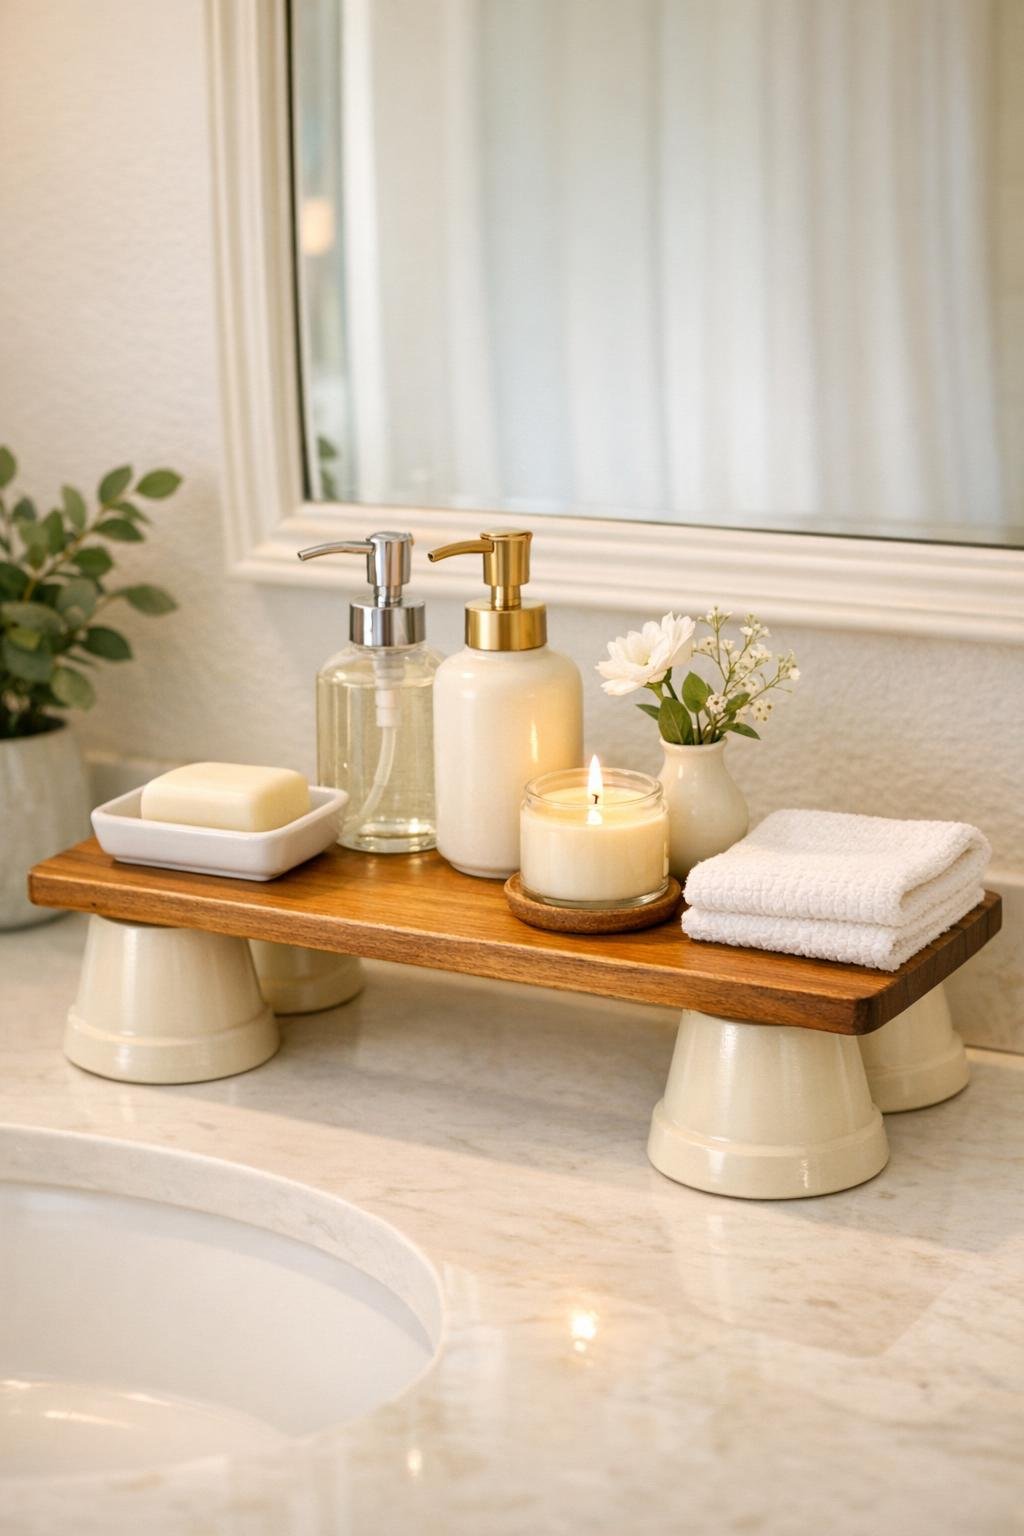
12. Style the riser with everyday bathroom items like soap, lotion, a candle, and a tiny vase or plant, keeping the taller pieces toward the back so the platform looks full but still tidy.
Variations & Tips
For a natural look: Leave the terra cotta unpainted and simply seal both the pots and cutting board. The warm clay color looks especially pretty in bathrooms with wood tones and woven baskets.
For a cleaner finish: Choose pots with a slightly wider rim so they give the cutting board more contact area. That makes the riser feel extra sturdy without adding any difficulty.
For family bathrooms: Use the riser to corral the things everyone reaches for every day, like hand soap, toothbrush cups, and lotion. It makes cleanup faster, which in my house is always a win.
For picky decorators: If you don’t want paint, try a clear matte sealer only, or stain the cutting board a shade darker while keeping the pots neutral. That way you still get a custom look without too much color.
For extra protection: Avoid placing the riser where it will sit in standing water, and wipe up splashes promptly. A quick recoat of sealer every so often will keep it looking nice.
For a polished touch: Tie a short piece of jute or ribbon through the cutting board handle if yours has one, but keep it small and simple so the riser still feels fresh and bathroom-friendly.