
These enchanted witch wands are one of those wonderfully low-effort projects that look far more involved than they really are. You start with plain wooden chopsticks, build up twisty hot-glue texture on the handle, then finish everything with paint so the wands look like they came out of an old spell book instead of a takeout drawer.
I love projects like this for a busy afternoon because they give you a big visual payoff without a giant mess or a long supply list. If you want a Halloween craft, party favors, dress-up props, or just a fun creative reset after work, this is an easy one to pull off in a single session.
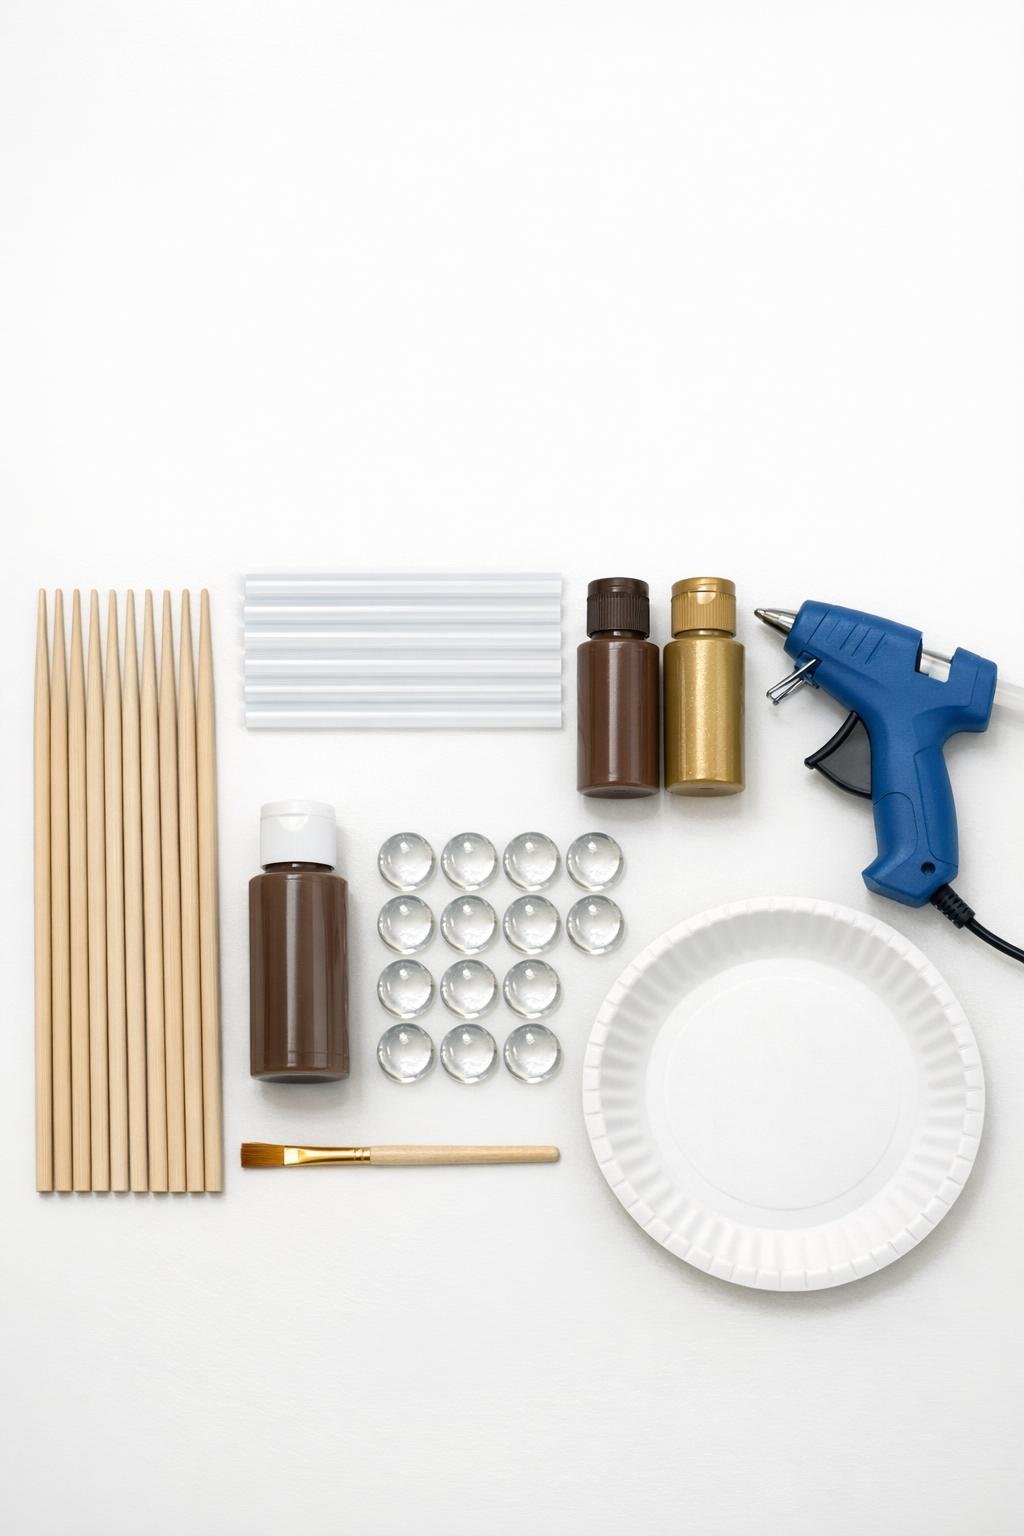
Materials
12 wooden chopsticks, full length
Instructions
1. Cover your counter with wax paper or parchment paper, plug in the glue gun, and line up all 12 chopsticks so you can work assembly-line style.
2. Hold the first chopstick by the smooth end and begin adding hot glue around the handle half, slowly twisting the stick as you drag the glue in uneven rings and scribbly loops.
3. Let each glued band cool for a few seconds before adding the next so the ridges stay raised and knotted instead of softening into a flat layer.
4. Keep building texture only on the bottom half of the chopstick, adding a few thicker knots and bumps near the center of the handle to make it look more like aged wood.
5. Repeat the glue texture on all 12 chopsticks, then let them rest for 5 to 10 minutes so every ridge is fully firm before painting.
6. Put brown acrylic paint on a paper plate and paint each wand from tip to tip, working the brush into all the glue creases so no clear glue shows through.
7. Stand the painted wands on parchment or lay them flat, rotating once if needed, and let the brown paint dry completely.
8. Dip just the tip of a mostly dry brush into metallic gold paint, wipe off the excess on the plate, and lightly drag the brush over the raised glue ridges to highlight the texture.
9. Add a small dot of hot glue to the tip of each wand and press on one glass gem or bead, holding it steady for a few seconds until set.
10. Check the wands for any bare spots, touch up with brown or gold as needed, and let everything dry completely before displaying or using them.
Variations & Tips
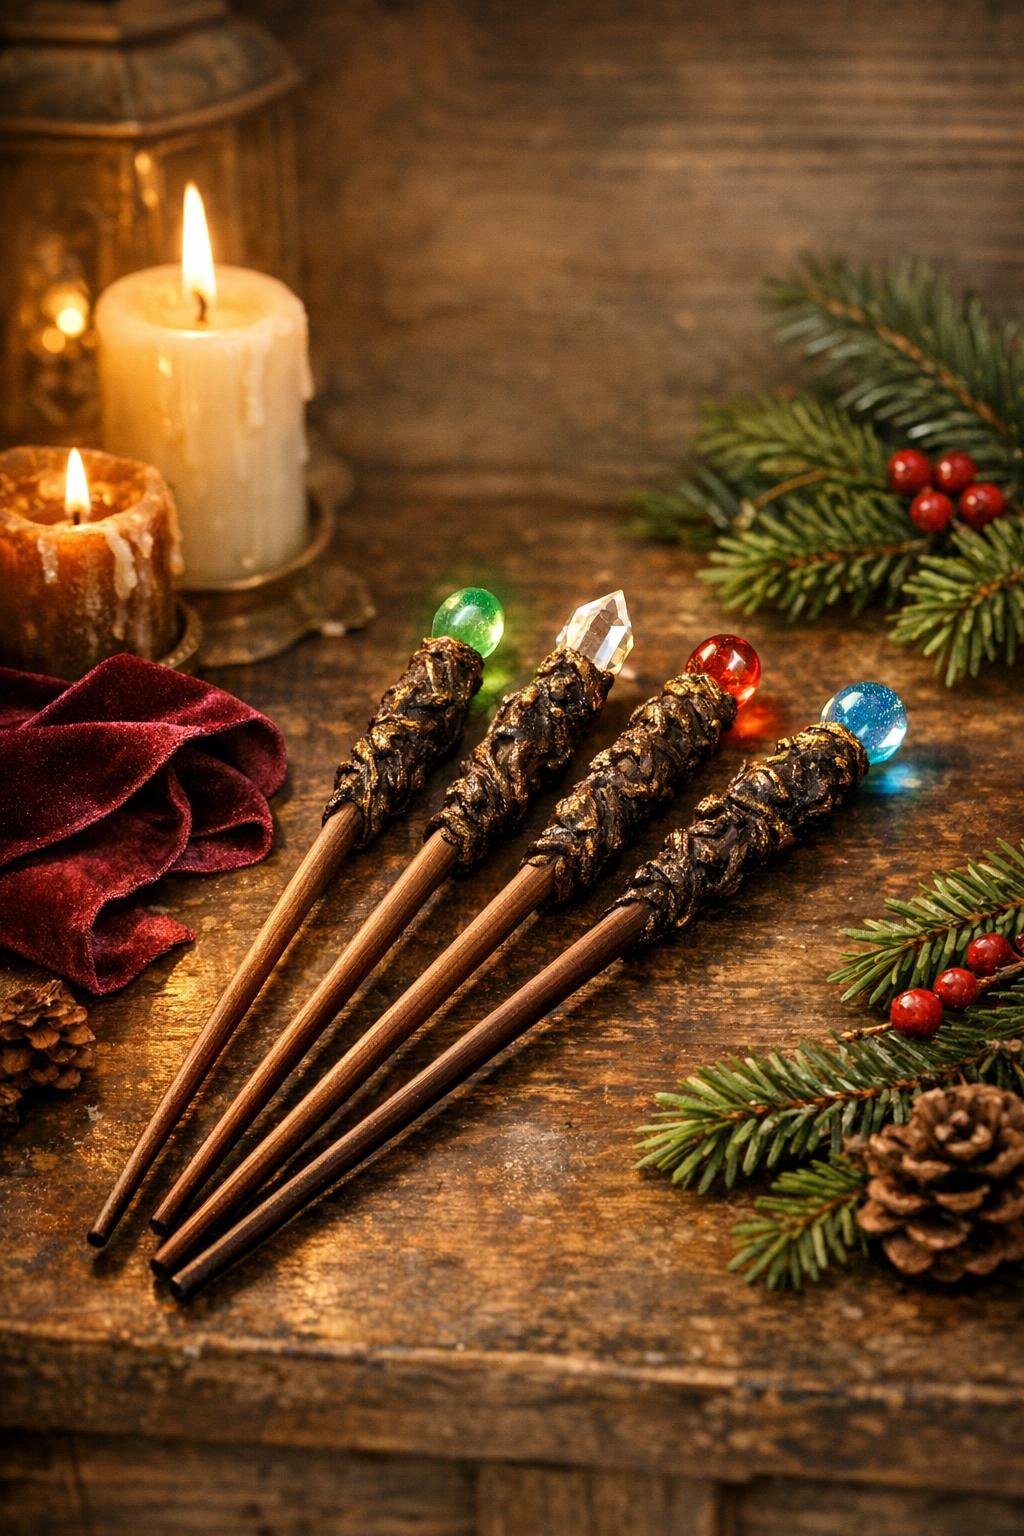
Gem color mix: Use mixed jewel-tone beads or gems for a more magical look, or keep all 12 matching if you want the set to feel more polished and intentional.
Darker antique finish: If you want the wands to look older, use a slightly heavier brown coat in the crevices and an even lighter hand with the gold so only the highest ridges catch the shine.
Kid-friendly crafting: A low-temp glue gun is much easier on fingers, and I really recommend it if you are making these quickly in batches.
Handle placement: Stop the glue texture around the halfway point of each chopstick so the wand still has a long, elegant shape and doesn’t become bulky from end to end.
Painting tip: Thin chopsticks can snap if you grip them too tightly while painting, so I hold them near the center and rotate gently with my fingertips.
Party favor idea: Make all 12 at once, then bundle them in small groups with ribbon for Halloween party favors, costume accessories, or a magical movie-night craft.