
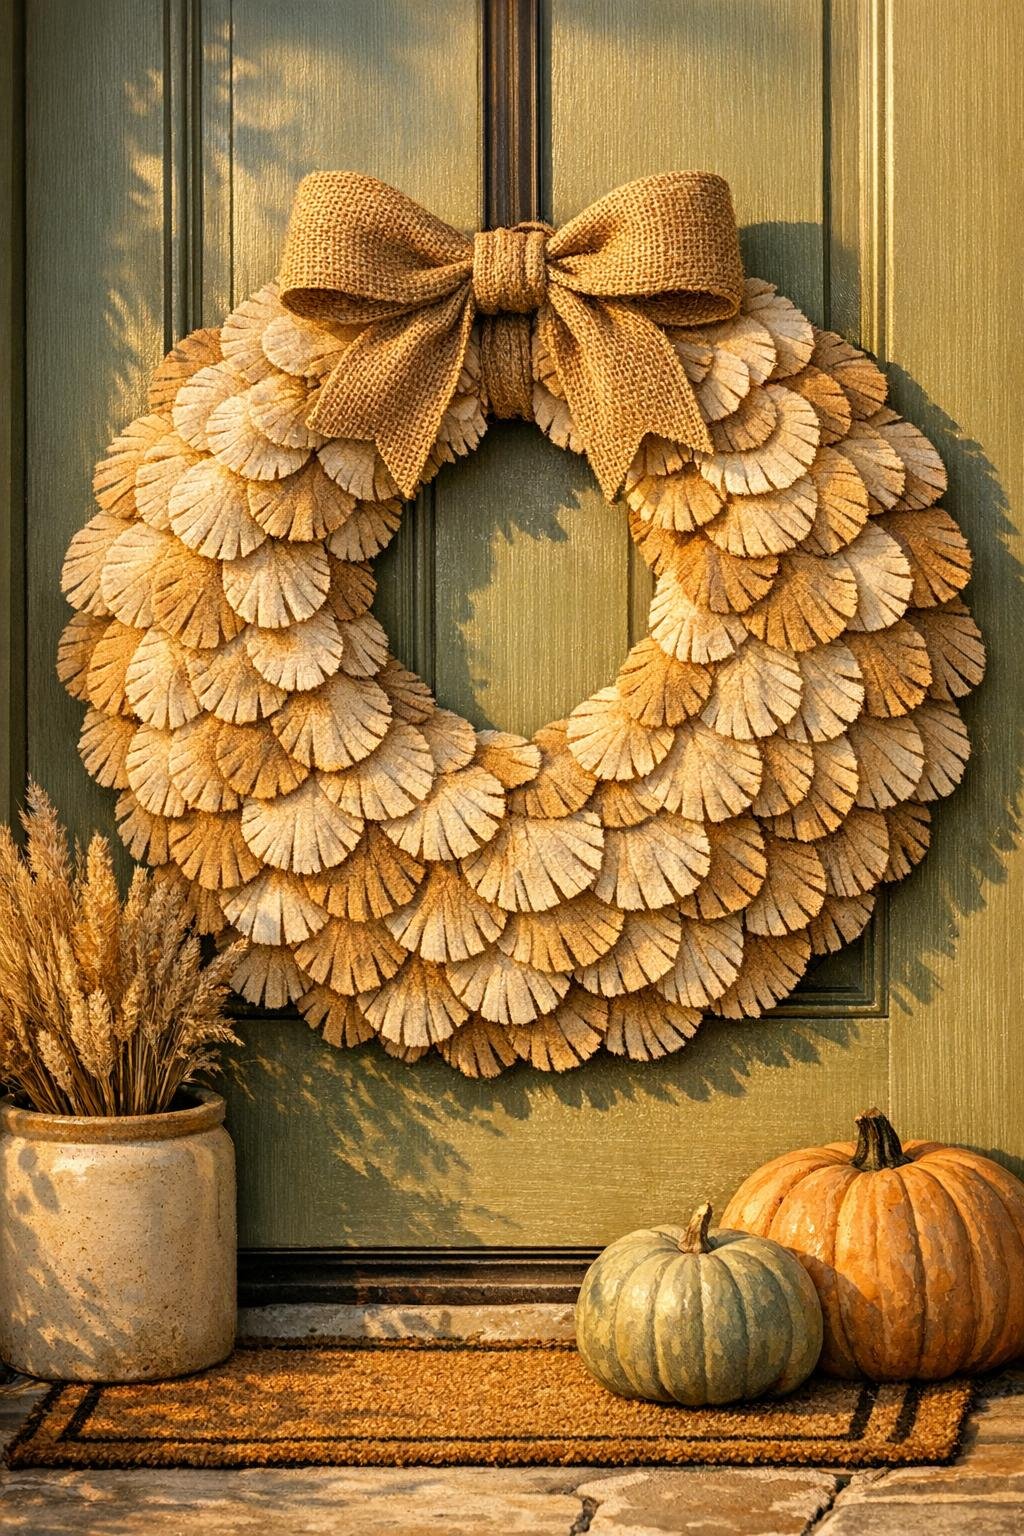
There is something wonderfully satisfying about taking the plainest little household thing and turning it into something that looks like it could have been tucked away in an old family trunk. This wreath begins with humble makeup remover pads soaked in black tea, and by the time you’re done, those soft rounds become a ring of feather-like pieces in warm shades from cream to tobacco brown. It has that timeworn, heirloom look I’ve always loved in autumn decorating, the kind of piece that feels collected rather than bought.
I especially like this project for folks who want a big, beautiful seasonal wreath without fussing with hard-to-find supplies or spending a small fortune. The steps are simple, the materials are modest, and the color variation does most of the work for you. As with so many pretty things, a little patience in the drying and layering makes all the difference.
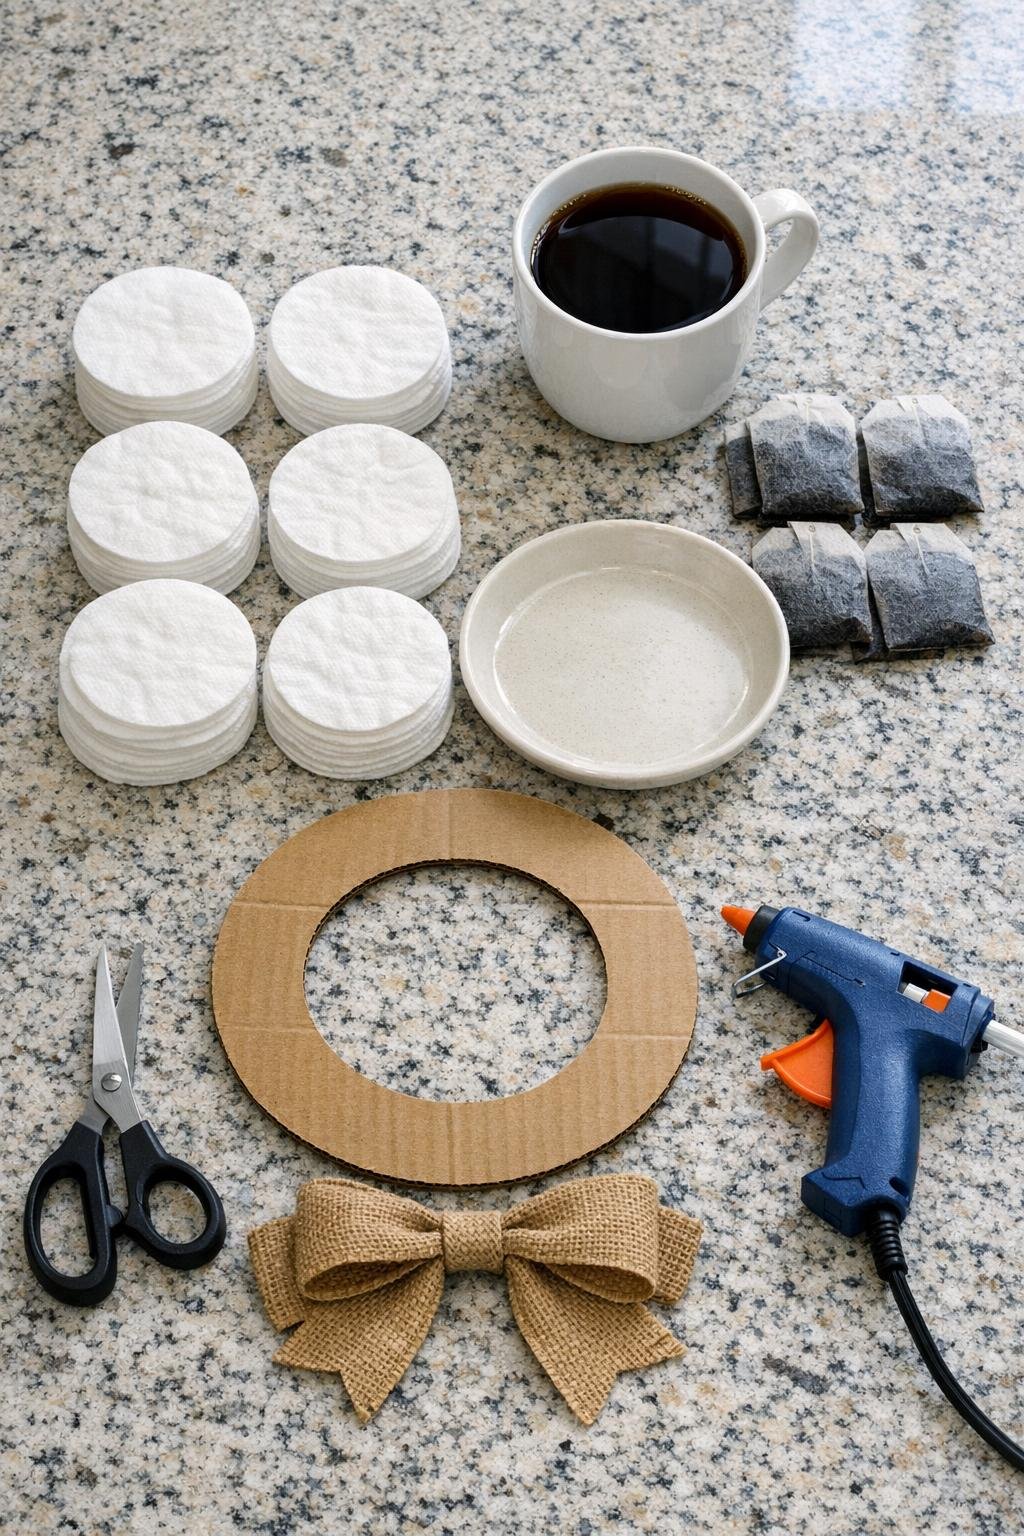
Materials
80 round makeup remover pads
Instructions
1. Brew the tea by pouring 4 cups of boiling water over the 6 tea bags and let it steep 10 minutes until very dark. Pour the tea into your shallow dish and let it cool just enough that it’s safe to handle.
2. Cut your wreath form from cardboard: trace a 12-inch circle and a 7-inch inner circle, then cut out the ring neatly. Glue the 8-inch loop of twine or ribbon to the back top of the ring now so it’s built in before the feather layers go on.
3. Soak the makeup pads in batches so you get a full range of shades, leaving some in for 2 to 5 minutes, some for 10 to 15 minutes, and some for 30 minutes or longer. Lift each pad out gently and squeeze it between your palms instead of twisting, then lay it flat on a towel.
4. Dry the pads flat overnight until they feel completely dry and slightly firm. Don’t worry about blotches or uneven staining because that soft variation is what makes the finished wreath look old-fashioned and rich.
5. Shape each dried pad into a feather by trimming it into a long teardrop, leaving the bottom end slightly rounded for gluing. Snip fine fringe along both long sides, cutting inward about 1/4 inch all around without cutting through the center.
6. Sort the feathers into light, medium, and dark piles so you can balance the colors as you glue. This little bit of organization helps the finished wreath look full and naturally shaded instead of patchy.
7. Start at the outer edge of the cardboard ring and hot glue the first row of darkest feathers, overlapping them by about 1/2 inch and angling the points in the same direction. Cover the entire outside edge first so no cardboard peeks through from the front.
8. Add a second row just inside the first, overlapping enough to hide the glued ends and staggering the feather tips so the row looks soft and full. Continue around the ring, mixing mostly dark and medium tones in this lower layer.
9. Fill the inner half of the wreath with medium and lighter feathers, always gluing each new row over the cut ends of the row before it. Keep the points flowing in the same circular direction so the wreath has a graceful, swept look.
10. Tuck the palest feathers into the top layer around the full ring, especially where you want extra softness and contrast. If you see any bare cardboard, slide a small feather into the gap rather than adding glue on top of the finished surface.
11. Trim 4 to 6 extra feathers slightly smaller and glue them in a clustered layer at the lower half or one side of the wreath for a fuller heirloom look. This last bit of layering gives the wreath that generous, gathered appearance that makes it feel special.
12. Glue the burlap bow at the bottom center or slightly off to one side, whichever suits your style, and press it on firmly until set. Fluff the feather fringe gently with your fingertips and snip away any awkward bits so the ring looks even and soft.
Variations & Tips
For deeper color: If you want stronger contrast, brew the tea with 1 extra bag or let a portion of the pads soak longer than 30 minutes. The darker feathers add beautiful depth around the outer edge.
For a larger wreath: Cut a 14-inch cardboard ring and increase the pads to about 110 to 120 pieces. I’d keep the same layered method, just adding another row or two so it stays lush rather than skimpy.
For sturdier feathers: Pads that are fully dry cut much more cleanly than damp ones. If your house is humid, let them sit an extra day before trimming.
For prettier blending: Don’t place all the dark feathers in one chunk and all the pale ones in another. I like to let the shades drift gradually, the way real feathers do in an old-fashioned plume.
Bow placement: A bottom bow feels formal and traditional, while a bow set slightly off-center has a more gathered, handmade charm. Both are lovely, so choose the one that suits your doorway or mantel.
Display tip: Keep this wreath in a dry, sheltered spot indoors or on a covered door or porch. Since it’s made from cotton pads and cardboard, it will stay nicest away from rain and heavy outdoor dampness.