
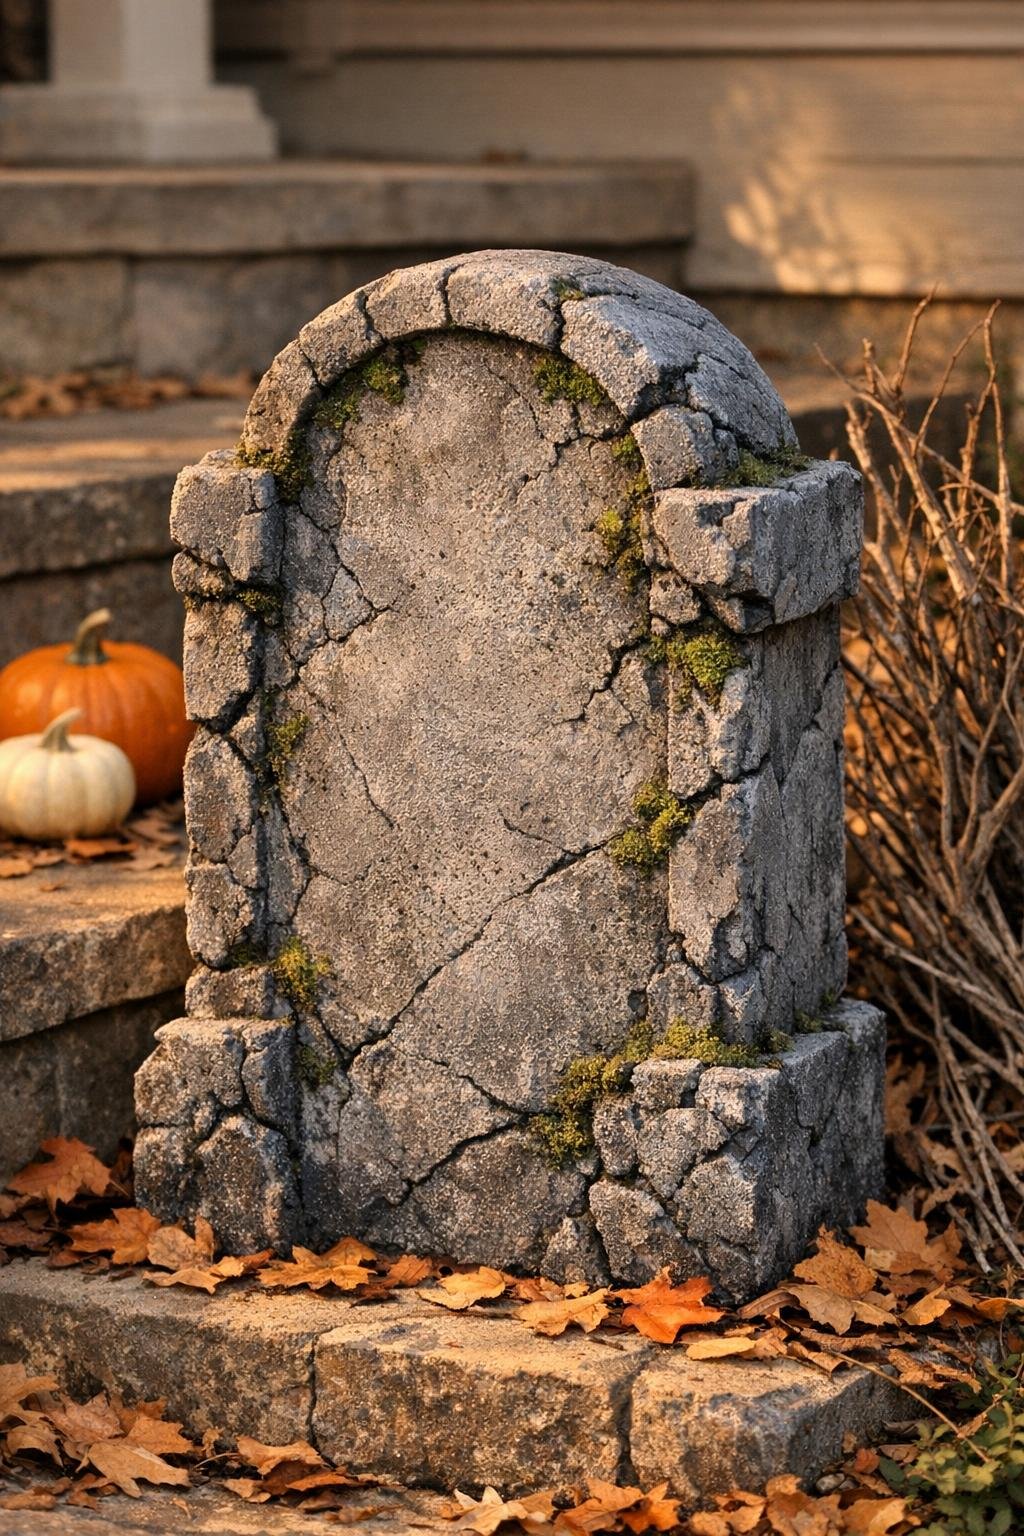
There’s a particular kind of Halloween magic in making something humble look old, weathered, and just a little eerie. This crumbling stone tombstone starts with nothing more than a small cardboard box and a can of expanding foam, and by the time you’re done carving and painting, it looks like a chunky old grave marker that’s been sitting out in the weeds for ages.
I’ve always had a soft spot for projects like this—simple supplies, a little patience, and a big transformation at the end. If you want a lightweight yard decoration that’s easy to move, inexpensive to make, and dramatic enough to hold its own on a porch or in a Halloween display, this is the sort of project that gives you a lot of payoff without asking for fancy tools.
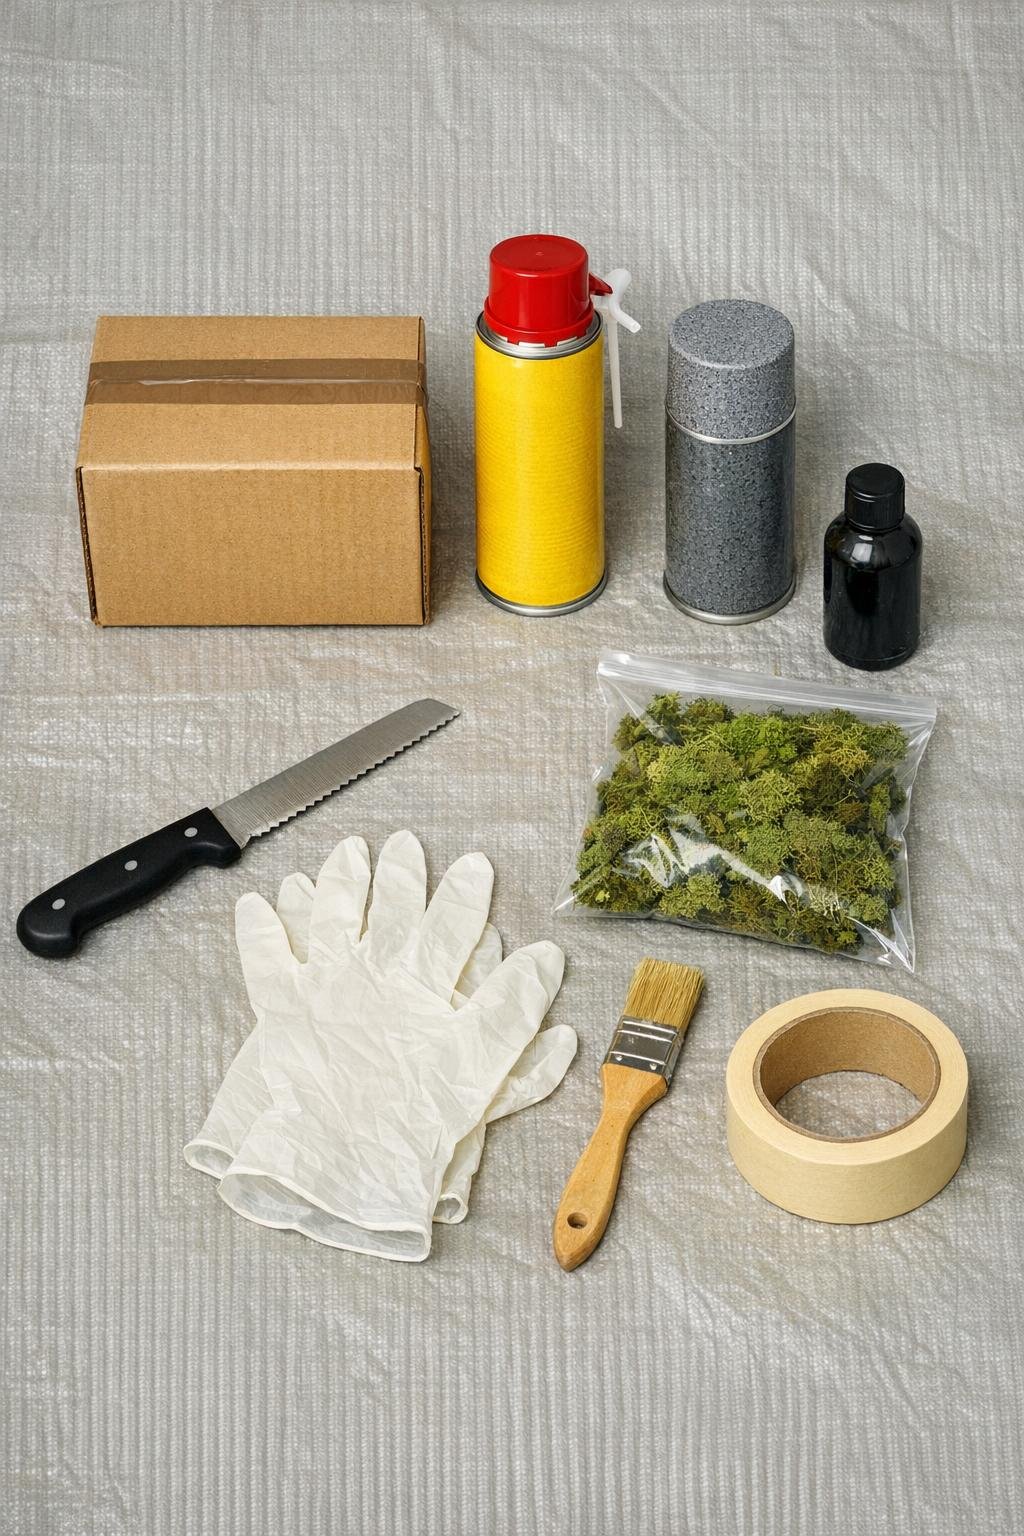
Materials
1 small cardboard shipping box, about 8 x 8 x 12 inches
Instructions
1. Tape the cardboard box shut on all seams so it holds its shape firmly, then stand it upright on a tarp with the narrow side facing front.
2. Put on gloves and spray the expanding foam onto the box in thin passes, covering the front, sides, and top with only about one-third the thickness you want in the end because the foam will swell as it cures.
3. Leave a little extra foam along the outer edges and top so you’ll have enough bulk to carve chipped corners, a rounded crown, and broken-looking stone later.
4. Let the foam cure overnight until it is completely firm all the way through and no longer tacky.
5. Use a bread knife to carve the top into a rounded tombstone shape, then trim the sides into slightly uneven lines so the box no longer looks square and manufactured.
6. Slice and shave the puffy blobs into shallow pits, chunky chips, and crumbling edges, softening any overly round areas so the surface looks more like worn stone than foam bubbles.
7. Cut a few deeper nicks around the base and corners, and slightly undercut some spots to mimic pieces that look as if they’ve weathered away over time.
8. Brush off all loose crumbs, then spray the entire tombstone with gray stone-texture paint, making sure every bit of yellow foam is covered, including the carved grooves and lower edges.
9. Let the paint dry, then dip a paintbrush in black acrylic paint and dry-brush it into cracks, pits, and along the lower edges to deepen the shadow and give the stone an older, dirtier look.
10. Press small tufts of moss into the deepest crevices and around the bottom edge while the black paint is still slightly tacky, or brush on a little extra paint first to help it cling in natural-looking patches.
11. Set the finished tombstone into your Halloween display with the roughest side facing front, and nestle a little extra moss around the base so it looks settled into the ground instead of freshly made.
Variations & Tips
For a taller marker: Use a slightly taller box, but keep the foam layers thin and build them up gradually so the piece stays even and doesn’t slump while curing.
For more believable stone: The carving is what makes this project work, so don’t stop at the puffed shape from the can; flatten, chip, and rough up those rounded blobs until they read like broken masonry.
For a darker antique finish: Mix a dab of black acrylic paint with a little water and brush it over the stone, then wipe back the high spots with a paper towel so the dark color stays in the recesses.
For outdoor durability: Keep the foam fully covered with paint, since exposed yellow foam breaks down in sunlight and gives away the trick.
For extra stability: If you’re displaying it outside in a breezy spot, tuck the tombstone between pumpkins, nestle it into planters, or brace it discreetly from behind so it doesn’t tip.
For a fuller graveyard look: Make two or three in slightly different heights and carve each one a little differently; grouped together, they look far more convincing than a single marker on its own.