
There are a few craft supplies I always toss in my cart when I’m wandering the dollar store after work, and silicone seasonal molds are one of them. This project turns one of those inexpensive little pumpkin molds into a batch of glossy, jewel-like accents using nothing more complicated than hot glue, and it’s one of those low-effort evening crafts that feels weirdly rewarding.
If you want a quick fall project that doesn’t require paint brushes, fancy resin, or a whole weekend, this is such a good one. It’s especially perfect if you like decorating trays, wreaths, place settings, or little shelves with handmade touches that look much pricier than they are.
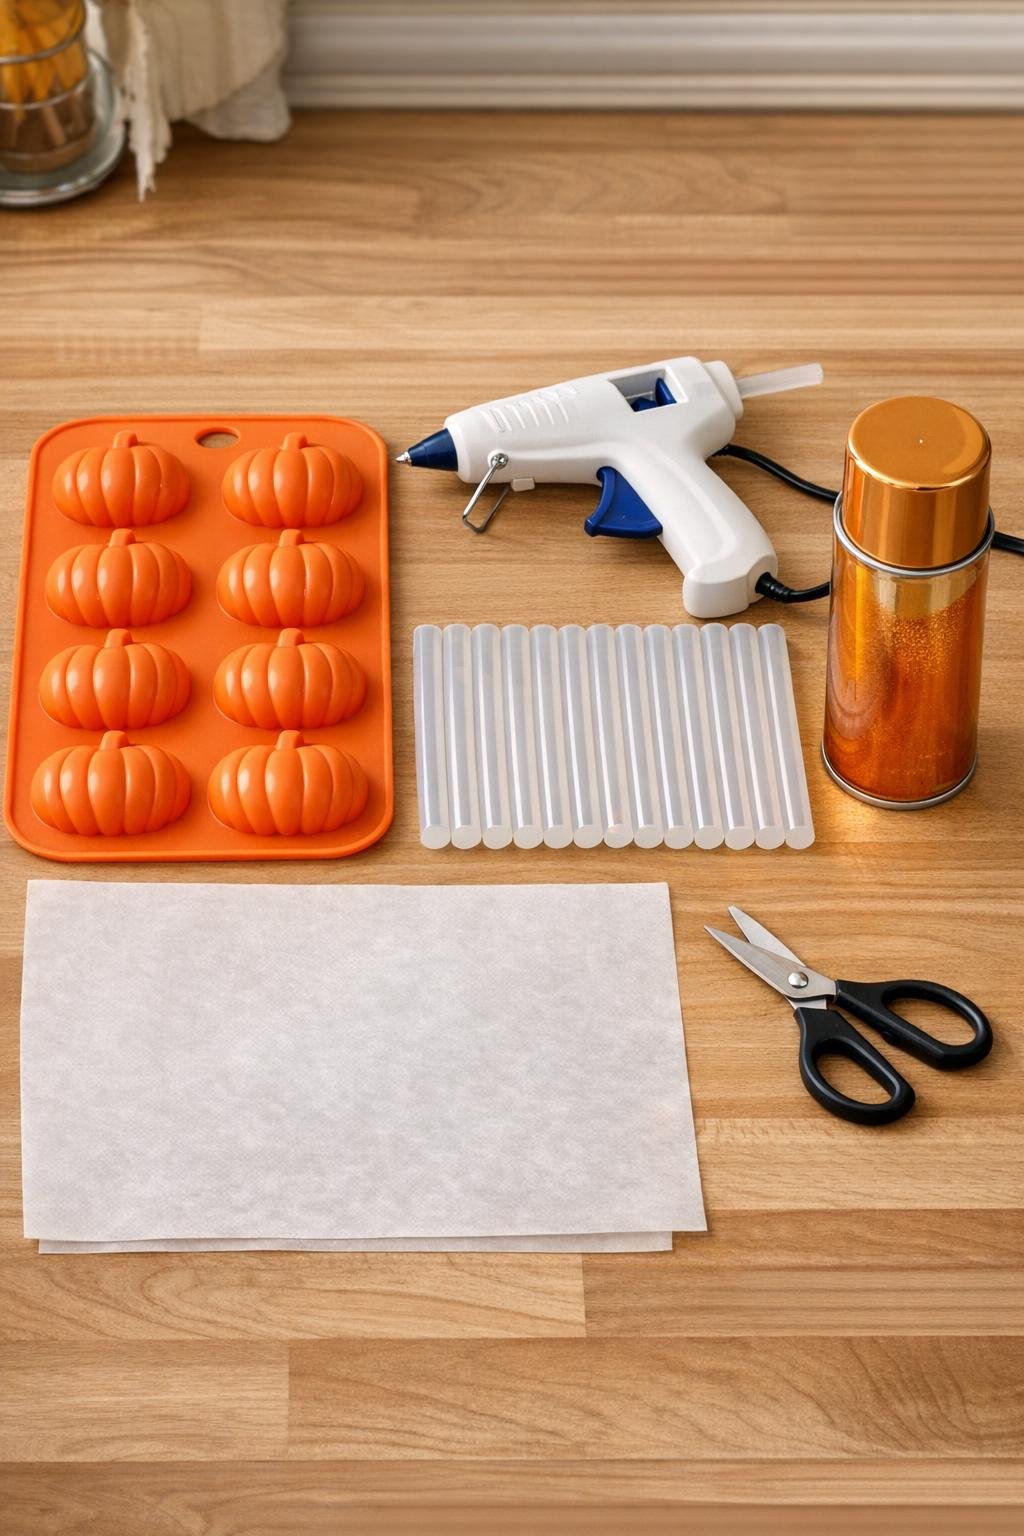
Materials
1 dollar store silicone pumpkin mold with 6 to 8 pumpkin-shaped wells
Instructions
1. Set the silicone pumpkin mold on a flat heat-safe tray lined with parchment paper so it stays level while you work. Plug in the glue gun and let it heat fully for 3 to 5 minutes so the glue flows smoothly.
2. Fill the first pumpkin well with hot glue, starting in the center and slowly spiraling outward into the edges. Fill it completely to the top so the finished pumpkin comes out thick, glossy, and solid instead of thin or sunken.
3. Repeat with the remaining wells, working steadily so each cavity is filled edge to edge. If you see an air pocket, add one more small bead of glue right over that spot while the glue is still hot.
4. Gently tap the tray once or twice on the table to help the glue settle into the molded details. Use the tip of the glue gun to pull glue into any stem or curve areas that look low.
5. Leave the mold undisturbed for at least 2 hours until the glue is completely cool and firm. Don’t rush this part; if the centers are still warm, the edges can crack or bend when you unmold them.
6. Peel the silicone mold back gently from each shape and pop out the pumpkins one at a time. Trim away any thin glue strings or tiny rims with scissors for cleaner edges.
7. If you want a glassy fall color, place the pumpkins on fresh parchment and spray them lightly with clear orange or gold tint from 8 to 10 inches away. Let the first coat dry for 15 minutes, then add a second light coat for a richer gem look.
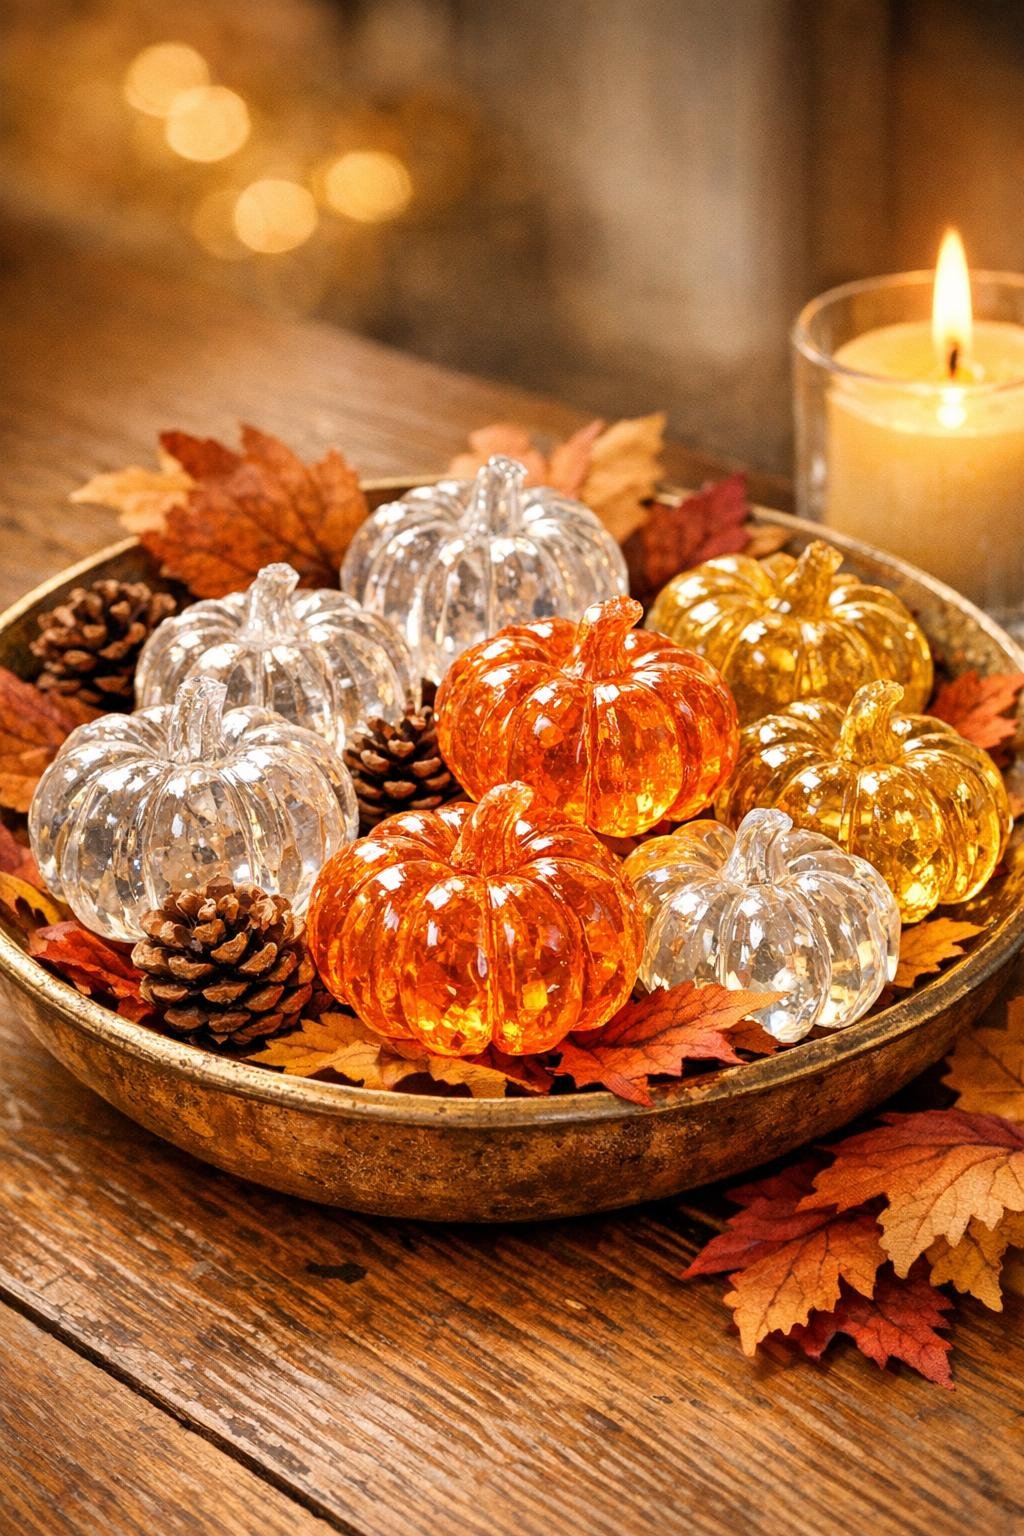
8. Leave the pumpkins clear for an icy crystal effect, or tint only part of the batch so you have a mix of clear and warm-toned pieces. Once fully dry, they’re ready to use as bowl fillers, wreath accents, napkin table scatter, or tucked into a centerpiece.
Variations & Tips
For a fuller display: Make two full mold batches instead of one if you want enough pieces for a centerpiece or decorative bowl. These little pumpkins look best when grouped generously rather than used one at a time.
Color mix: I like doing a blend of clear, orange, and soft gold because it catches the light better than one flat color. It gives the whole batch that faux glass look without adding any complicated steps.
Cooling tip: If I’m crafting at night after dinner, I fill the mold, leave it alone, and unmold right before bed or the next morning. That extra patience makes the edges much cleaner.
Edge cleanup: Tiny glue whiskers are normal with hot glue. A small pair of scissors works better than pulling them off by hand, because pulling can leave rough spots along the pumpkin ridges.
Where to use them: These are great scattered down the center of a table, tucked into a wreath, added around flameless candles, or layered into a tray with mini gourds. I’d skip using them anywhere that gets very hot, like right beside a fireplace insert or in a car dashboard display.
Budget tip: If you already own the glue gun, this really is one of those under-four-dollar crafts that looks far fancier than the supply list. That’s my favorite kind of weeknight project.