
There’s something mighty satisfying about turning two humble little pieces into something useful and pretty, and this bathroom soap dish is exactly that kind of project. A small white ceramic saucer perched on an upturned vintage brass drawer pull makes a tidy resting place for a bar of soap, and it has that old-house charm I’ve always loved. It looks thoughtful and polished, but it comes together in just a few easy steps.
I’m especially fond of projects like this for guest baths, powder rooms, or any sink where you want a little character without spending much money. If you enjoy vintage touches and practical fixes, this is the sort of quick afternoon make that feels like a little victory every time you wash your hands.
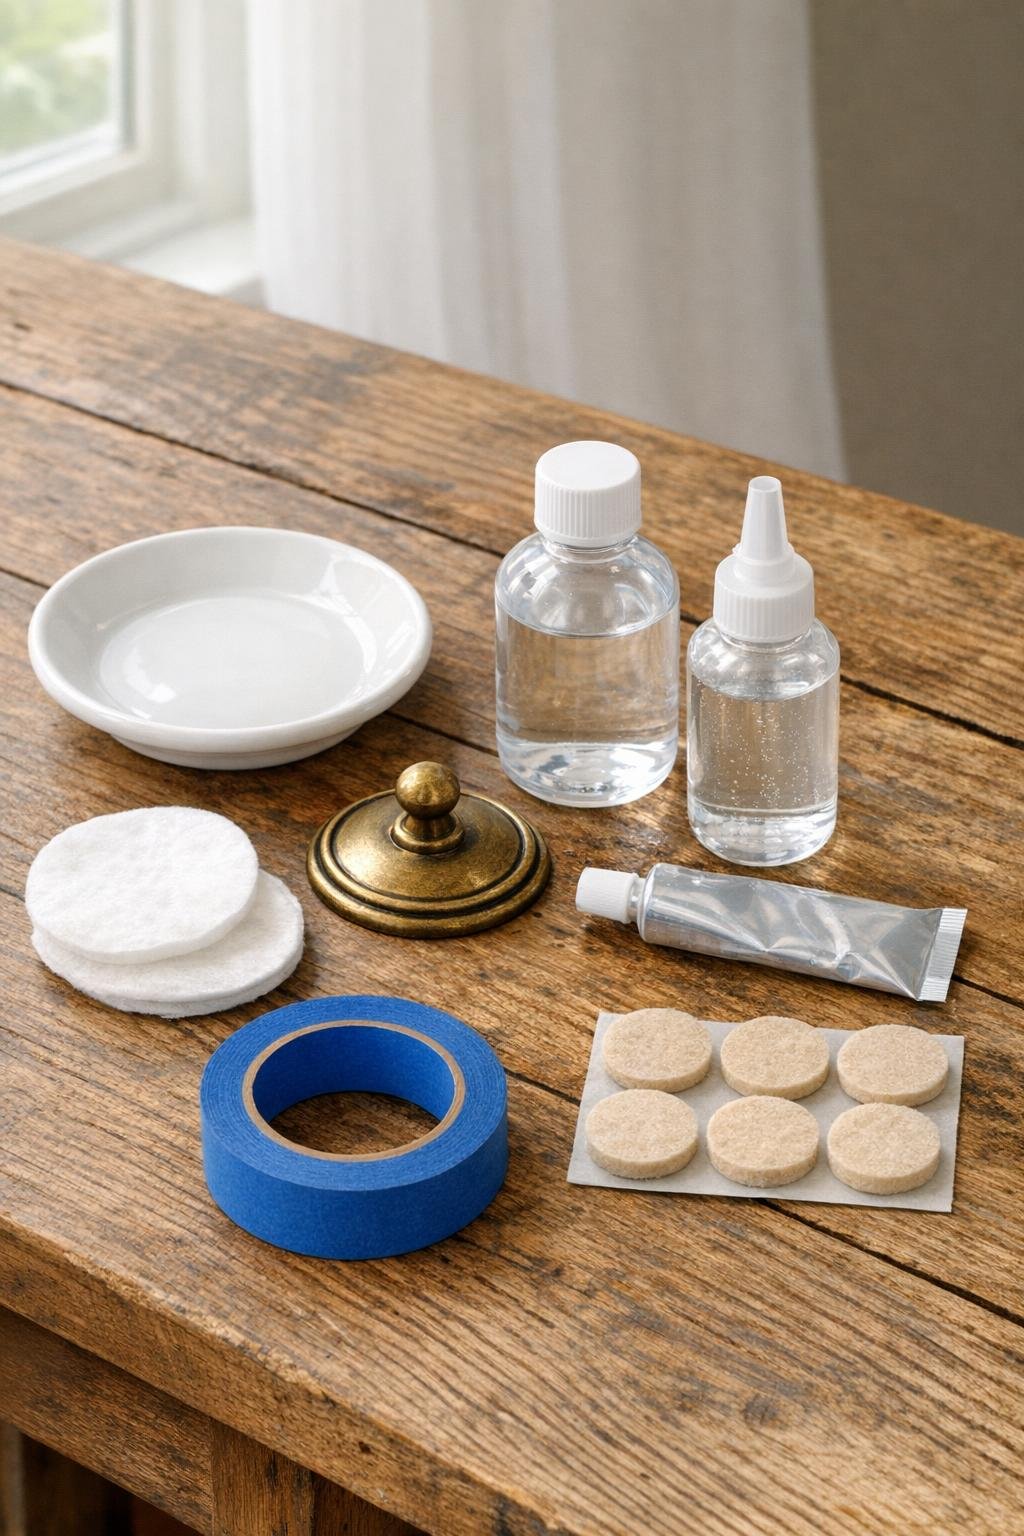
Materials
1 small white ceramic saucer, 5 to 6 inches wide
Instructions
1. Wash the ceramic saucer in warm soapy water, dry it well, and wipe the center underside with rubbing alcohol so the adhesive bonds cleanly.
2. Clean the flat contact side of the brass drawer pull with rubbing alcohol, removing any dust, wax, or old residue, then let it dry completely.
3. Turn the drawer pull upside down on your work surface and set the saucer on top to check the balance; the pull should sit centered under the saucer so the dish won’t wobble.
4. Mix the epoxy according to the package directions, then spread a generous coin-sized layer on the contact point of the upturned drawer pull.
5. If you want extra moisture resistance, add a thin ring of clear silicone around the epoxy before setting the saucer in place.
6. Carefully place the saucer over the upturned drawer pull, center it, and press gently for a few seconds so the adhesive spreads evenly without squeezing too far out the sides.
7. Use painter’s tape across the top if needed to keep the saucer from shifting, then leave the piece undisturbed for the full curing time recommended on the adhesive package.
8. Once cured, turn the soap dish upright and test it on a flat counter; if you’d like, add felt pads beneath the edges of the brass base to prevent scratches and help it sit perfectly steady.
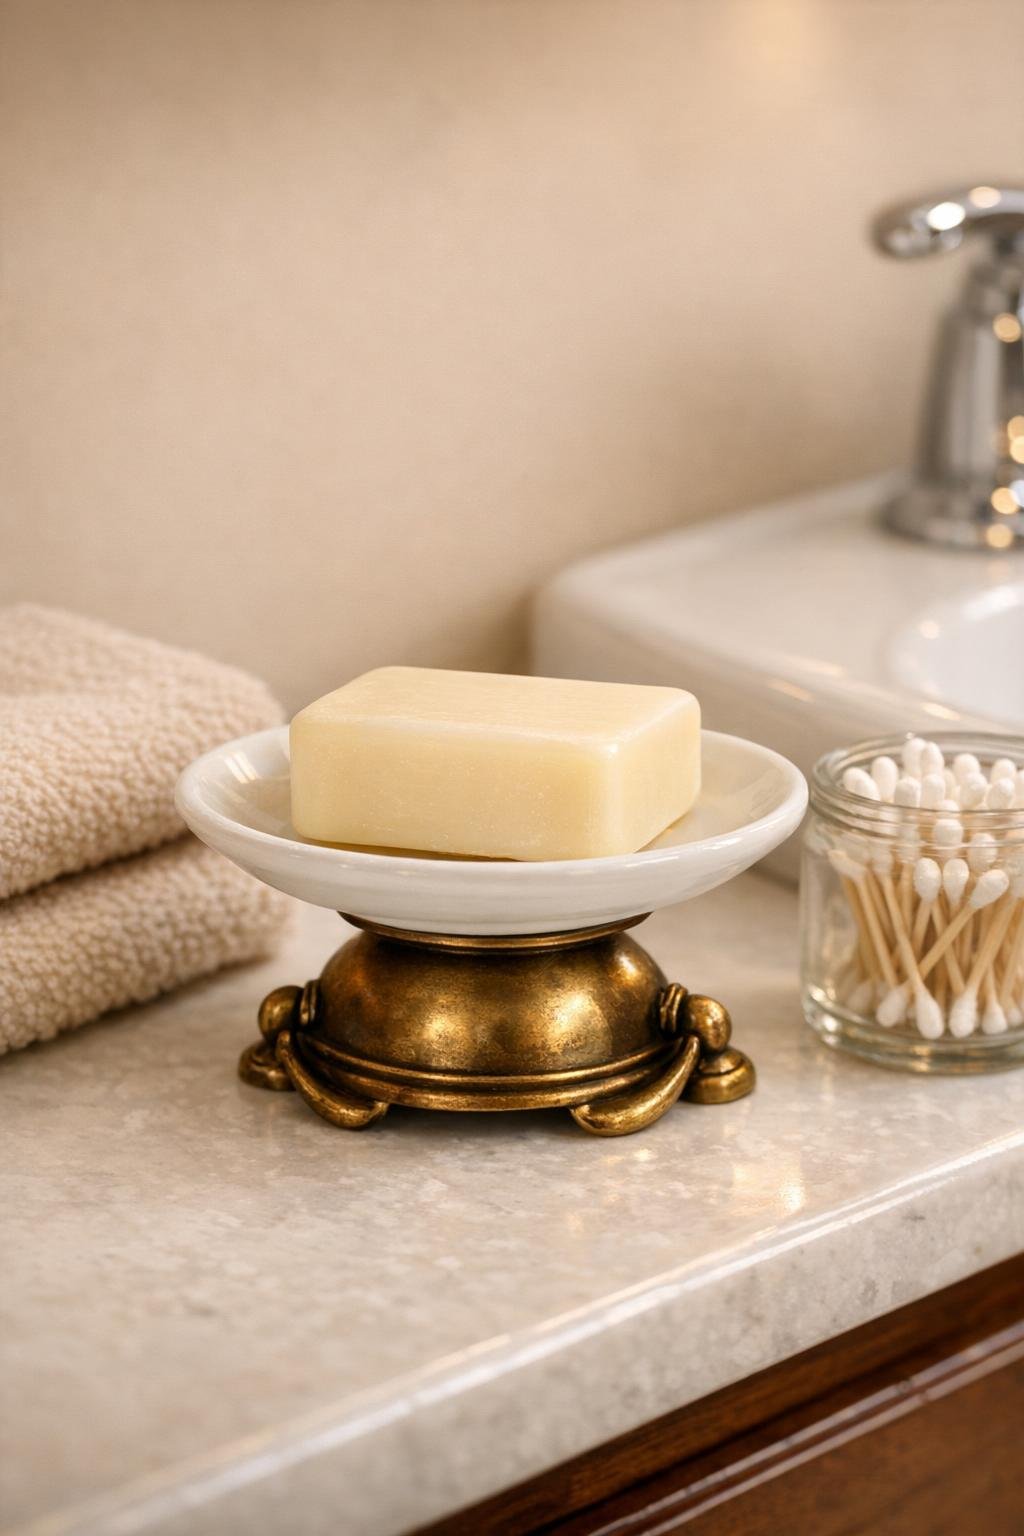
9. Place a bar of soap in the saucer and set the finished dish beside the bathroom sink, where the raised pedestal keeps it looking neat and easy to reach.
Variations & Tips
For better drainage: If your saucer has a very flat bottom, place the soap on a small lifted soap saver or a few trimmed silicone bumper dots so it dries faster between uses.
For a vintage look: Choose a brass pull with a little patina rather than polishing it bright; that aged finish pairs beautifully with plain white ceramic and gives the piece more character.
For a steadier base: A drawer pull with a wider face or decorative backplate often makes the dish feel more substantial, especially if your saucer is closer to 6 inches wide.
Adhesive tip: Waterproof epoxy does the main structural work here, and the thin ring of silicone is simply extra insurance in a damp bathroom.
Easy cleaning: Wipe the finished dish with a damp cloth and mild soap, and avoid soaking it in water so the bond stays strong for the long haul.
Pretty gift idea: Tuck a wrapped handmade soap onto the finished dish and tie it with ribbon for a simple housewarming or hostess gift that feels special without much fuss.