
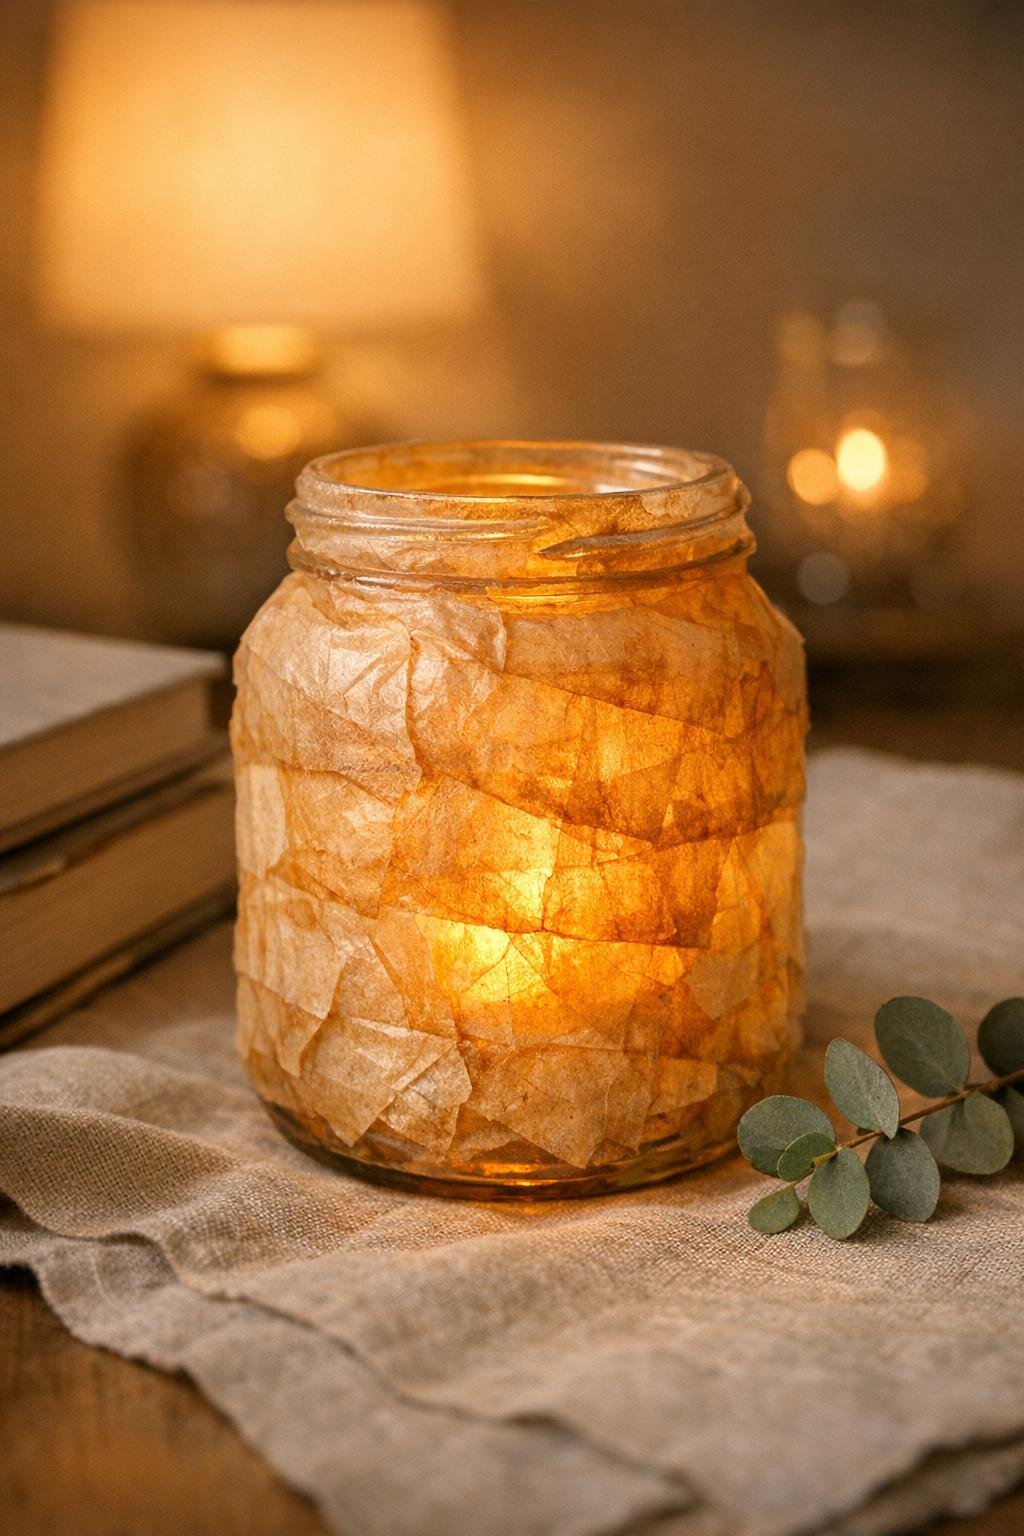
I love a project that turns something headed for the trash into something unexpectedly pretty, and this tea bag parchment luminary is exactly that kind of win. Used tea bags dry into the softest stained paper, and once you layer them over a plain glass jar, they give off a warm amber glow that looks far fancier than the supply list would suggest.
This is a great DIY if you want something relaxing and low-cost, or if you’ve been saving little bits and pieces “just in case” and want a genuinely useful reason to use them. I’m usually squeezing craft time in after work while dinner is simmering, and this is one of those easy, satisfying projects I can do in stages over a week or two as I collect tea bags.
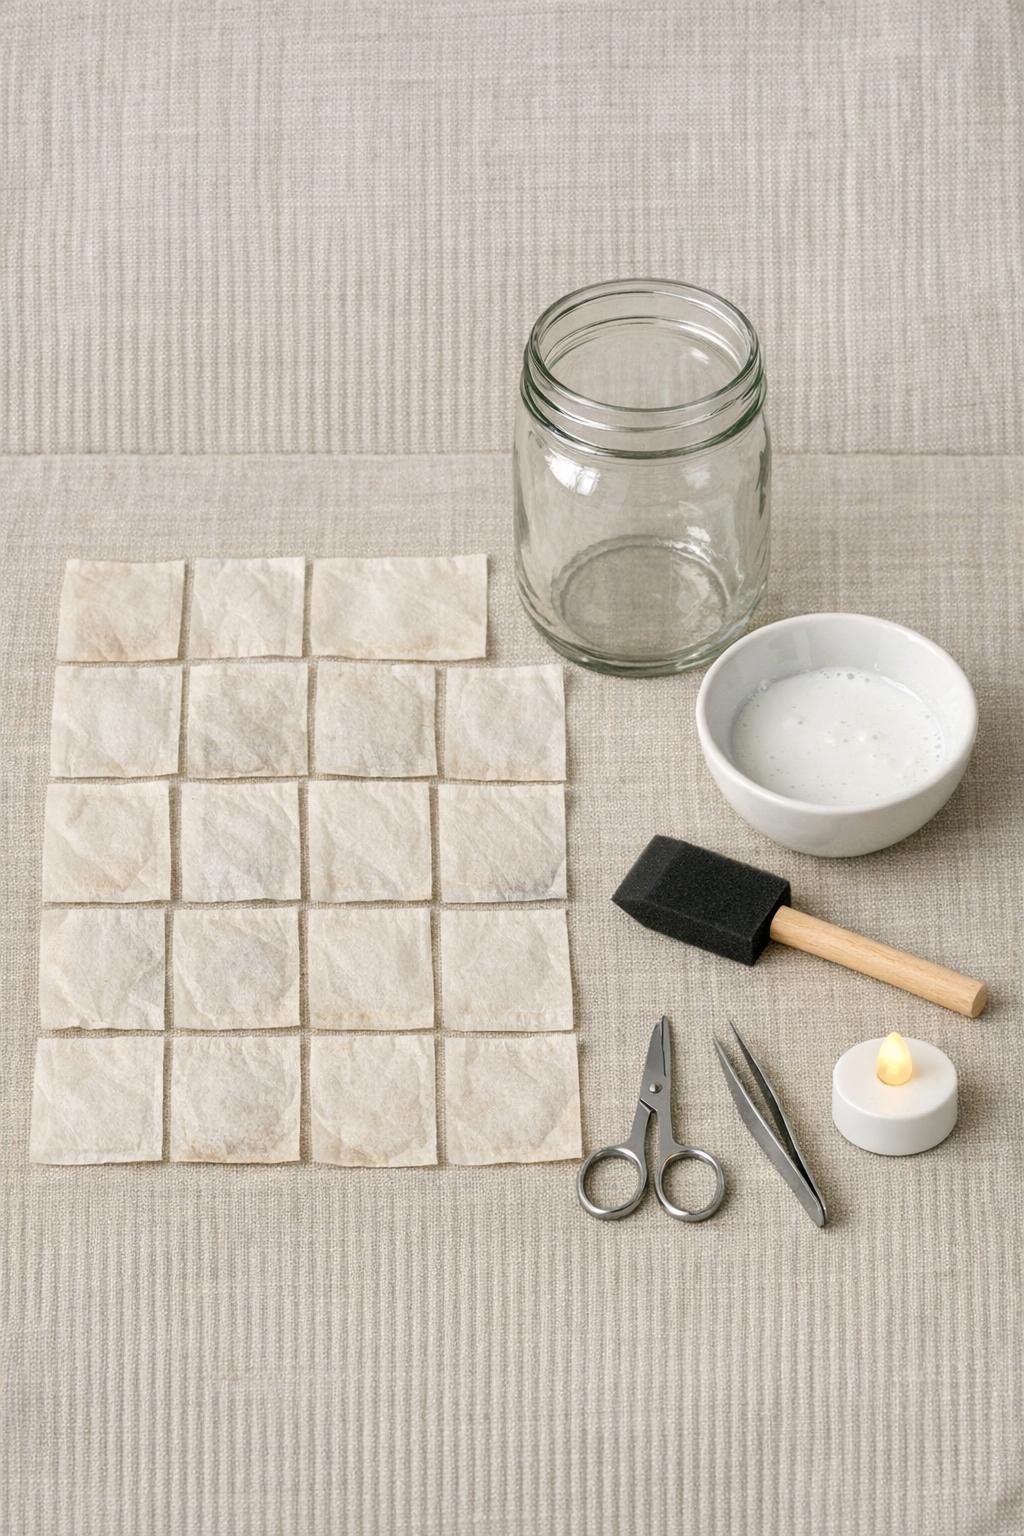
Materials
Instructions
1. Dry your used tea bags completely for at least 24 hours, then remove every staple, string, and tag so you’re left with only the paper.
2. Snip each tea bag open along one side, empty out the tea leaves, and gently shake or brush away any remaining leaf dust so it won’t show through the finished jar.
3. Press the emptied tea bag papers flat under a heavy book for several hours, or use a warm dry iron for a few seconds per piece until they look like thin parchment.
4. Wash and dry the glass jar well, then wipe it with a dry towel so the surface is completely clean before you start gluing.
5. In a small bowl, stir together the Mod Podge or white glue and water until smooth and slightly thinned, about the consistency of light cream.
6. Brush a thin coat of glue onto a small section of the jar, then place the first tea bag paper onto the wet area and smooth it very gently with the foam brush.
7. Continue adding tea bag papers one at a time, overlapping the edges slightly so the whole jar starts to look evenly covered and patchwork-like rather than spotty.
8. Work in small sections until the outside of the jar is fully covered, keeping the paper below the rim so the top edge stays neat and easy to handle.
9. Brush a very light sealing coat of thinned glue over the entire papered surface, using as few strokes as possible because wet tea bag paper tears easily.
10. Check for lifted corners or thick bumpy spots, press them down gently with the brush or your fingertip, and add one or two extra paper patches anywhere the coverage looks thin.
11. Let the jar dry overnight until the paper feels crisp and fully bonded to the glass.
12. Place a battery tea light inside the jar and switch it on to let the stained paper glow warm amber through all the layered pieces.
Variations & Tips
Darker patchwork look: Mix tea bag papers from black tea, green tea, and herbal tea for more variation in tone; I think the slightly uneven color is what makes this project look so rich when lit.
Best jar shape: Straight-sided jars are the easiest to cover smoothly, but a gently curved jar also works if you use smaller tea bag pieces around the shoulder.
If a paper tears: Don’t stress about it; just overlap another piece on top once the area is tacky, because the layered finish actually looks better than perfectly uniform coverage.
Cleanest finish: Keep the glue coats thin and shake out every bit of loose tea before gluing. The first time I made one, I rushed that part after a long workday, and the little specks showed more than I expected once the light was on.
Pretty finishing touch: Tie a narrow piece of jute, cream ribbon, or thin twine around the neck of the jar after it dries if you want a slightly more polished giftable look.
Safety note: Use a battery-operated tea light only and never a real candle flame, since the jar is covered in paper.