
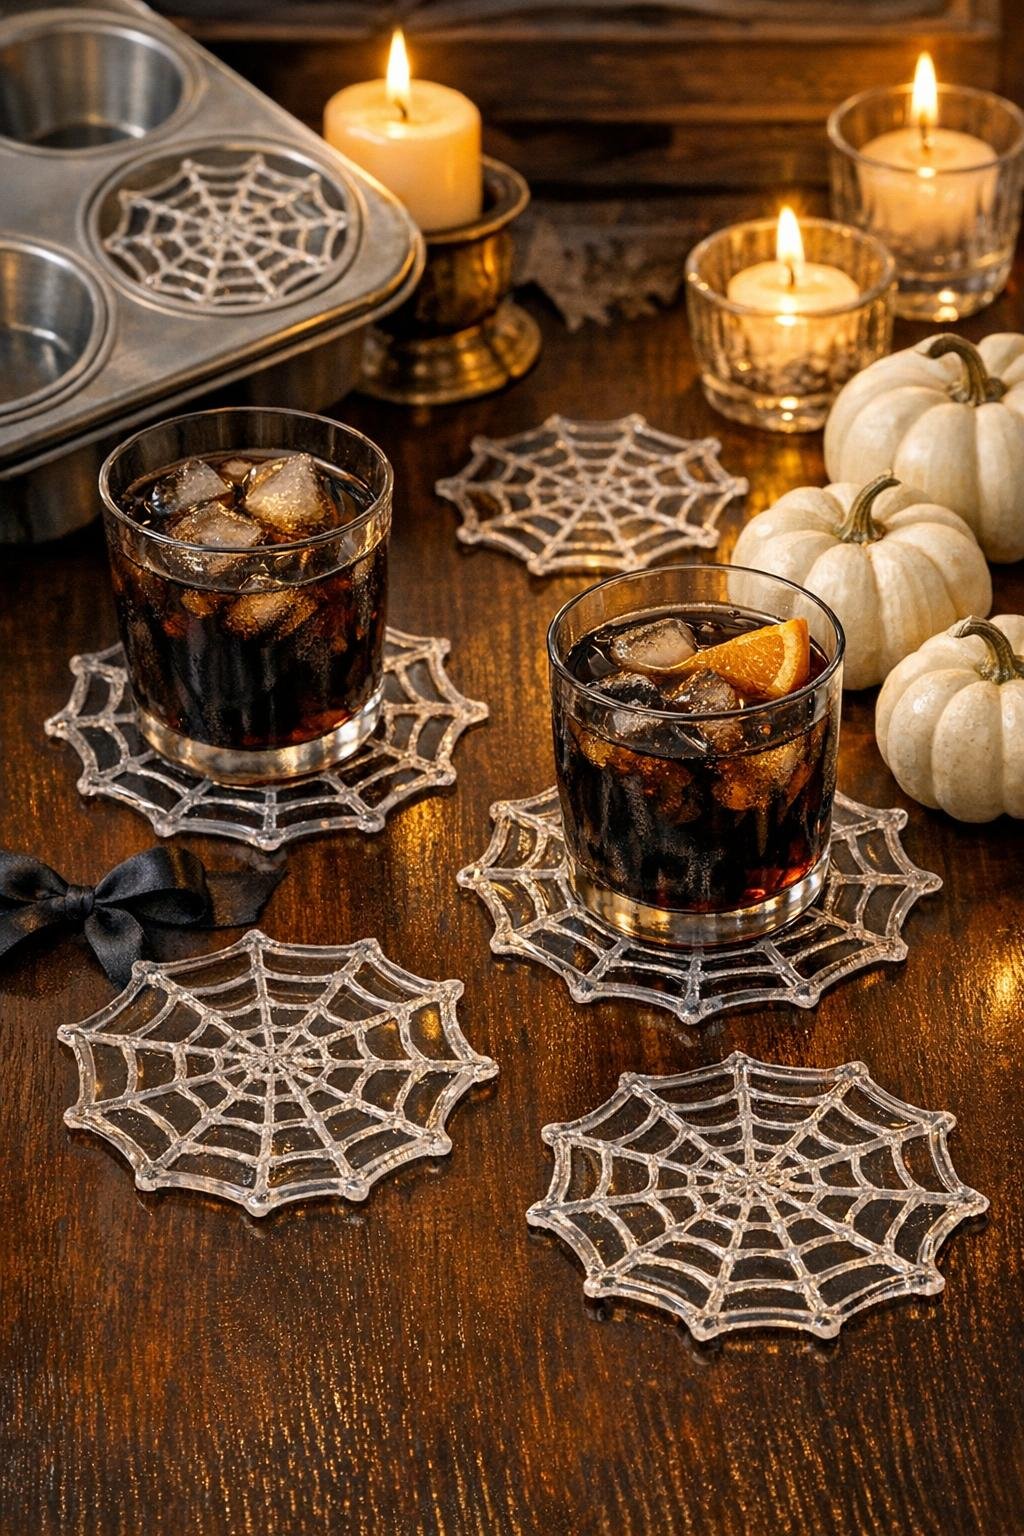
This is one of those wonderfully low-cost crafts that looks a lot more complicated than it really is. Using a simple dollar store metal muffin tin and a hot glue gun, you can build a full batch of dimensional spiderweb coasters by scribbling tight loops of glue right inside each cup, then popping them out once they cool. The result is lightweight, sturdy enough for cold drinks, and dramatic in that lacy, spooky-season way I love pulling out when I want my table to look festive without a lot of fuss.
I’m especially fond of projects like this on a busy weeknight, because they fit neatly into that little window between work and dinner cleanup. If you can move a glue gun in circles, you can make these. They’re perfect for Halloween entertaining, casual movie nights, classroom party decor, or even stringing into a quick garland if you make an extra batch.
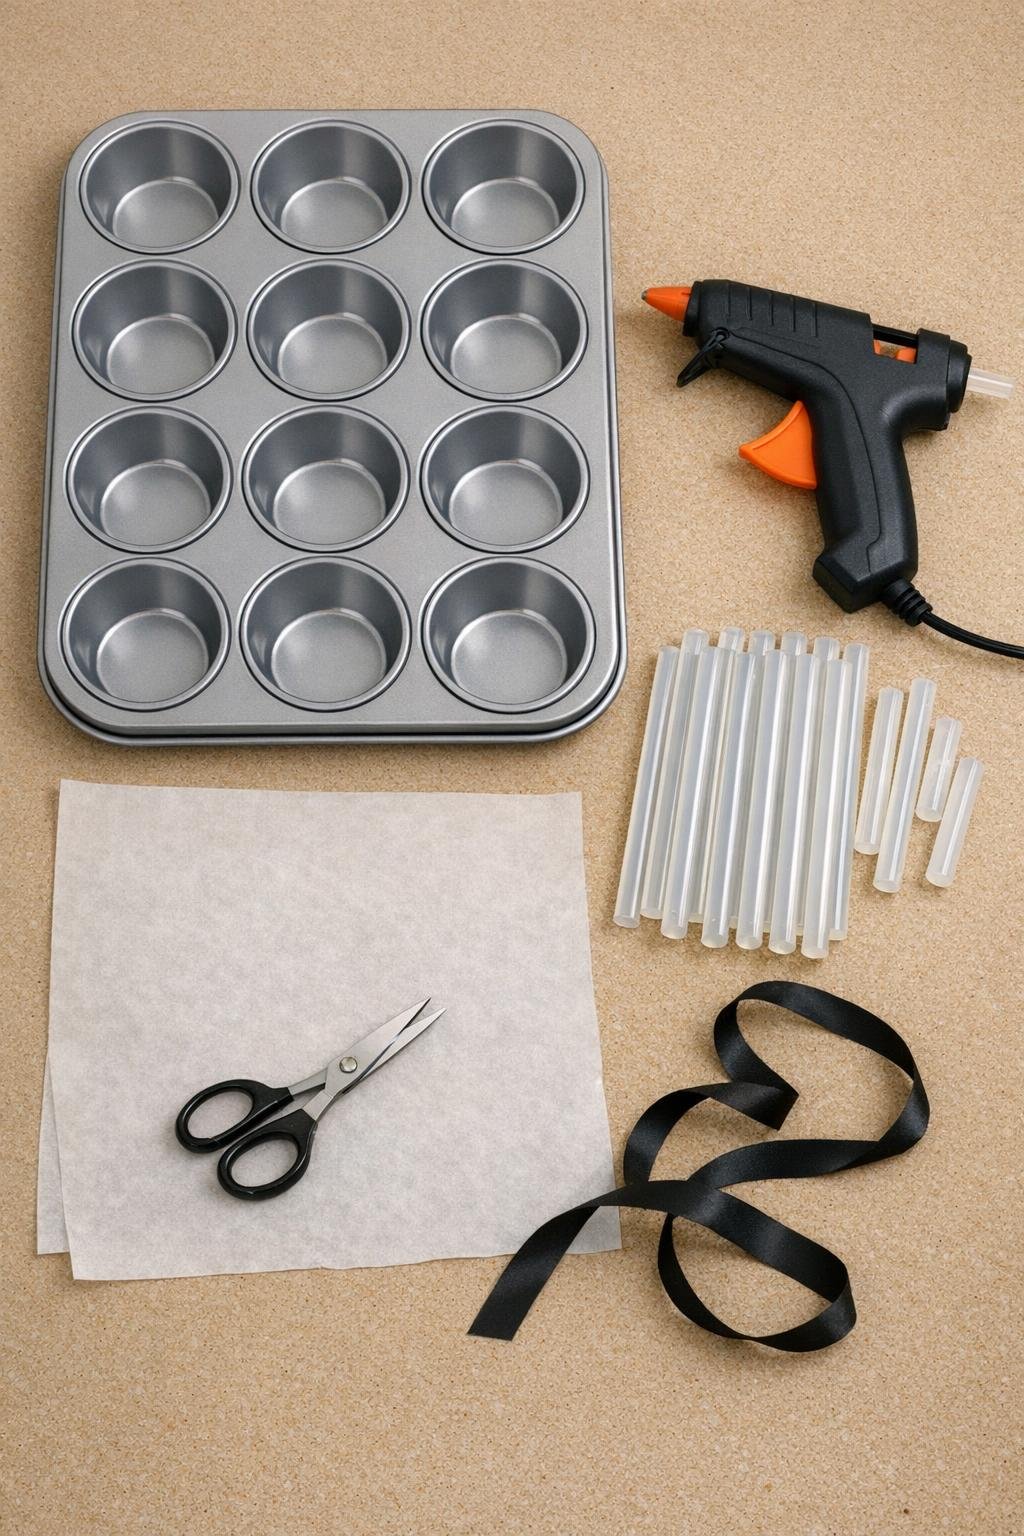
Materials
1 metal 12-cup muffin tin, standard size
Instructions
1. Set the muffin tin on top of parchment paper on a flat craft table, plug in the hot glue gun, and let it heat fully so the glue flows smoothly instead of skipping.
2. Start in one muffin well and make a small spiral in the center, then immediately scribble outward in tight circular loops until you reach close to the sides of the cup.
3. Cross back over the loops with 3 to 4 longer glue lines stretching from the center toward the outer edge so the web has enough structure to hold together when removed.
4. Stop and let that well cool completely for 2 to 3 minutes before working right next to it; this keeps the web raised and dimensional instead of softening back into a flat puddle.
5. Repeat the same looping pattern in every other well first, filling 6 cups total, then go back and complete the remaining 6 once the first batch is firm.
6. If you see thin glue threads stretching between wells, snip them away with scissors after the glue hardens so each web has a clean outline.
7. Once all 12 webs are fully hardened and cool to the touch, gently flex the metal muffin tin and peel each spiderweb coaster out from one edge.
8. Press down any tall glue peaks with your fingertips while the pieces are just barely warm, or leave them as-is for a more jagged web look.
9. Use the webs as individual coasters right away, or punch a tiny hole near the edge of each cooled piece with scissors and thread ribbon through several to make a quick garland.
Variations & Tips
For better coaster strength: Make your loops fairly dense, with only small gaps between lines. A fuller web holds its shape better under a drink than a sparse one.
For a frosted look: Use clear glue as written, then lightly mist the finished webs with a matte clear spray outdoors if you want them to look more ghostly and less shiny.
For Halloween party decor: Make two tins’ worth and string them into a long garland for a mantel, bar cart, or window. I like alternating large loops and tighter webs so it looks fuller once hung.
For window clings: These can sit against smooth glass nicely, but test one first. If you want better cling, keep the back smooth and avoid extra glue lumps.
To keep the shape neat: Let each well cool before moving directly beside it. I’ve rushed this before, and the fresh heat softens the neighboring web enough to flatten those pretty raised lines.
To remove them cleanly: Metal works best because it flexes a little. If a web sticks, wait another minute for it to cool fully, then gently bend the tin instead of pulling harder on the glue.
To customize the color: Black, orange, purple, or glitter glue sticks all work if your glue gun accepts them. Just expect to use a couple extra sticks if the specialty glue flows more slowly.