
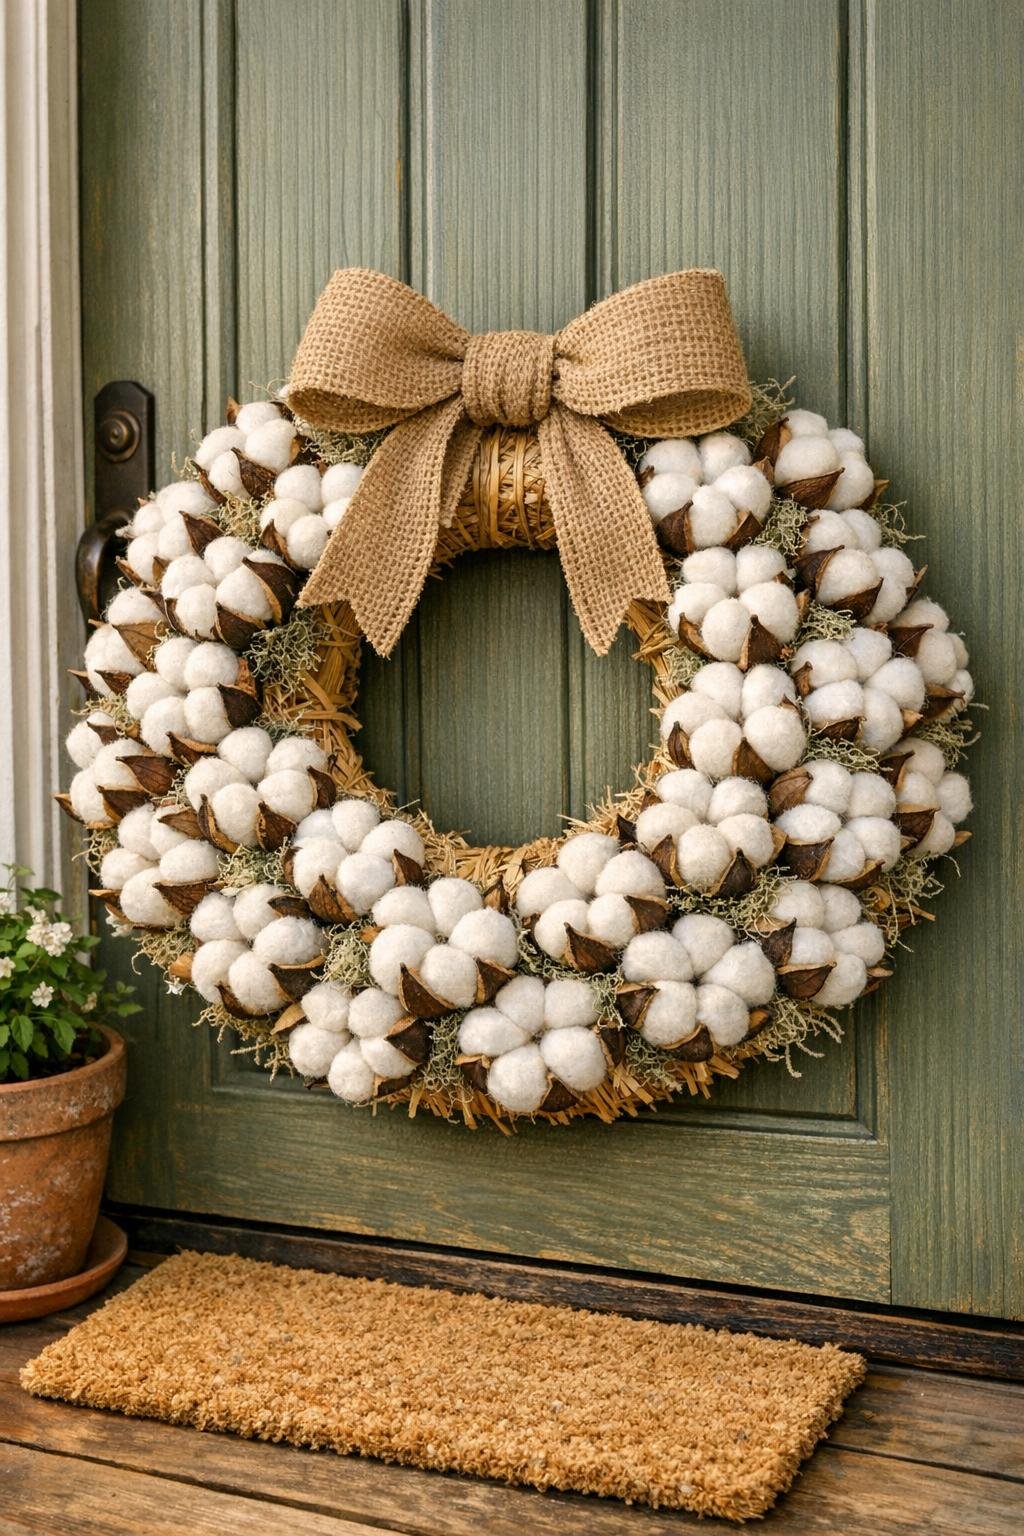
I love a craft that looks far pricier than it is, and this cotton boll wreath absolutely delivers. With a pile of dollar store cotton swabs, a simple wreath form, and a little patience, you can make a full farmhouse-style wreath that looks sweet, textured, and surprisingly realistic on a door, over a mantel, or layered onto a gallery wall.
This is the kind of project I reach for when I want something pretty but not complicated after a long workday. The magic is in making small cotton clusters first, then nestling them into pods so they read like real cotton bolls instead of craft fluff. It’s easy, a little repetitive in the best way, and the finished wreath has that cozy polished look that makes people ask where you bought it.
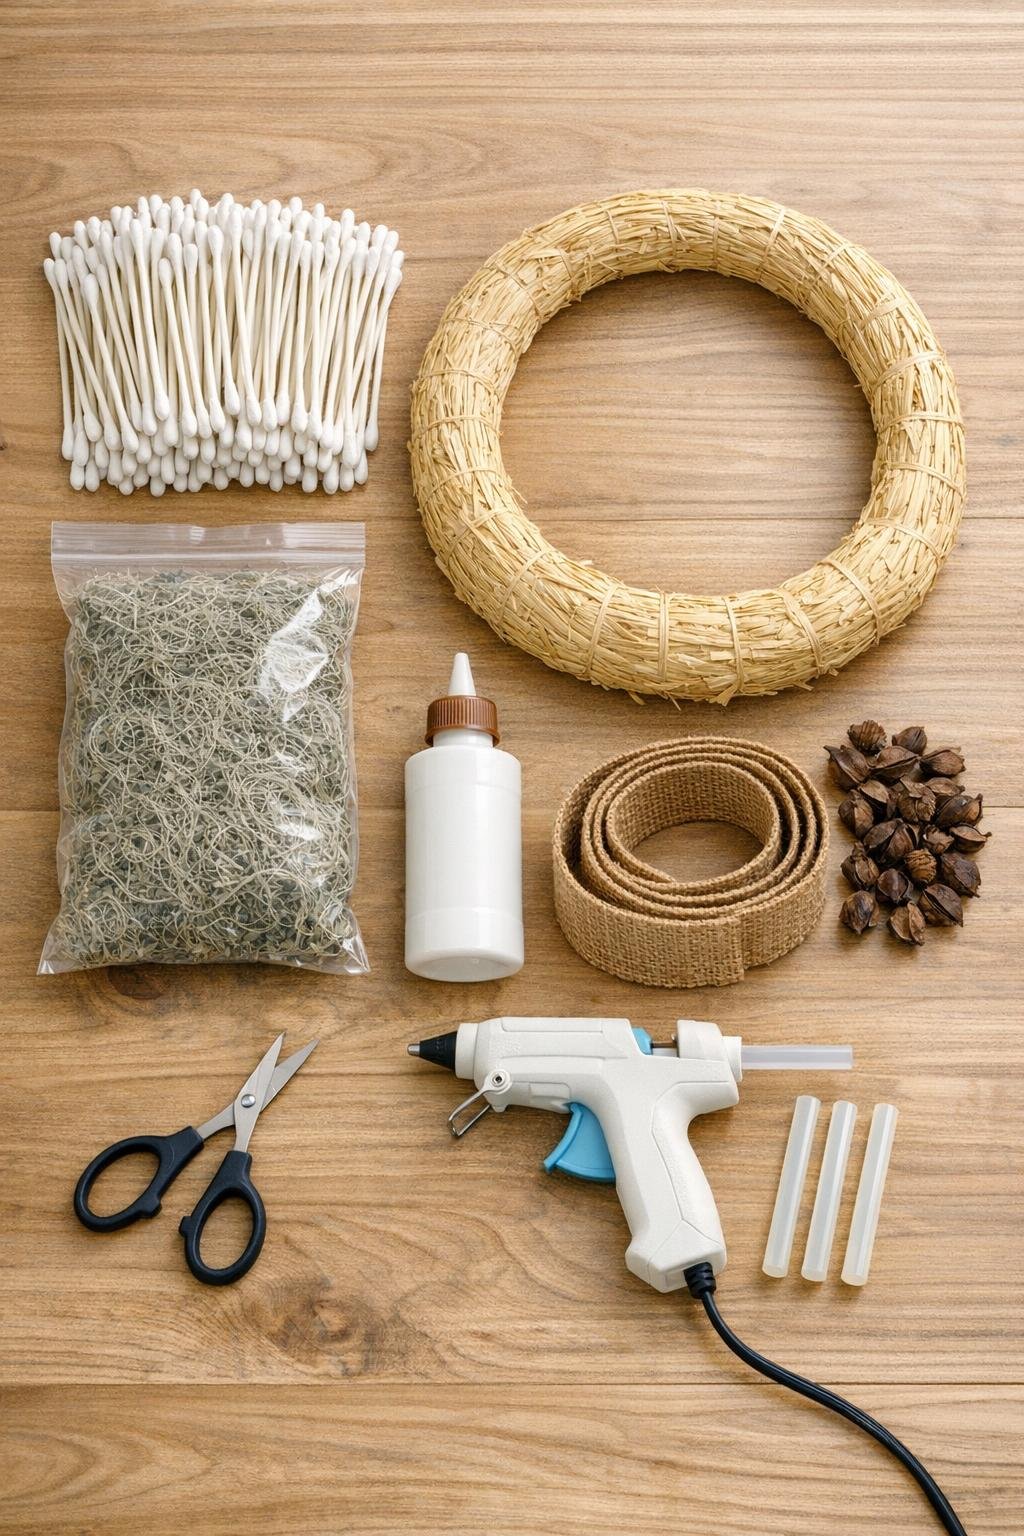
Materials
Instructions
1. Snip all 200 cotton swabs in half with sharp scissors so you have 400 short pieces, and set them in a bowl or tray to make assembly faster.
2. Sort your dried pods or pinecone tips and choose the best 35 to 40 pieces with open centers deep enough to hold a cotton cluster.
3. Make your first cotton boll by adding a small dot of tacky glue near the cut ends of 4 or 5 swab halves, then press them together tightly with the cotton tips facing outward like petals.
4. Slip that glued cluster into one dried pod or pinecone tip and hold it for a few seconds so the pod cups the base and the white tips fan out like a real cotton boll.
5. Repeat until you have 35 to 40 finished cotton bolls, using 5 swab halves for fuller pieces and 4 for smaller filler pieces so the wreath looks generous instead of flat.
6. If you’re using a straw wreath, gently fluff or trim any loose straw bits; if you’re using foam, leave it as is and plan for a slightly tighter layout.
7. Tie the burlap ribbon into a simple bow with 6-inch tails, or make a hanging loop first if you want the wreath to suspend from a hook without adding wire.
8. Glue the hanging loop or bow onto the top back or top front of the wreath form with low-temp hot glue, depending on how you plan to display it.
9. Start attaching cotton bolls at the outer edge of the wreath, using a small bead of low-temp hot glue on the pod base and pressing each piece firmly into the form.
10. Work all the way around the wreath, spacing the cotton bolls close together so the ring looks lush and balanced, alternating slightly different angles for a natural look.
11. Fill the inner edge next, tucking each new boll between the first row so the coverage overlaps and the wreath gains depth instead of looking like a single flat row.
12. Add a few more cotton bolls across the center line anywhere the form still shows, aiming for dense coverage while keeping the round wreath shape clear.
13. Tear off small tufts of Spanish moss and hot glue them into visible gaps, especially where straw peeks through, so the wreath looks finished and softly rustic.
14. Step back, rotate the wreath, and add one or two extra cotton bolls anywhere it feels uneven so the shape looks full from every angle.
15. Let all glue cure completely for at least 30 minutes before hanging the wreath on a door, hook, or mantel.
Variations & Tips
Use foam if you want less mess: A foam form is a little cleaner to work with than straw, but straw does hide the snipped paper stems especially well and gives that extra rustic farmhouse texture.
Make assembly easier: I like to do this in batches: first snip all the swabs, then glue all the cotton clusters, then add them to the pods, and only after that start building the wreath. It feels much more manageable that way.
Keep the cotton bright: Use tacky glue for cotton-to-cotton contact and save the glue gun for attaching finished bolls to the wreath. That keeps the fluffy tips from getting matted down or slightly yellowed.
Don’t skimp on fullness: If your wreath form still shows from the front after the first pass, add more bolls across the middle line before calling it done. The prettiest version of this project is always the fullest one.
Try a softer bow: If burlap feels too rustic for your space, swap it for cream cotton ribbon or a narrow black-and-white gingham ribbon while keeping the wreath itself neutral.
Display it indoors or on a sheltered door: Since the cotton and moss are delicate, this wreath lasts best away from heavy rain and strong wind. I’d hang it on a covered porch or use it inside over a console or mantel.
Store it safely: Tuck the wreath into a shallow box or large gift bag during the off-season so the cotton clusters don’t get crushed. A quick fluff with your fingers is usually all it needs next year.