
There is something downright satisfying about turning the humblest little household staple into a bowl full of keepsake pumpkins. This paper clay method takes a simple roll of toilet paper, a bit of glue, and a spoonful of joint compound or flour, then transforms it into soft, heirloom-style pumpkins with lovely ridges and old-fashioned charm. I love projects like this because they look far dearer than they are, and they have that handmade character store-bought décor never quite manages.
If you enjoy easy fall crafts but still want a finished piece that looks thoughtful and polished, this is a fine one to make. The trick, as with biscuit dough and pie crust in my kitchen, is getting the feel of it right: not too wet, not too dry. Once you do, these little pumpkins are easy to shape, wonderfully forgiving, and just the sort of autumn decoration that looks sweet on a mantel, tucked into a dough bowl, or gathered at the center of a table.
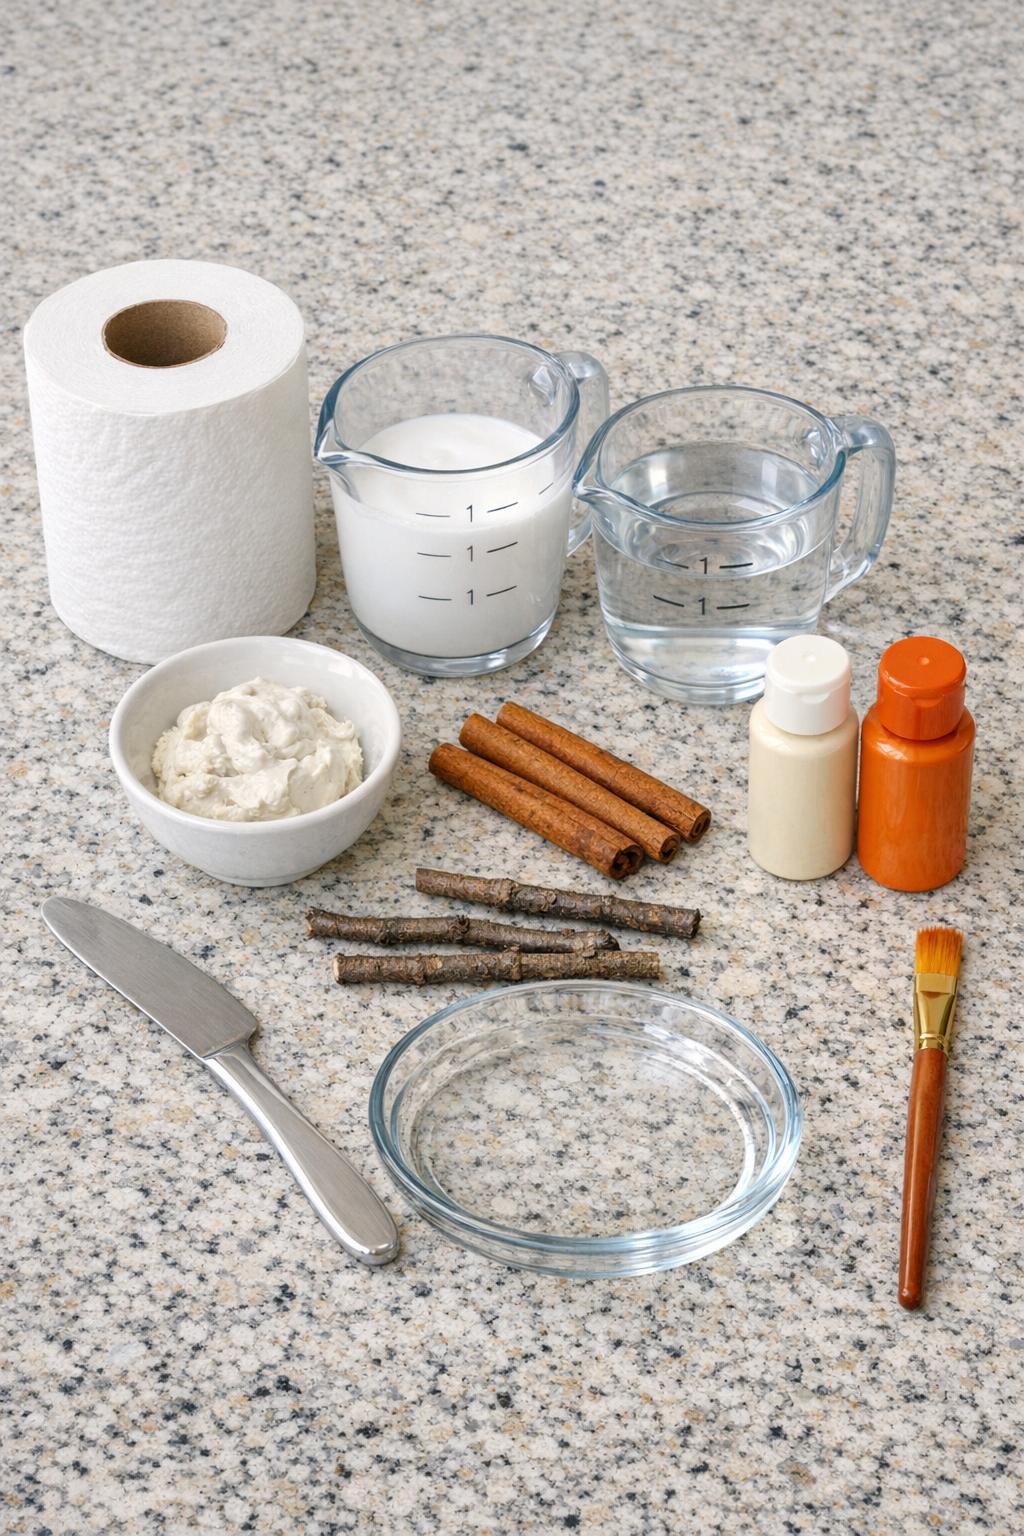
Materials
Instructions
1. Tear the toilet paper into loose squares and place all of it in the shallow glass dish. Pour in the glue and warm water, then press the paper down so every piece is fully soaked.
2. Let the paper soak for 5 to 10 minutes until it is soft all the way through. Lift up handfuls and squeeze firmly over the dish to remove as much liquid as you can.
3. Transfer the squeezed paper to a mixing bowl and knead in the joint compound or flour with your hands. Work it until the pulp feels like soft clay and holds together without oozing moisture.
4. Divide the pulp into 3 equal portions and roll each one into a tight, smooth ball about 3 to 4 inches wide. If a ball slumps in your hand, squeeze and knead it again to remove more moisture before reshaping.
5. Set the balls on wax paper or parchment and gently flatten the bottoms just enough so they sit nicely. Keep them plump and rounded on top for that heirloom pumpkin shape.
6. Use the butter knife to press deep curved lines from top to bottom around each ball, making 6 to 8 ribs per pumpkin. Re-shape lightly with your hands after scoring so the grooves stay soft and natural instead of sharp.
7. Press one cinnamon stick into the top center of each pumpkin while the pulp is still wet. Tuck a small twig beside each cinnamon stick for a more natural, old garden patch look.
8. Dry the pumpkins for 2 to 3 days near a fan or sunny window, turning them once a day so they dry evenly. Wait until they feel light and bone dry before painting, or the finish may crack.
9. Paint the pumpkins with orange craft paint, working it into the grooves and around the stems, then let that coat dry completely. Dry-brush cream paint over the ridges and upper curves to give them that soft heirloom look with a little age and dimension.
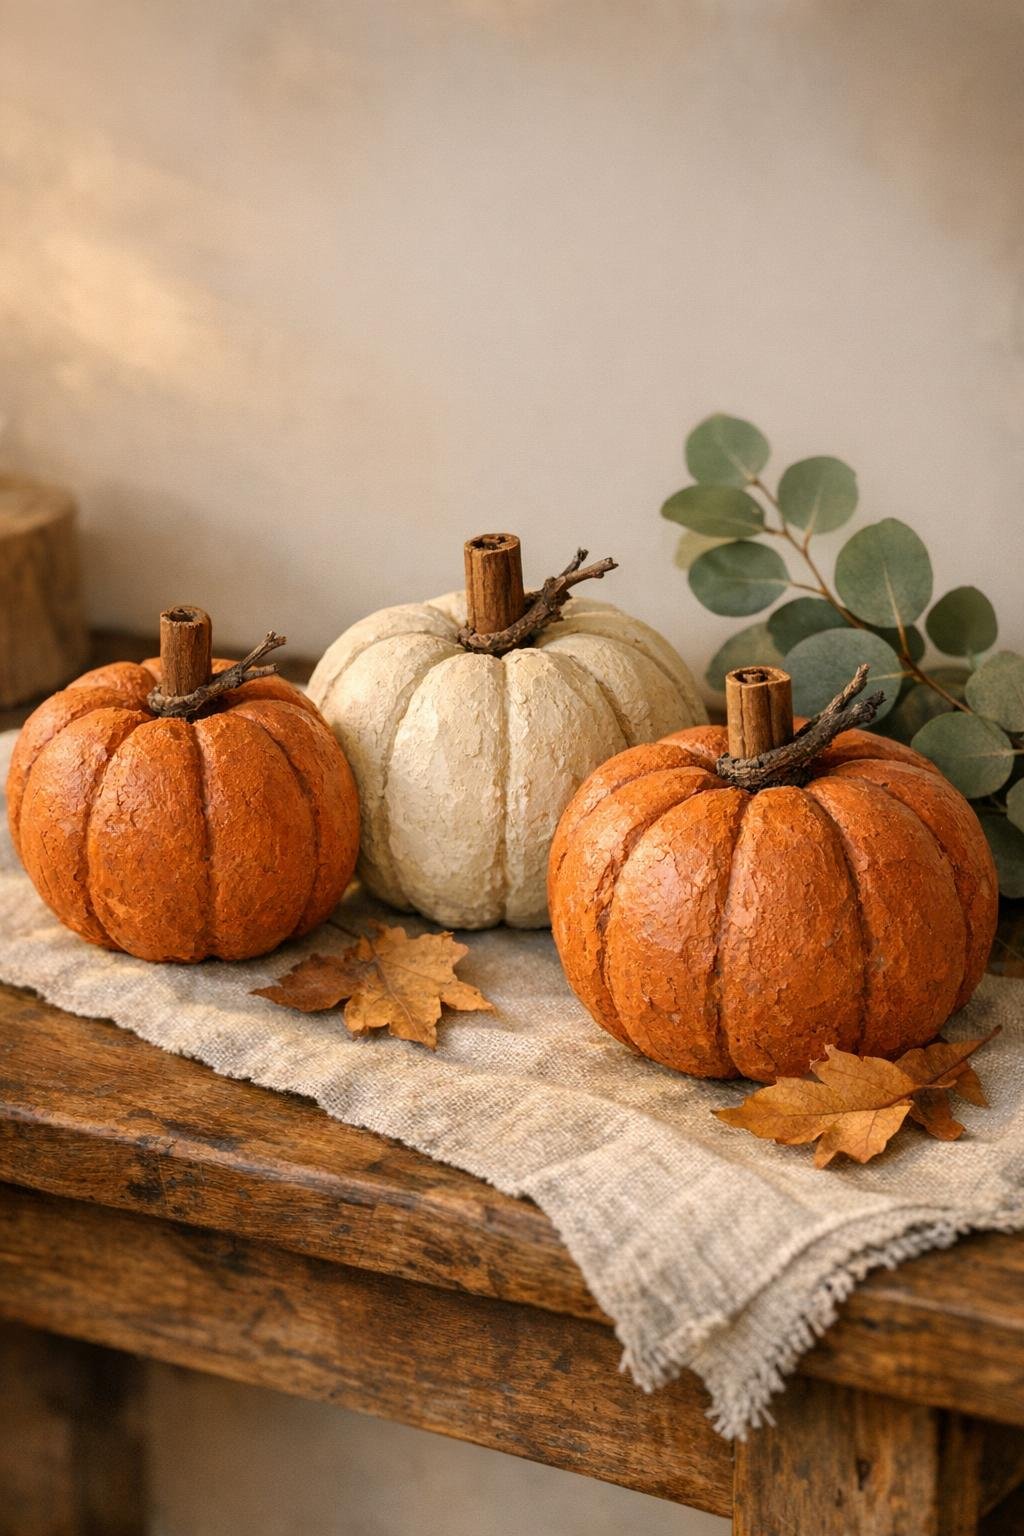
10. Add a final light pass of cream around the stems and along a few rib edges for highlight, then let the pumpkins dry fully before displaying. Once finished, group all three together so they read as a generous little autumn collection instead of scattered singles.
Variations & Tips
For paler heirloom colors: Use more cream and less orange for a softer farmhouse look. A dusty peach or warm ivory finish is especially pretty if you plan to mix these with neutral fall décor.
If you do not have joint compound: Flour works in a pinch, though joint compound gives a firmer, smoother pumpkin. If using flour, squeeze the paper especially well so the mixture does not stay gummy.
To prevent sagging: The drier the pulp before kneading, the better the pumpkins hold their shape. I always say this part is like wringing moisture from hash browns for frying; a good hard squeeze makes all the difference.
For a more aged finish: After the orange paint dries, lightly brush a thin wash of watered-down cream into the grooves and wipe the high spots. That settles color into the ribs and gives the pumpkins gentle old-world depth.
For larger pumpkins: Make fewer, bigger shapes instead of three small ones, but allow extra drying time. Thick pumpkins may need an additional day or two before the centers are fully dry.
Best way to display them: These look especially lovely gathered in a dough bowl, lined up on a mantel, or clustered beside a candle and a little trailing greenery. Grouping them together gives that abundant harvest look that always reminds me of autumn tables from years ago.