
There are a lot of fancy garden gadgets out there, but I still get a special satisfaction from making a sturdy little fix from things already rattling around in the shed. This simple bird-netting anchor uses stacked aluminum pie tins, landscape staples, and a bit of garden twine to make broad, low-profile anchors that hold protective netting down along the edge of a fall garden bed without tearing it up. It is quick, thrifty, and mighty useful when the birds start eyeing every last berry, lettuce leaf, and late tomato like they paid for the place.
I like this sort of project because it solves two problems at once: it keeps netting from lifting in the wind, and it spreads the pressure over a wider surface so tender plants and mulch stay undisturbed. If you have a raised bed or an in-ground row that needs a little extra protection through the busy autumn harvest, this is the kind of old-school practical trick that feels right at home in a hardworking garden.
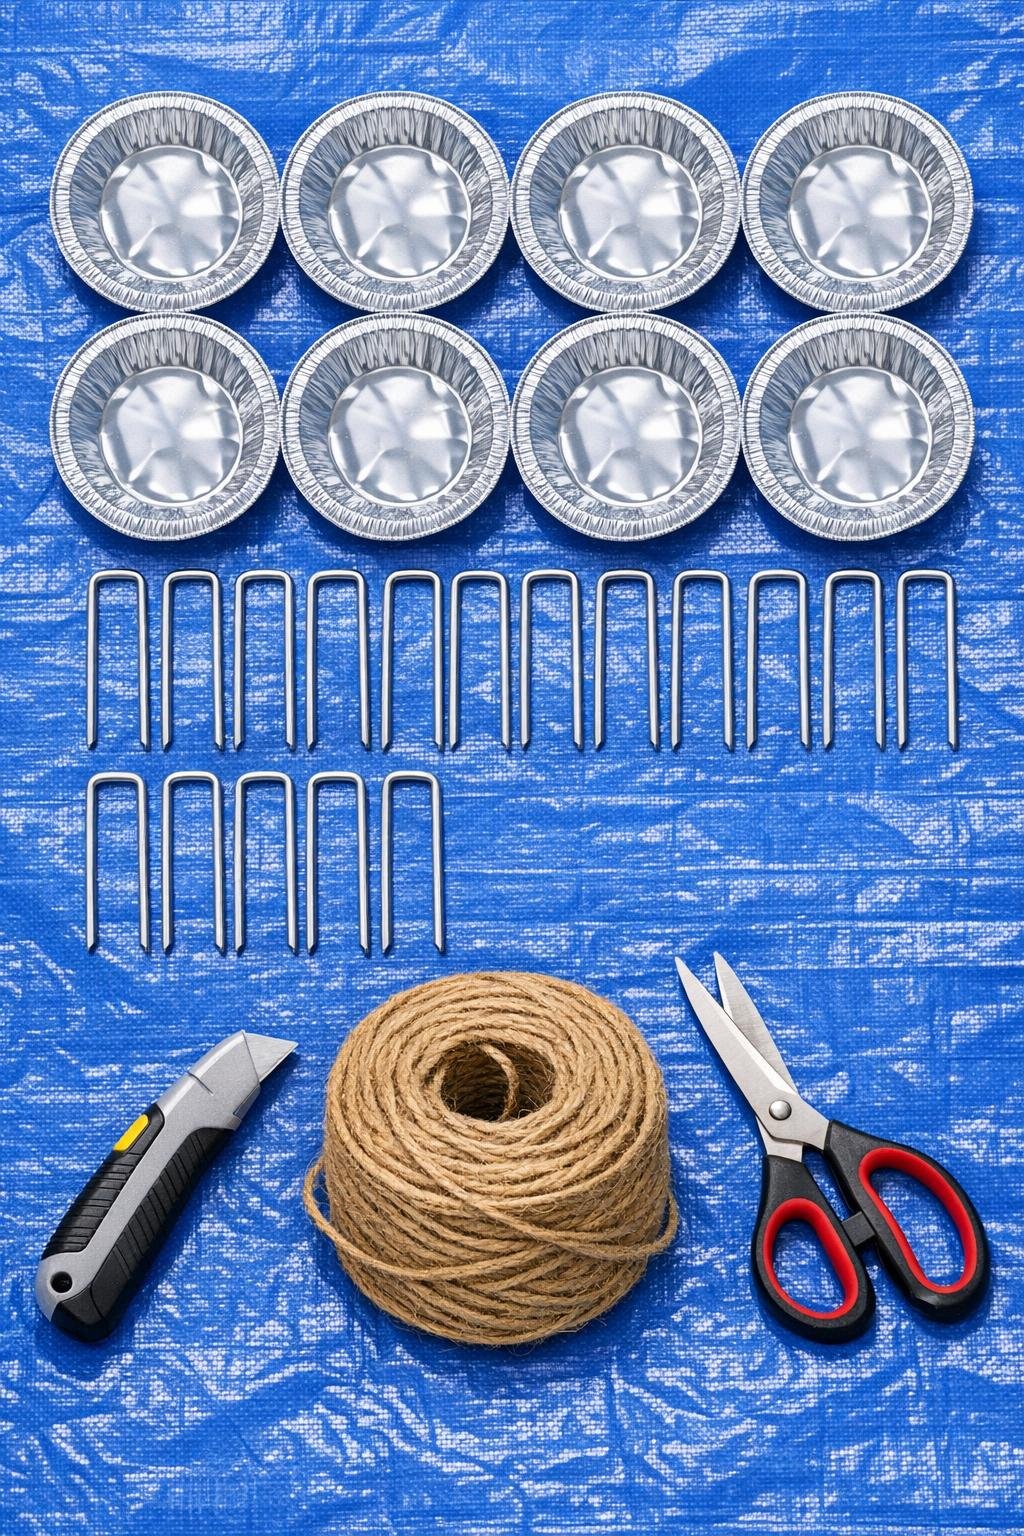
Materials
8 disposable aluminum pie tins, 9-inch size
Instructions
1. Pair the pie tins into sets of two and nest each pair tightly together so you end up with 4 thicker, sturdier anchor discs.
2. Press the center of each nested pair down gently with your hand to flatten the dome slightly, making a broader top that will sit neatly over garden netting.
3. Cut 4 lengths of jute twine, each 18 inches long, and tie each piece into a small loop with a firm square knot.
4. Use the utility knife carefully to make two short slits about 1 inch apart near the center of each tin pair, then thread one twine loop through the slits so the knot stays underneath.
5. Carry the finished pie tin anchors to the garden bed and drape your bird netting over the plants, leaving enough slack so it does not pull on stems or foliage.
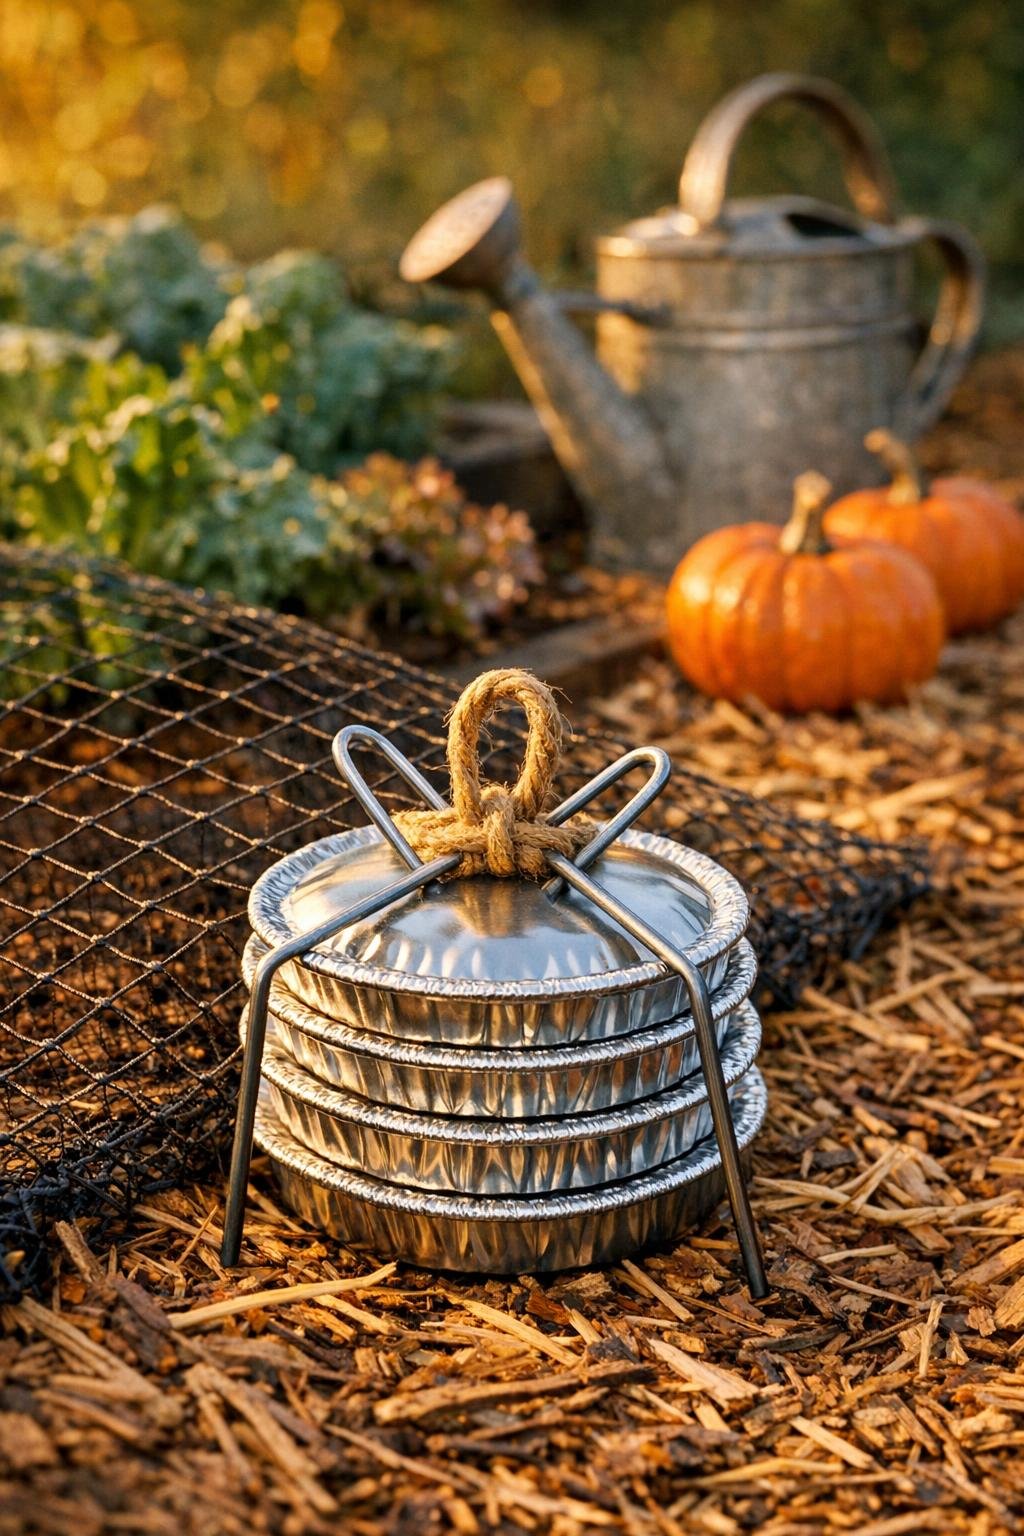
6. Position one anchor every 2 to 3 feet along the exposed bed edge, laying each pie tin flat over the netting with the twine loop centered on top.
7. Slide 2 landscape staples through each twine loop in an X shape and press them deep into the soil so the pie tin is held snugly against the netting.
8. Tug lightly on the netting to check the hold, then adjust the tins so they cover more surface area wherever wind tends to lift the edges.
9. Add the remaining anchors at the corners or any loose spots, keeping the shiny tins visible so they also give a little flicker of reflected light that can help discourage birds.
10. At the end of the season, pull the staples, shake off the soil, and stack the tin anchors flat in the shed so they are ready for the next round of fall planting.
Variations & Tips
For windy beds: Use 3 nested pie tins instead of 2 for each anchor if your garden sits out in open country the way mine does; that extra stiffness helps the anchor stay flatter and stronger.
For soft soil: Longer 8-inch landscape staples work beautifully in freshly worked beds or loose mulch-heavy rows where shorter staples can wiggle free.
For delicate crops: Leave a little more slack in the netting over lettuce, spinach, or herbs so the tins hold the edges down without drawing the mesh tight across the tops.
For easier removal: Make the twine loops large enough to catch with gloved fingers in cool weather; that small detail makes cleanup much easier when the season turns chilly.
To make more anchors fast: Keep a stack of nested tins and a bundle of pre-cut twine loops in the shed, and you can put together extras in just a few minutes whenever another bed needs covering.
Storage tip: If the tins bend a little after use, just press them back into shape by hand before stacking them away; that humble aluminum is more forgiving than it looks.