
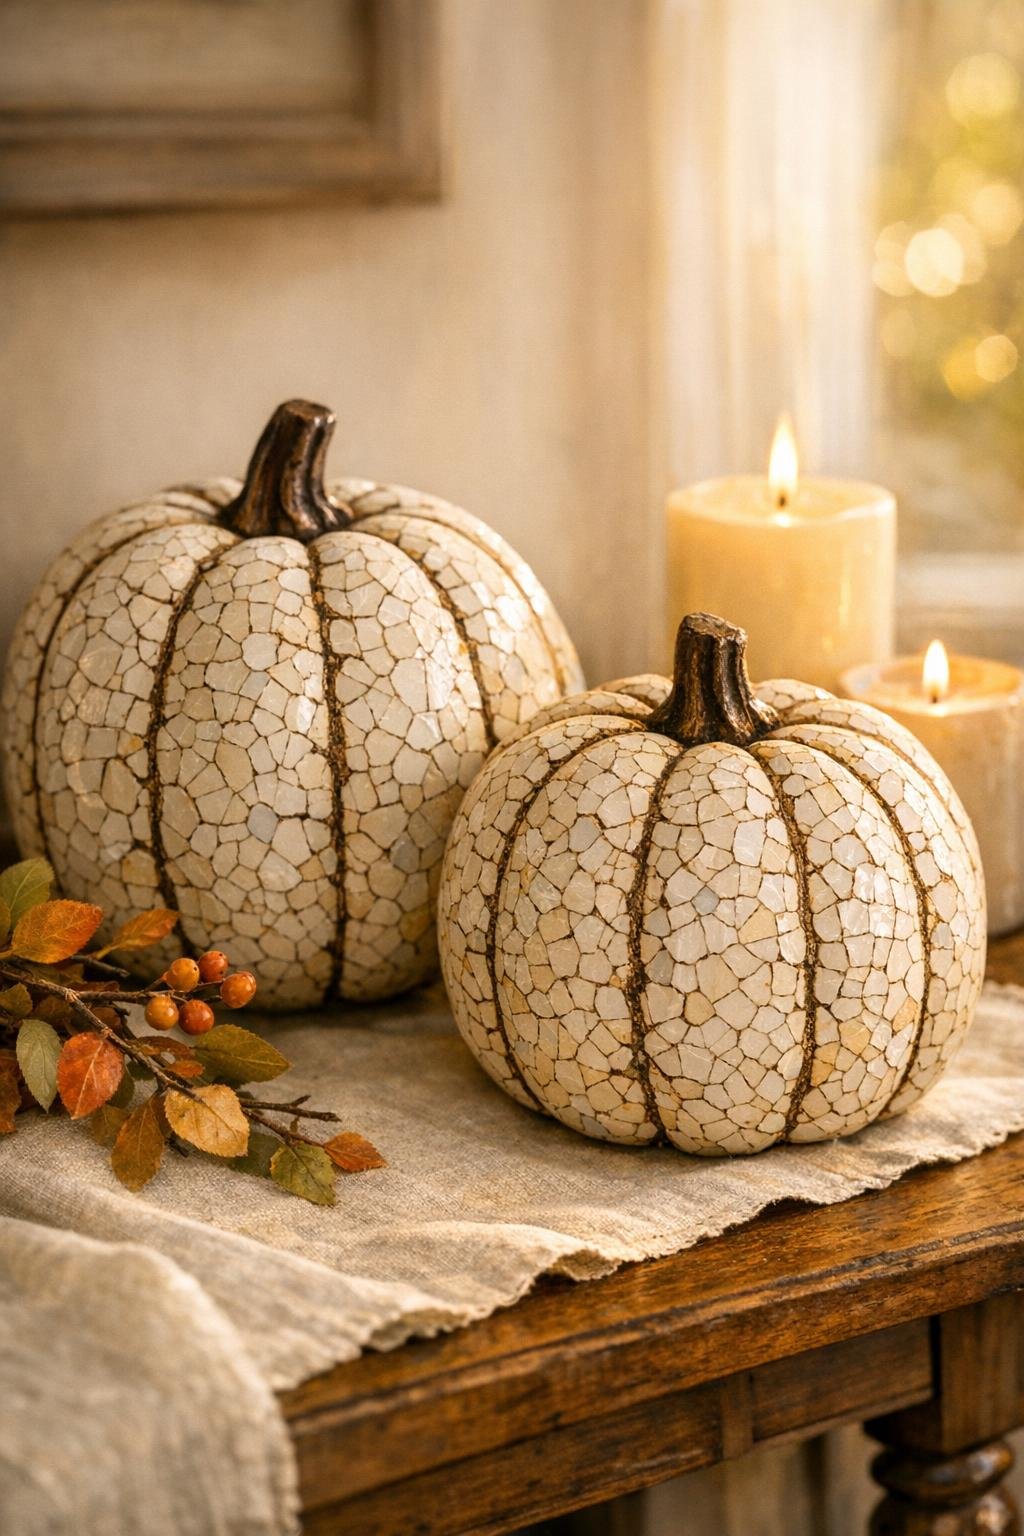
There are a lot of fall crafts that look lovely from across the room, but this is one of those projects that still feels special when you lean in close. The finish has that old-world, gently weathered crackle that makes a simple foam pumpkin look far more expensive than it is, and the best part is that the texture comes from something most of us would normally toss in the trash.
I especially love this project for a quiet afternoon at the kitchen table, because it is easy, inexpensive, and wonderfully forgiving. If you can save eggshells for a week or two and work in small sections, you can make a pair of pumpkins that look polished and collected without needing fancy tools or any advanced crafting experience.
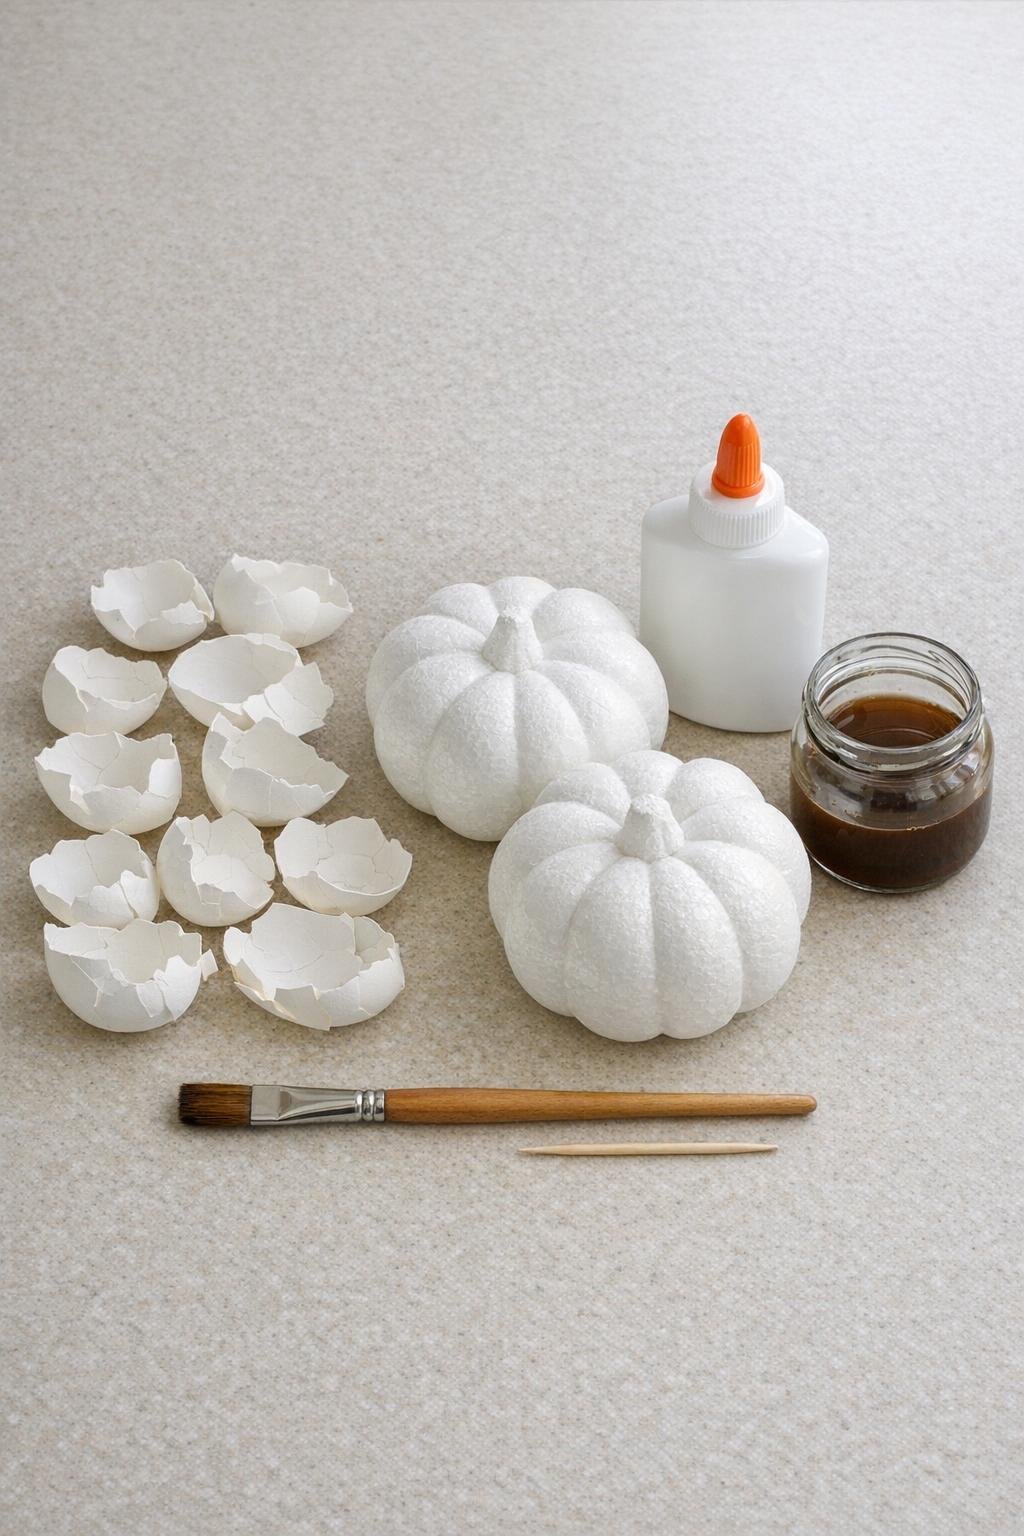
Materials
Instructions
1. Rinse and dry your eggshells well, then carefully peel out the thin inner membrane from each shell section so the pieces will lie flat instead of curling.
2. Sort the shells into large and medium pieces; for this project, I like starting with pieces roughly 1 to 2 inches wide because they crack beautifully once pressed onto the pumpkin.
3. Pour a little white glue into a small dish if that feels easier to work from, and mix your brown acrylic wash in a separate cup using equal parts brown paint and water.
4. Brush glue onto a small section of one foam pumpkin, about a 2-inch area, working only one patch at a time so the glue stays tacky.
5. Press one larger eggshell piece into the glue and gently push until it naturally cracks into smaller mosaic pieces that still stay grouped in place.
6. Use the toothpick to nudge the cracked pieces slightly apart so there are tiny, even gaps between them; those little spaces are what give the finished pumpkin its beautiful antique crackle lines.
7. Repeat with more shell pieces, covering the pumpkin in sections and fitting the curved shell fragments close together until the surface is densely covered.
8. Tuck smaller shell bits into narrow spaces around the ridges and near the stem so the pumpkin looks full and finished rather than patchy.
9. Let the first pumpkin dry completely for at least 45 minutes, then cover the second pumpkin the same way; by the time the second one is finished, the first is usually ready for the next step.
10. Brush the brown acrylic wash over one dry pumpkin, making sure it settles into all the tiny cracks and around the shell edges.
11. Wipe the surface back right away with a paper towel, leaving most of the brown color only in the cracks so the white shells stay bright but softly aged.
12. Adjust the finish if needed by adding a second light wash to deepen the crackle effect, then let both pumpkins dry completely before displaying them.
Variations & Tips
For a softer farmhouse look: Use a very light brown wash and wipe it back quickly for a cleaner white finish with just a hint of age in the cracks.
For richer autumn color: Start with tan or cream foam pumpkins if you can find them, or lightly paint the foam pumpkin a warm beige before adding shells and let it dry first.
If your shells are curling: That almost always means some membrane is still attached, so take a minute to peel it away before gluing anything down. It is a small step, but it makes the whole project easier.
For neater spacing: Work with bigger shell sections first and let them crack in place rather than starting with lots of tiny fragments. I have found that this gives the prettiest natural mosaic pattern.
To make a matching set: Vary the pumpkin sizes slightly but keep the same wash color so they look collected and intentional on a mantel, buffet, or Thanksgiving table.
For homes with little helpers nearby: I like to do the shell prep myself, then let older kids help nudge pieces apart with a toothpick. It feels wonderfully hands-on without being too messy.