
There are some craft tricks that feel a little like kitchen-table magic, and this is one of them. You start with a plain little plastic pumpkin from the dollar store, a pan of shaving cream, a few drops of paint, and in just one slow roll, that ordinary pumpkin turns into something swirled and polished-looking enough to make people ask where you bought it. I love a project like that—easy on the budget, easy on the hands, and impressive enough to earn a place right out on the mantel or porch table.
This is a fine project for beginners, for older kids with a little supervision, or for anybody who wants a fall decoration without fussing with a dozen complicated steps. The first one is your practice pumpkin, and after that, it goes quickly. It reminds me of the kind of simple, satisfying craft that would have absolutely delighted my family at the kitchen table on a chilly Midwest afternoon.
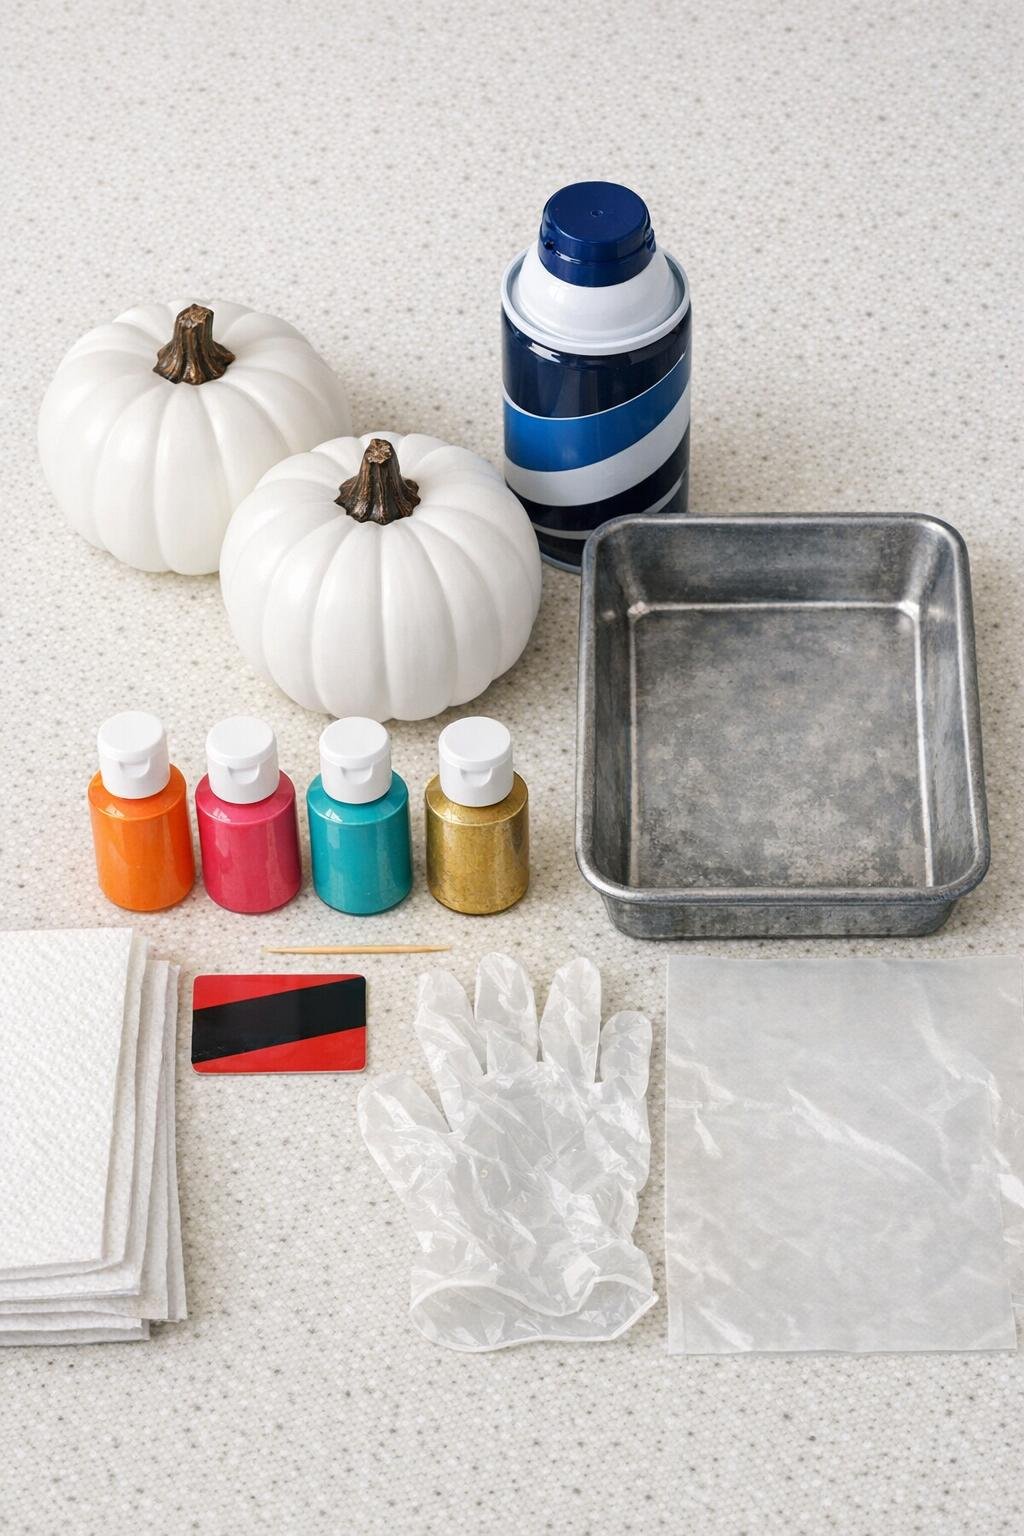
Materials
2 small dollar store plastic pumpkins, about 5 to 7 inches wide, white or very light colored
Instructions
1. Cover your work surface with wax paper or extra paper towels, and set out a drying spot before you begin. Give each pumpkin a quick wipe with a dry paper towel so no dust gets trapped in the paint.
2. Spray shaving cream into the baking pan until you have an even layer about 1 inch thick. Smooth it lightly with the edge of the old gift card, but do not pack it down.
3. Drip three or four paint colors over the top of the shaving cream, spacing the drops all around the pan. Use small puddles and lines of paint rather than pouring on too much, so the colors stay lively instead of heavy.
4. Drag a toothpick through the paint once or twice in long gentle passes. Stop while the swirls still look crisp; if you keep stirring, the colors will turn muddy.
5. Hold one pumpkin by the stem and lower one side into the shaving cream. Roll it through the surface in one slow, steady turn, pressing only gently since the plastic is light.
6. Set the pumpkin on the wax paper and let it sit for about 2 minutes. This short rest gives the paint time to cling without letting the shaving cream collapse into a blur.
7. Scrape the shaving cream off with a folded paper towel or the edge of the old gift card, using light strokes. As the foam lifts away, the marbled pattern will appear underneath.
8. If one area looks too bare, press just that section lightly into a fresh patch of swirled shaving cream and scrape again. Small touch-ups work better than redoing the whole pumpkin.
9. Repeat the same process with the second pumpkin, adding fresh paint to the pan and swirling only once or twice again. Each pumpkin will come out a little different, and that is part of the charm.
10. Let the pumpkins dry overnight on clean wax paper. If you want a little extra durability, spray or brush on a light clear sealer the next day once the paint is fully dry.
Variations & Tips
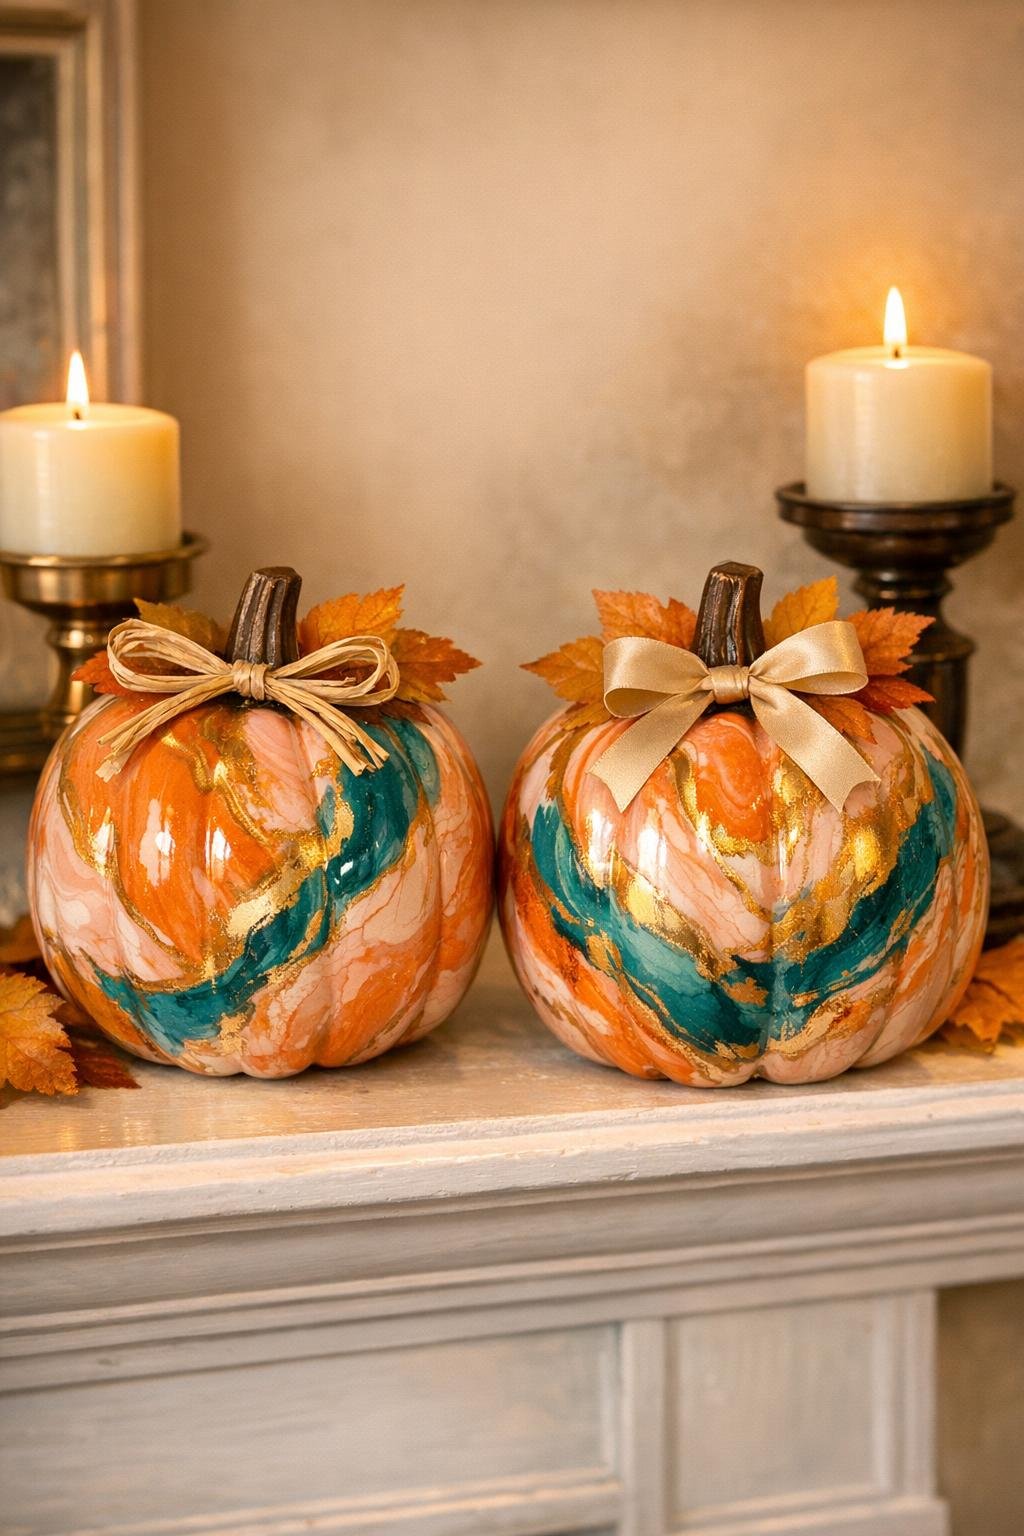
Best color mix: I like using three main colors and one accent, such as orange, cream, and pink with a touch of gold. Too many strong colors at once can start looking muddy even if your swirling is careful.
For a softer look: Try white, sage green, dusty blue, and a little champagne gold. Those shades make the pumpkin look more elegant and less bright, which is lovely for a calm mantel display.
For bolder marbling: Use a white or very pale pumpkin so the paint shows clearly. Darker plastic can swallow up those pretty swirls.
Practice first: If you bought more than one pumpkin, use the least favorite shape as your trial run. Once you get the feel of that slow one-turn roll, the rest come easy.
Keep the swirls clean: The secret is not overworking the paint in the shaving cream. One or two drags with the toothpick is plenty, and it makes all the difference.
Drying tip: Set the pumpkins stem-up while they dry so the painted sides stay as untouched as possible. I sometimes turn mine once after an hour if I see a thick spot gathering near the bottom edge.
Finish idea: A narrow velvet ribbon tied around the stem or a brushed-on coat of clear gloss makes these look especially polished. That little final touch is often what makes a simple dollar store craft feel special enough to keep out all season.