
This little windowsill herb planter is one of those projects that looks charming and thoughtful, but it’s wonderfully practical too. By fastening small tin cans onto a rustic wooden bread board with leather straps, you get a vertical planting station that keeps fresh herbs close at hand without taking over the whole sill. I especially love projects like this in a busy kitchen, because anything that makes dinner prep easier tends to earn a permanent place in my home.
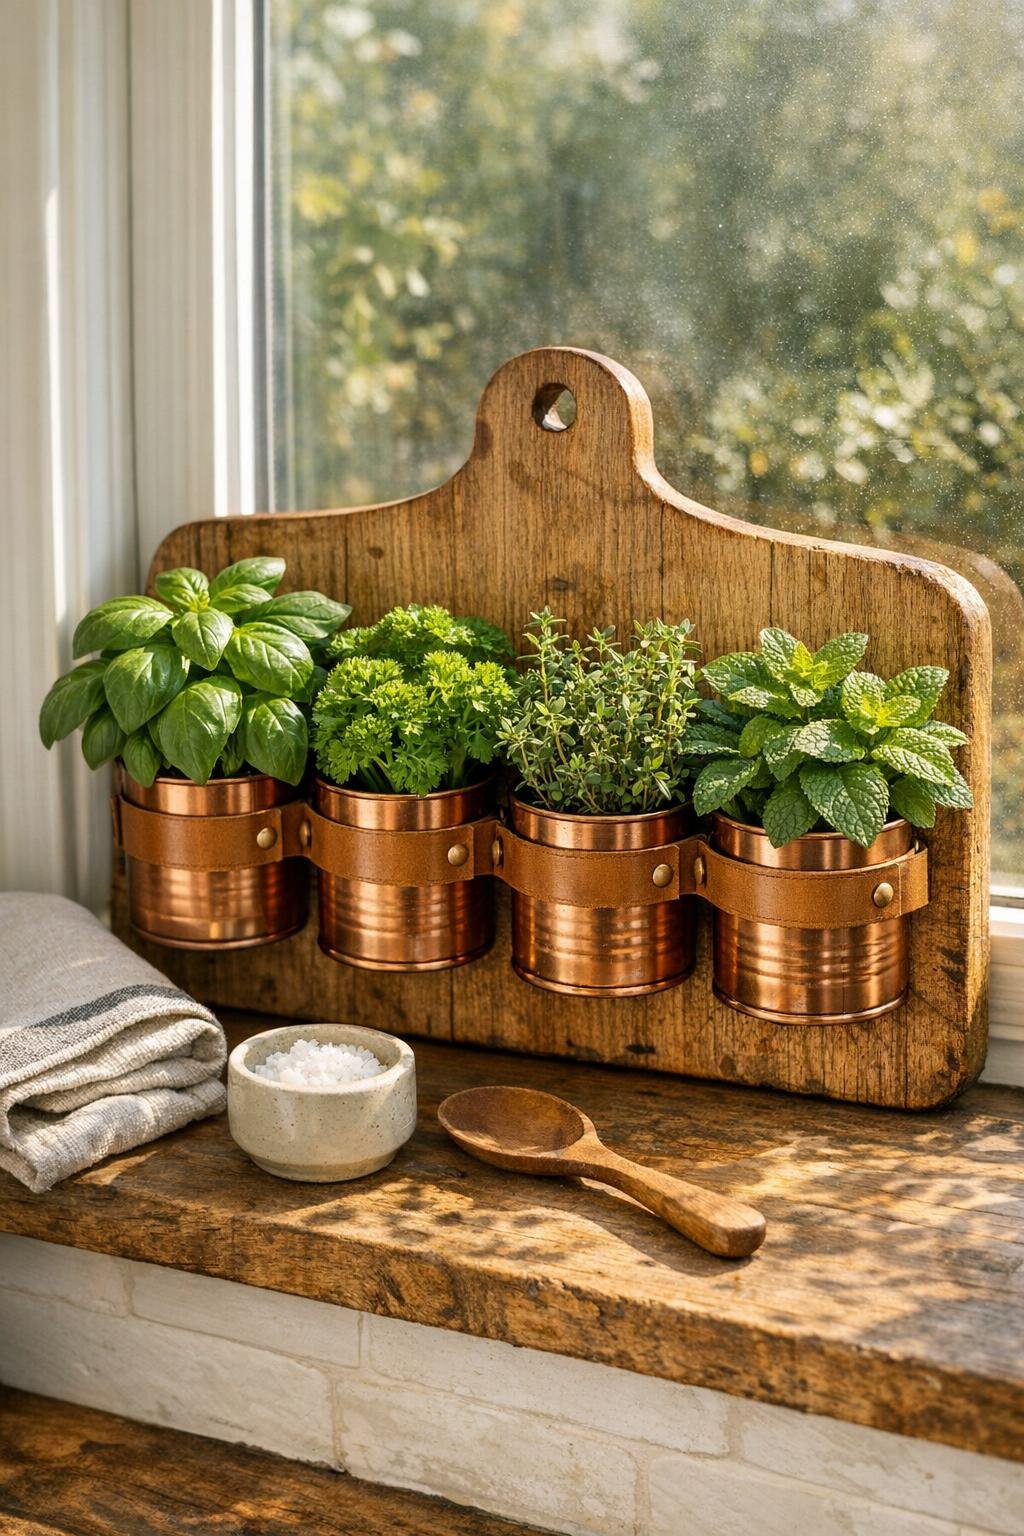
I designed this version to feel full and polished without becoming fussy: several copper-painted cans, warm tan leather, and a wood board with plenty of farmhouse character. It’s a lovely beginner-friendly build if you want something useful and pretty, and it also makes a sweet handmade gift for anyone who enjoys cooking with fresh basil, thyme, parsley, or mint.
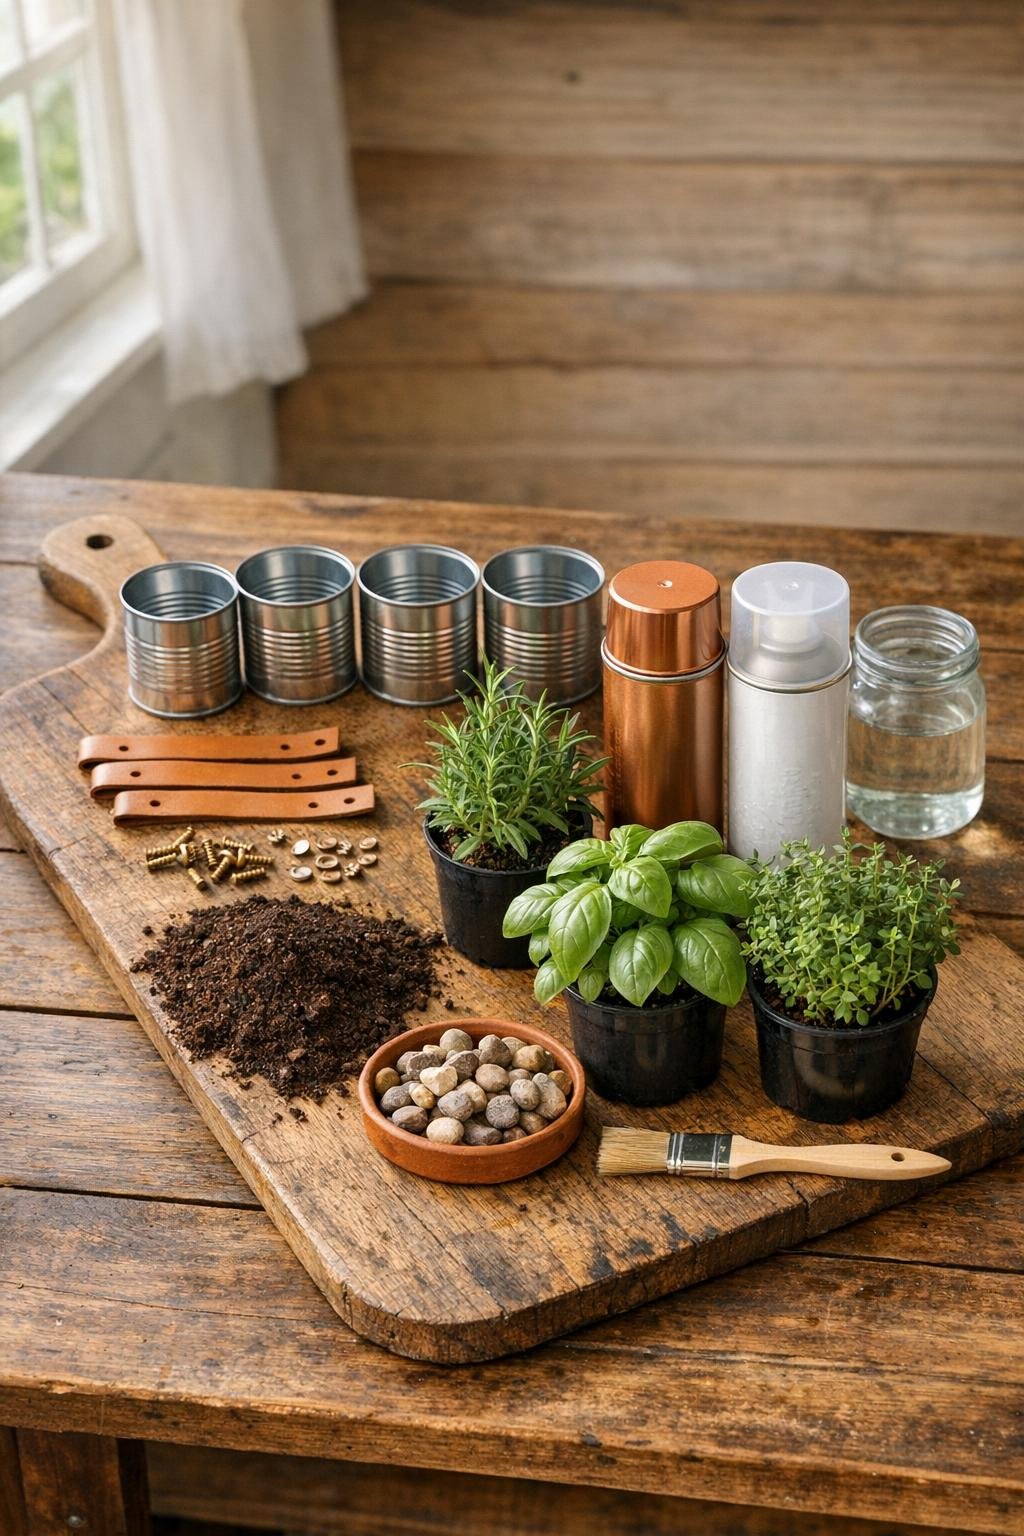
Materials
Instructions
1. Wash the tin cans thoroughly, remove all glue and paper, and let them dry completely; wipe them with rubbing alcohol so the paint will stick well.
2. Lightly sand the outside of each can and the front of the bread board to smooth rough spots without removing the board’s rustic character.
3. Prime the outside of the cans in a thin, even coat, then let them dry fully before spraying on 2 light coats of copper paint.
4. Seal the painted cans with a clear matte topcoat so they hold up better to watering and handling, then let them cure according to the can directions.
5. Rub wood conditioner or food-safe wax onto the handle and edges of the bread board to enrich the color and give it a finished, cared-for look.
6. Lay the board flat and arrange the cans in a straight vertical line, spacing them about 2 1/2 to 3 inches apart so the herbs will have room to grow without crowding.
7. Wrap two leather strips around each can to form matching straps, mark the screw placement on both sides of each strip, and keep the can openings facing straight outward.
8. Screw the leather straps into the bread board, checking each can as you go so it sits snugly but can still be lifted out for easier planting and cleanup.
9. Add 2 or 3 small drainage holes to the bottom of each can if they do not already have them, then place a coffee filter square inside each one to keep soil from washing out.
10. Pour 2 tablespoons of pebbles into the bottom of each can, add potting mix partway up, and nestle in one herb plant per can.
11. Fill around each plant with more potting mix, press gently to secure the roots, and leave about 1/2 inch of space at the top for watering.
12. Water the herbs lightly, wipe away any loose soil from the copper cans and wood, and set the finished planter on a sunny windowsill where it can be enjoyed and used often.
Variations & Tips
For picky-watering households: If you know someone in the family tends to overwater, plant herbs in their nursery pots first and slip those pots down into the cans instead of planting directly into the soil. It makes cleanup easier and helps prevent soggy roots.
Best herb choices: I’ve had the nicest luck on a kitchen windowsill with basil, chives, parsley, thyme, oregano, and mint. Mint grows enthusiastically, so I usually give it its own can.
If your board is narrow: Use 3 cans instead of 4 and space them a little farther apart for a balanced look. A fuller arrangement with fewer cans always looks better than trying to cram too many on the board.
Color option: If copper isn’t your style, matte white, sage green, or soft black all look beautiful against rustic wood and tan leather. Just keep the finish consistent across all the cans so it looks intentional.
Windowsill care: Place a slim tray or saucer underneath the board if you expect drips after watering. In my kitchen, that one tiny step saves me from scrambling for a towel later.
Gift-worthy finishing touch: Tie a small piece of twine or a simple ribbon around the board handle if you’re giving this as a present. I also like tucking in one favorite family recipe that uses fresh herbs, because it makes the whole gift feel extra thoughtful.