
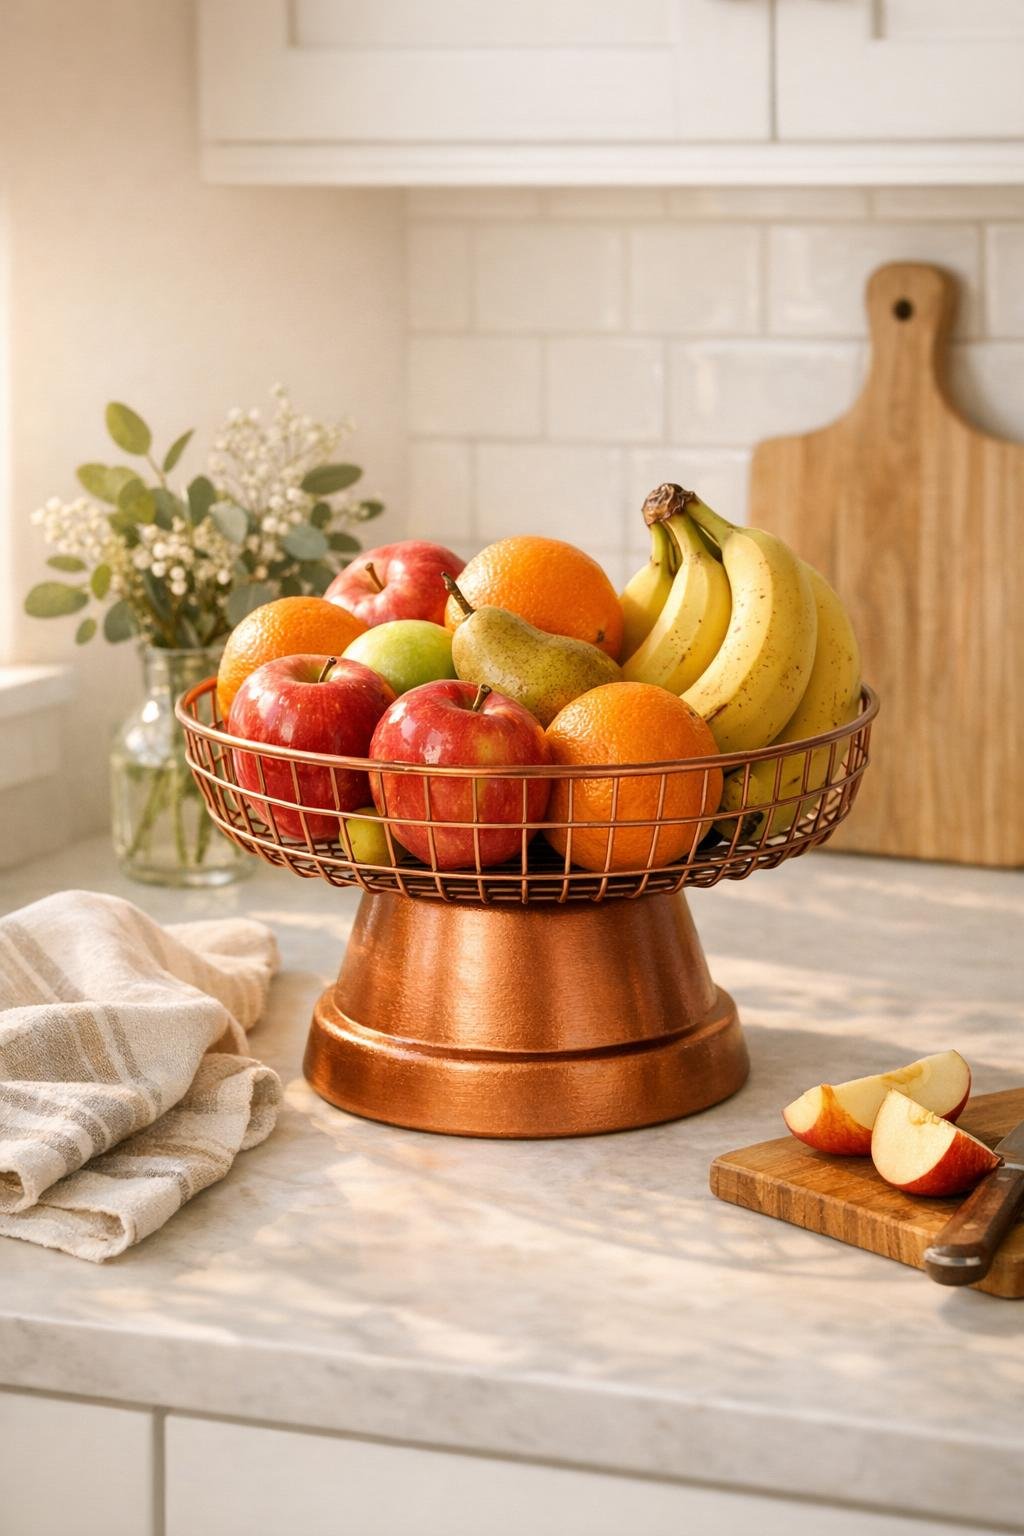
This little kitchen project is one of those ideas I love because it looks surprisingly polished, but it’s easy enough to finish in an afternoon while dinner is simmering on the stove. By setting a round wire cooling rack over an upturned terra cotta pot painted copper, you get a raised fruit bowl with plenty of airflow, a pretty warm-metal finish, and a shape that feels open and generous on the counter.
I especially like this for families who actually use their fruit instead of just displaying it. The elevated base gives it presence, the wire top helps bananas, apples, and oranges breathe, and the whole thing feels a bit more special than a plain bowl. If you want a budget-friendly kitchen DIY that still looks thoughtful and styled, this is a very satisfying one.
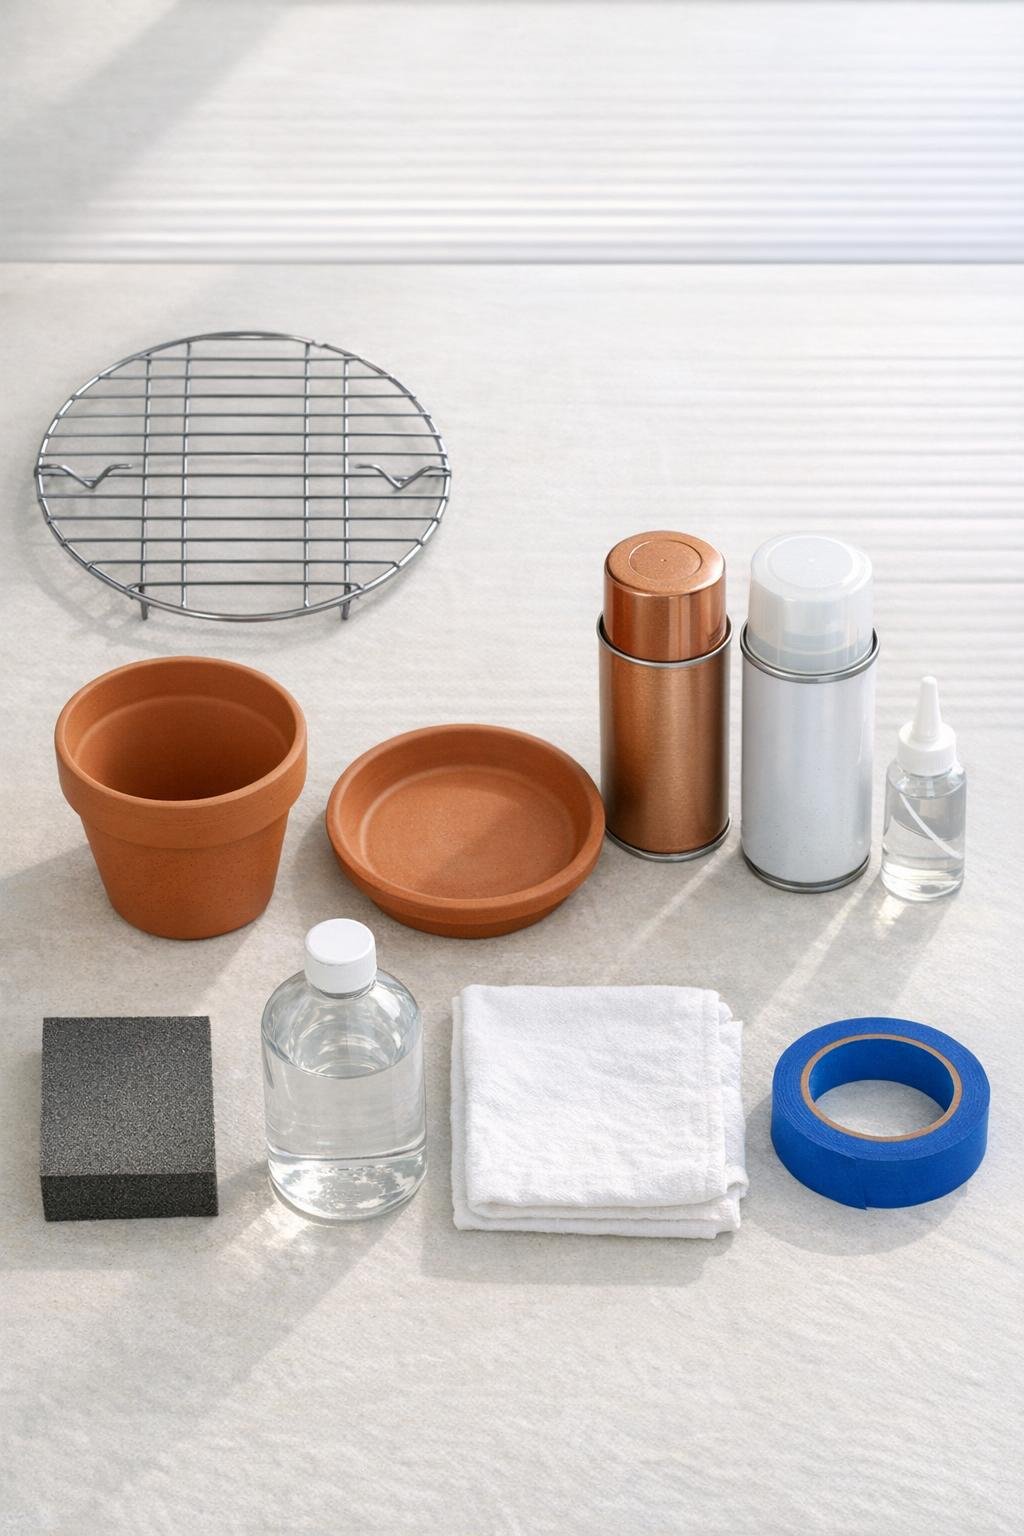
Materials
1 round wire cooling rack, 8 inches in diameter
Instructions
1. Wash the terra cotta pot and saucer, then let them dry fully; wipe the cooling rack clean so the paint and glue will stick well.
2. Lightly sand the outside of the pot, the saucer, and the outer rim of the cooling rack to dull the surface just a bit, then wipe away all dust with rubbing alcohol and a cloth.
3. Tape off any areas you do not want painted, then spray the pot, saucer, and cooling rack with light coats of copper paint, letting each coat dry before adding the next until the finish looks rich and even.
4. When the copper paint is dry, spray everything with 1 to 2 light coats of clear sealer to protect the finish from kitchen moisture and everyday handling.
5. Turn the terra cotta pot upside down so the wide rim sits on the table, then center the saucer on top of the pot’s smaller base to create a stable platform for the bowl.
6. Apply a generous ring of strong adhesive between the upside-down pot and the saucer, press them together, and let that bond set according to the adhesive directions.
7. Run another generous bead of adhesive around the top of the saucer, then center the round cooling rack over it so the rack forms a wide, shallow fruit bowl with even overhang on all sides.
8. Press gently and check from every angle that the cooling rack is level, then leave the whole piece undisturbed until the adhesive is fully cured.
9. Add felt pads to the bottom rim of the upturned pot to protect your counters and keep the stand from scraping when you move it.
10. Once fully cured, fill the bowl with a generous mix of fruit like apples, oranges, pears, and bananas, spreading them evenly so the open wire bowl looks full and balanced.
Variations & Tips
For a fuller centerpiece look: Use a slightly larger 10-inch cooling rack if your pot and saucer are wide enough to support it. I like a fruit bowl that actually holds a week’s worth of grab-and-go snacks, especially in a busy family kitchen.
For picky eaters: Keep the front of the bowl filled with easy favorites like apples, clementines, and bananas, and tuck less popular fruits like pears or plums toward the back. It sounds simple, but when fruit is visible and easy to reach, kids really do eat more of it.
For a different finish: You can swap the copper for matte black, brushed gold, or creamy white, but make sure you paint both the rack and the pot so the piece looks intentional and finished.
For extra durability: If this bowl will live in a hard-working kitchen, choose an adhesive rated for metal and clay and give it the full cure time before adding fruit. That patience makes a big difference.
For easy cleaning: Wipe the painted stand with a barely damp cloth and dry it right away; don’t soak it. The wire top is open, so crumbs and banana strings won’t get trapped the way they do in a deep bowl.
For a polished final touch: A small tied ribbon around the narrowest part of the pot pedestal can be sweet for seasonal decorating, but I usually leave mine plain so the copper finish and fruit colors do all the work.