
There is something so satisfying about taking the jumble in a crayon box and turning it into a fall project that looks far fancier than it really is. This one is quick, inexpensive, and easy enough for a relaxed afternoon at the kitchen table, but it still has that dramatic payoff that makes people lean in for a closer look.
I especially love this project if you have broken crayons rattling around in a drawer and a couple of plain foam pumpkins that need a little personality. The process is simple, a little messy in the best way, and very beginner-friendly. I’ll show you exactly how I set it up so the wax drips beautifully instead of splattering everywhere.
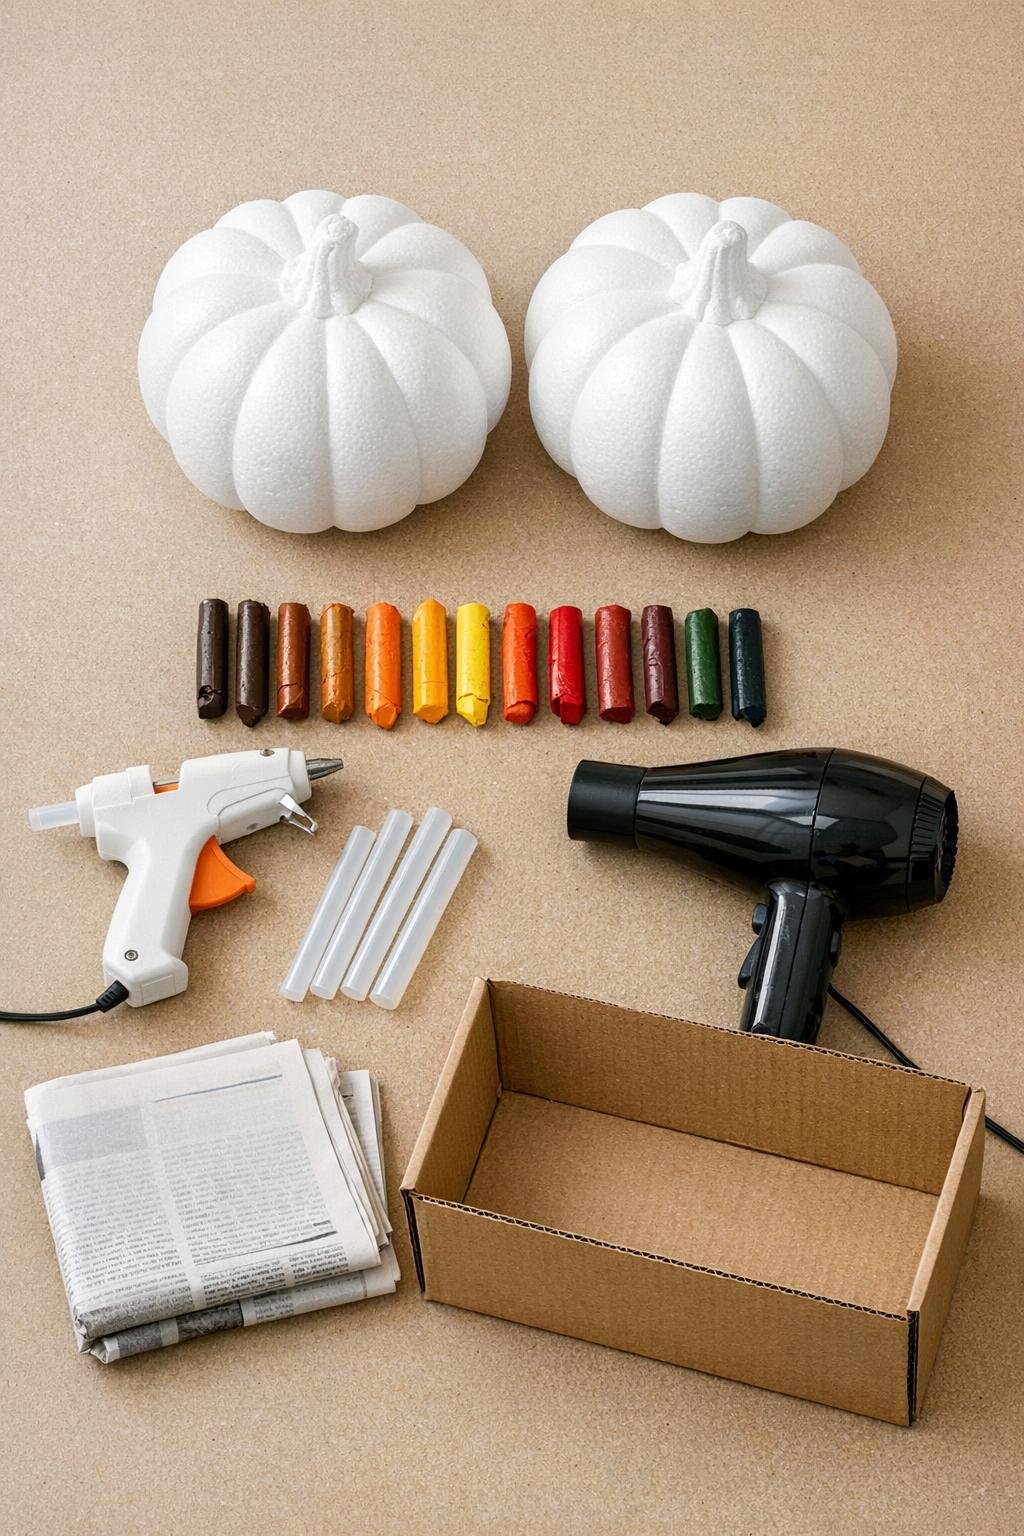
Materials
Instructions
1. Line the cardboard box with newspaper, covering the bottom and at least two sides, then place one foam pumpkin in the center. This little setup saves your table and catches flying wax much better than a flat work surface.
2. Peel any remaining paper off the broken crayons and sort the colors into a pleasing mix for each pumpkin. I like to spread warm tones evenly so one side does not end up too dark or too orange-heavy.
3. Plug in the hot glue gun and let it heat fully while you decide where the crayons will go. Plan to cluster the crayons around the stem so the melted wax has a natural path down the pumpkin ribs.
4. Add a small dot of hot glue to the flat end of each crayon piece and press it tip-down around the stem, one at a time. Space 6 crayons around the top of each pumpkin, keeping them upright and snug so the drips start close together for a fuller look.
5. Turn the hair dryer to the low setting and aim it at one crayon at a time from about 4 to 6 inches away. Keep the air moving slowly so the wax softens and begins to run instead of blasting sideways.
6. Continue melting around the top of the pumpkin for about 15 minutes, rotating the pumpkin inside the box as needed. Let the wax travel down the grooves and build up in layered drips for a rich, streaked look.
7. If any section looks sparse, remelt that area briefly and encourage the wax downward with gentle heat rather than adding more force. Low heat is the secret here; high heat tends to make little splatters instead of those pretty long drips.
8. Repeat the same process with the second pumpkin, using the remaining 6 crayons and another 15 minutes of melting time. Try changing the color order slightly so the pair feels coordinated but not identical.
9. Let both pumpkins cool completely in the box for 20 to 30 minutes before moving them. Once the wax hardens, peel away any stray strings of glue and clean up the newspaper.
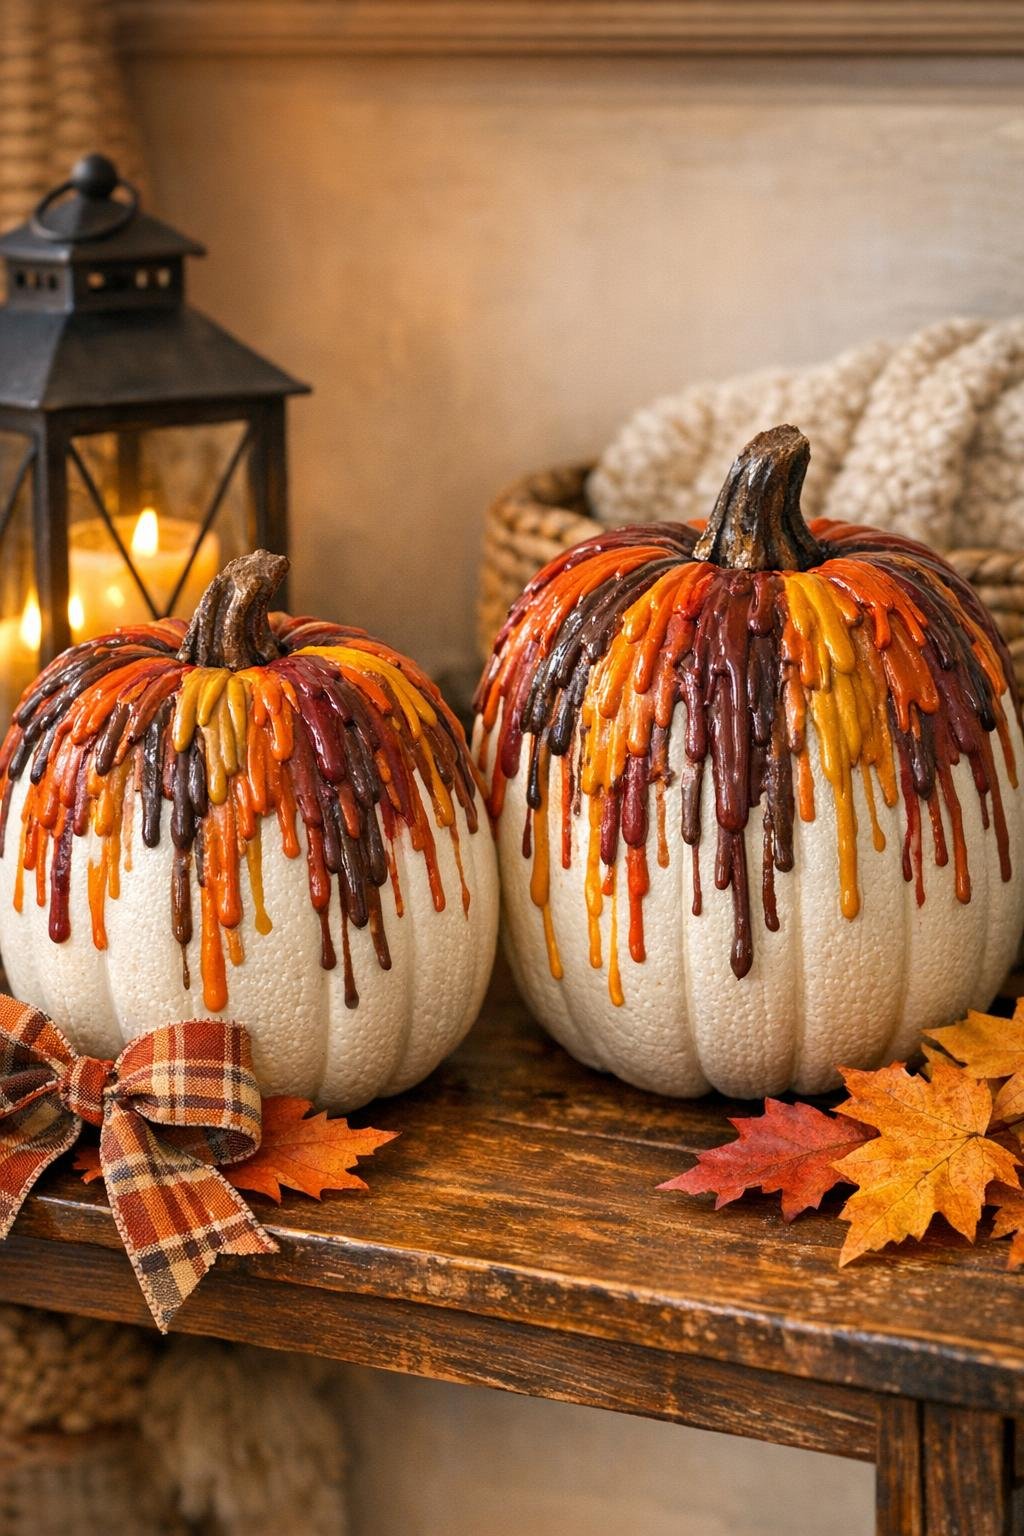
Variations & Tips
For deeper fall color: Use more burgundy, brown, and deep orange crayons for a moodier look that feels especially pretty with wood tones and plaid decor.
For picky decorators: If your family likes things a little less bold, stick to 3 colors per pumpkin instead of 6. You still get the drip effect, but the finished pumpkins look more coordinated and calm.
For fuller coverage: Angle the hair dryer so the wax follows several ribs instead of just one path. I like to work in little circles near the top to start thick, layered drips before guiding them downward.
For easier cleanup: Keep the pumpkin inside the lined box the entire time you melt. I have learned the hard way that wax flecks are stubborn on tablecloths and almost impossible to pick out of textured placemats.
For safe storage: Display the finished pumpkins indoors and away from sunny windows, hot cars, or heat vents. If the wax softens again, those lovely drips can lose their shape.
To make a matching set: Repeat the same color family on both pumpkins, but swap the placement order of the crayons. That gives you a pair that looks intentional without feeling too matched, which is usually how I like my seasonal decorating.