
There’s a special kind of satisfaction in making something cheerful out of wood that was headed for the burn pile. Around here, old fence pickets have a way of stacking up behind sheds and barns, and I’ve always hated to see good weathered wood go to waste. This little porch project turns those humble scraps into a trio of sturdy fall pumpkins, and it does it with just a few tools and one can of paint.
I love this one because it’s simple enough for a beginner, but it still gives you a nice big porch display when you’re done. If you’ve got a handful of old pickets and an afternoon with decent drying weather, you can make a small, medium, and tall set that looks full and polished without getting fussy.
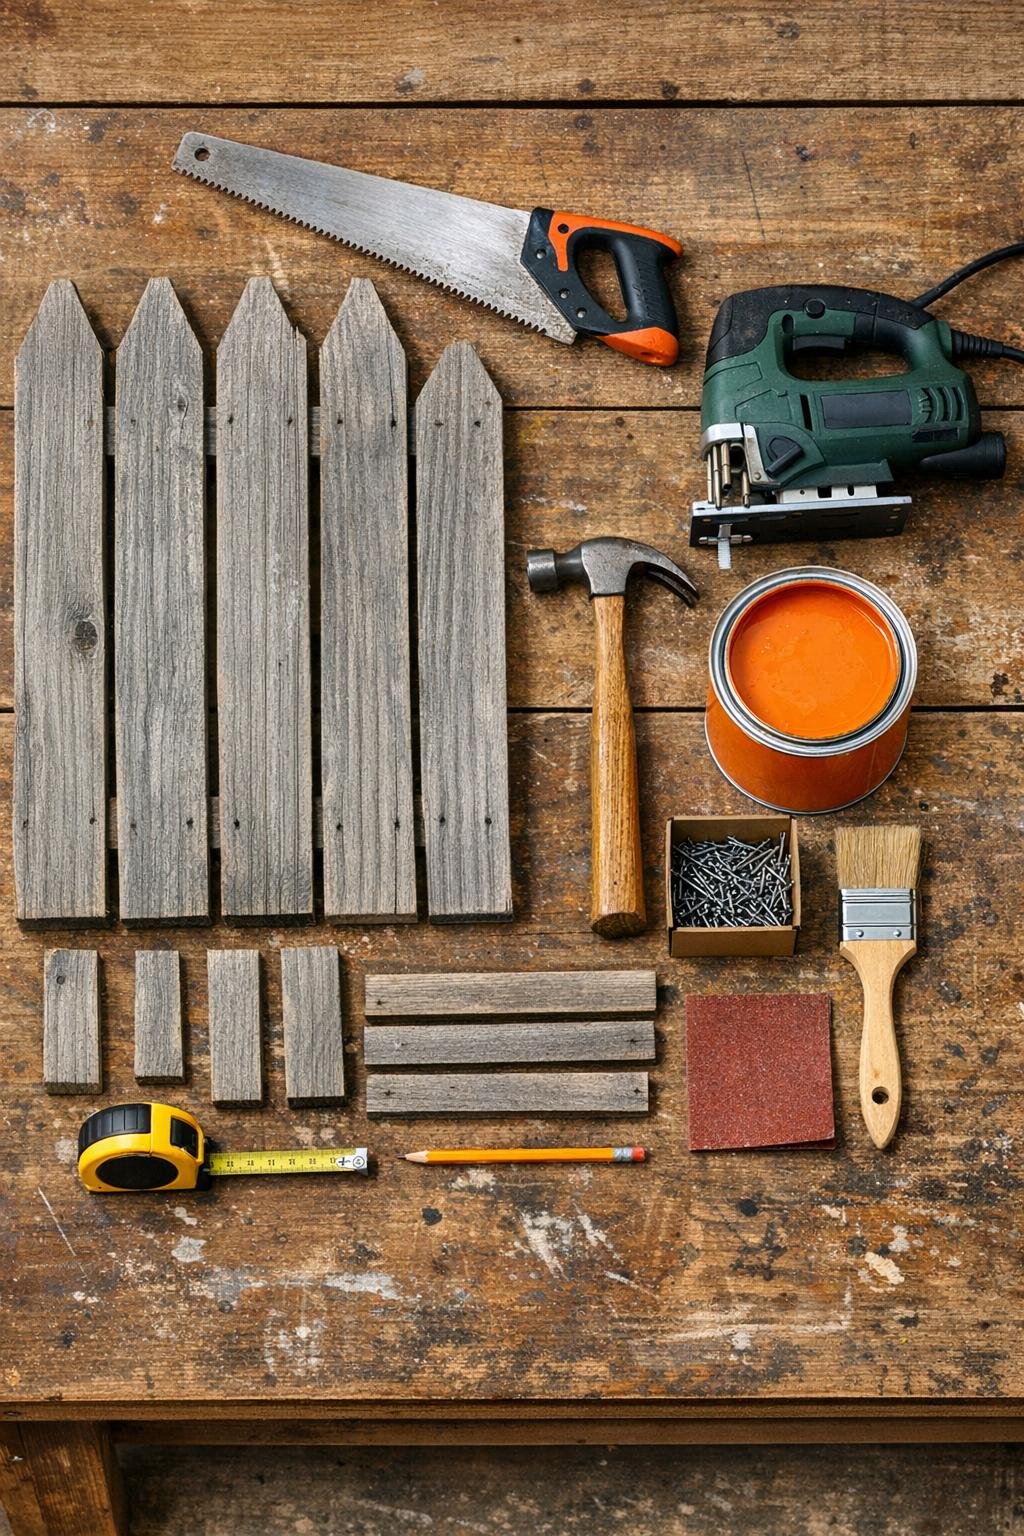
Materials
Instructions
1. Inspect all the old fence pickets and remove or hammer down any old nails, then set aside the soundest boards with the least rot for the fronts of your pumpkins.
2. Cut nine pickets into three matching groups of three boards each, with finished panel heights of 18 inches, 24 inches, and 32 inches for a small, medium, and tall pumpkin.
3. Lay the first set of three pickets side by side on your workbench with their top ends even, then place two 10-inch scrap crosspieces across the back, one about 4 inches from the top and one about 4 inches from the bottom.
4. Nail through each crosspiece into all three pickets so the slats hold together as one flat panel, then repeat for the medium and tall panels.
5. On the front of each panel, mark gentle rounded shoulders at the top corners so the rectangle softens into a pumpkin shape while keeping the bottom straight and sturdy.
6. Cut along those curved corner lines with a jigsaw or careful hand-saw cuts, then sand the cut edges and any splintery spots until they feel smooth in your hand.
7. Wipe away the sanding dust, then paint the fronts, sides, and visible top edges of all three panels with a solid coat of orange paint.
8. Let the first coat dry fully, then add a second coat for rich color and better coverage, especially over weathered gray wood.
9. Cut three short stem pieces from leftover picket scraps, keeping them about 4 inches tall and slightly narrower than the center board on each pumpkin, then paint them brown.
10. Once the orange paint is dry, nail one stem to the top center of each pumpkin from the back side if possible, or carefully from the front with small nails and touch up the heads with paint.
11. If you like a little age on your pumpkins, lightly dry-brush black or dark brown along the edges, around the stems, and over a few wood grain ridges to give them depth.
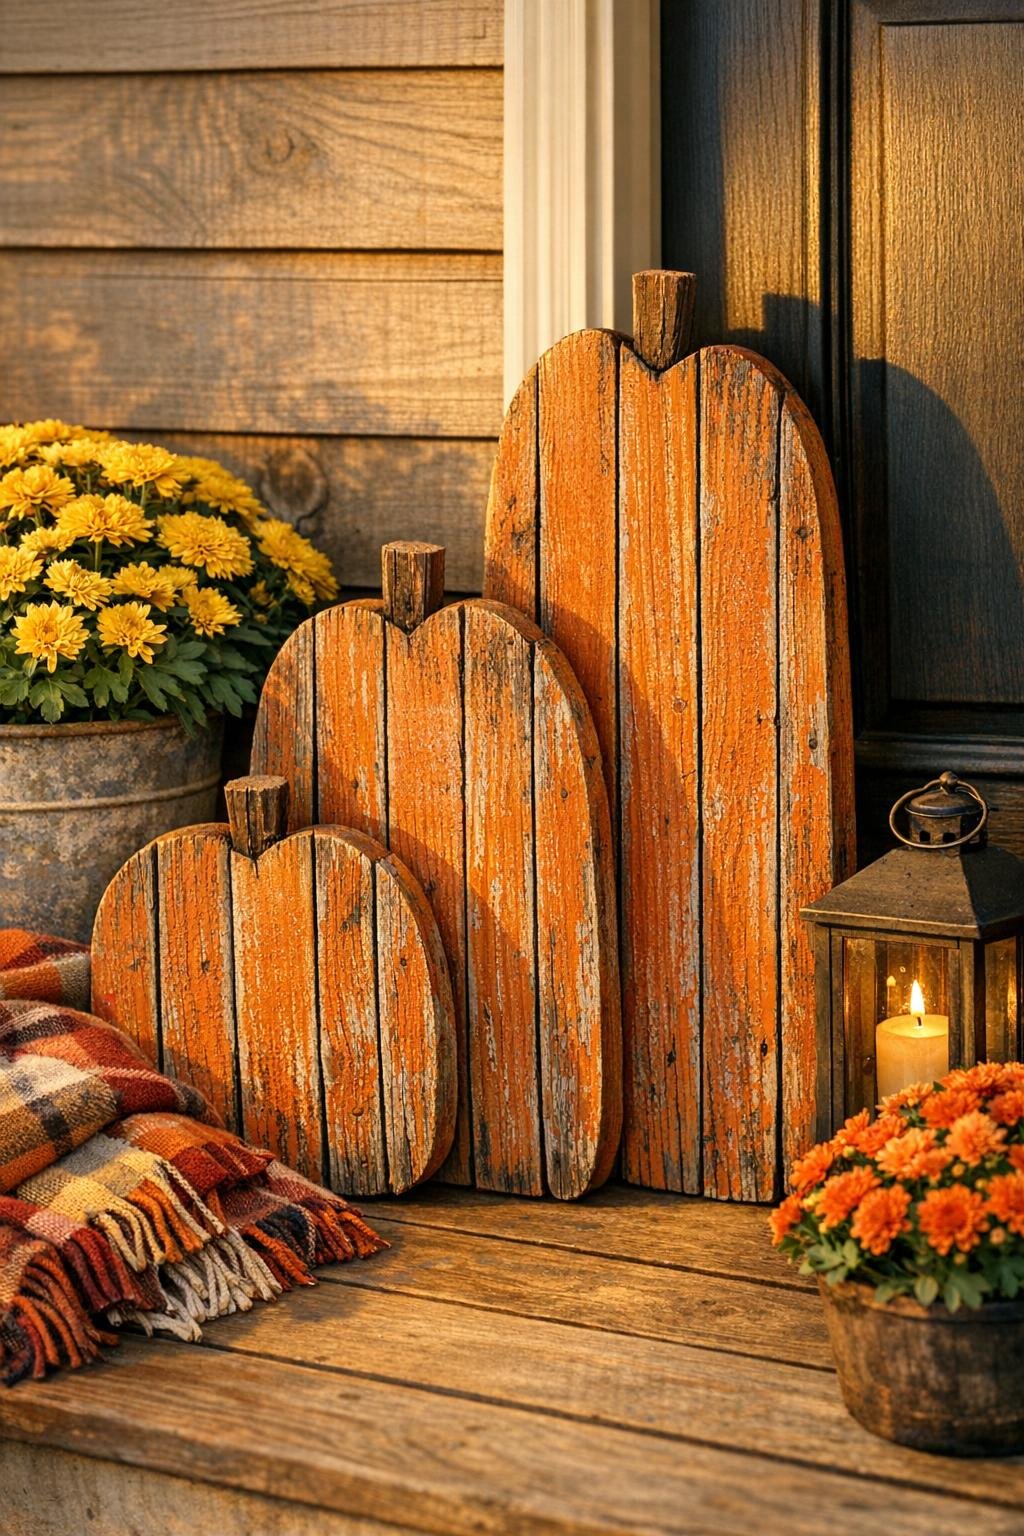
12. Seal the finished pumpkins with a clear exterior matte sealer, let them dry, and lean or layer the trio together on the porch with the tallest in back and the smallest in front.
Variations & Tips
For extra charm: Tie a bit of jute, gingham ribbon, or thin burlap strip around each stem. That tiny finishing touch goes a long way, and it makes the set feel thought-out instead of slapped together.
If your pickets are different widths: Use whatever you have, but keep each pumpkin panel the same total width from top to bottom. Three similar boards per pumpkin usually gives the nicest proportions and the fullest look on a porch.
For a more rounded shape: Trim just a little from the upper side edges of the outside boards after you assemble the panel. I still keep the bottom full and square so the pumpkins read big and bold from the road.
For freestanding pumpkins: Screw a simple triangular brace or short kickstand to the back of each one. Leaning them works beautifully by a wall or post, but a brace is handy if your porch gets wind.
For longer life: Exterior paint and a quick sealer coat make a real difference, especially on old wood. Around my place, anything that sits through dew, wind, and October rain needs that little bit of protection.
Use the prettiest weathered side strategically: Even though you’re painting, old wood grain and small cracks add lovely character under the finish. I always put the most interesting texture on the front, because that’s what makes these look homemade in the best possible way.
Make the trio feel generous: Nestle the pumpkins close together instead of spreading them apart, and stagger the heights. Add a pot of mums or a lantern beside them, and suddenly that little stack of old fence boards becomes a real fall porch moment.