
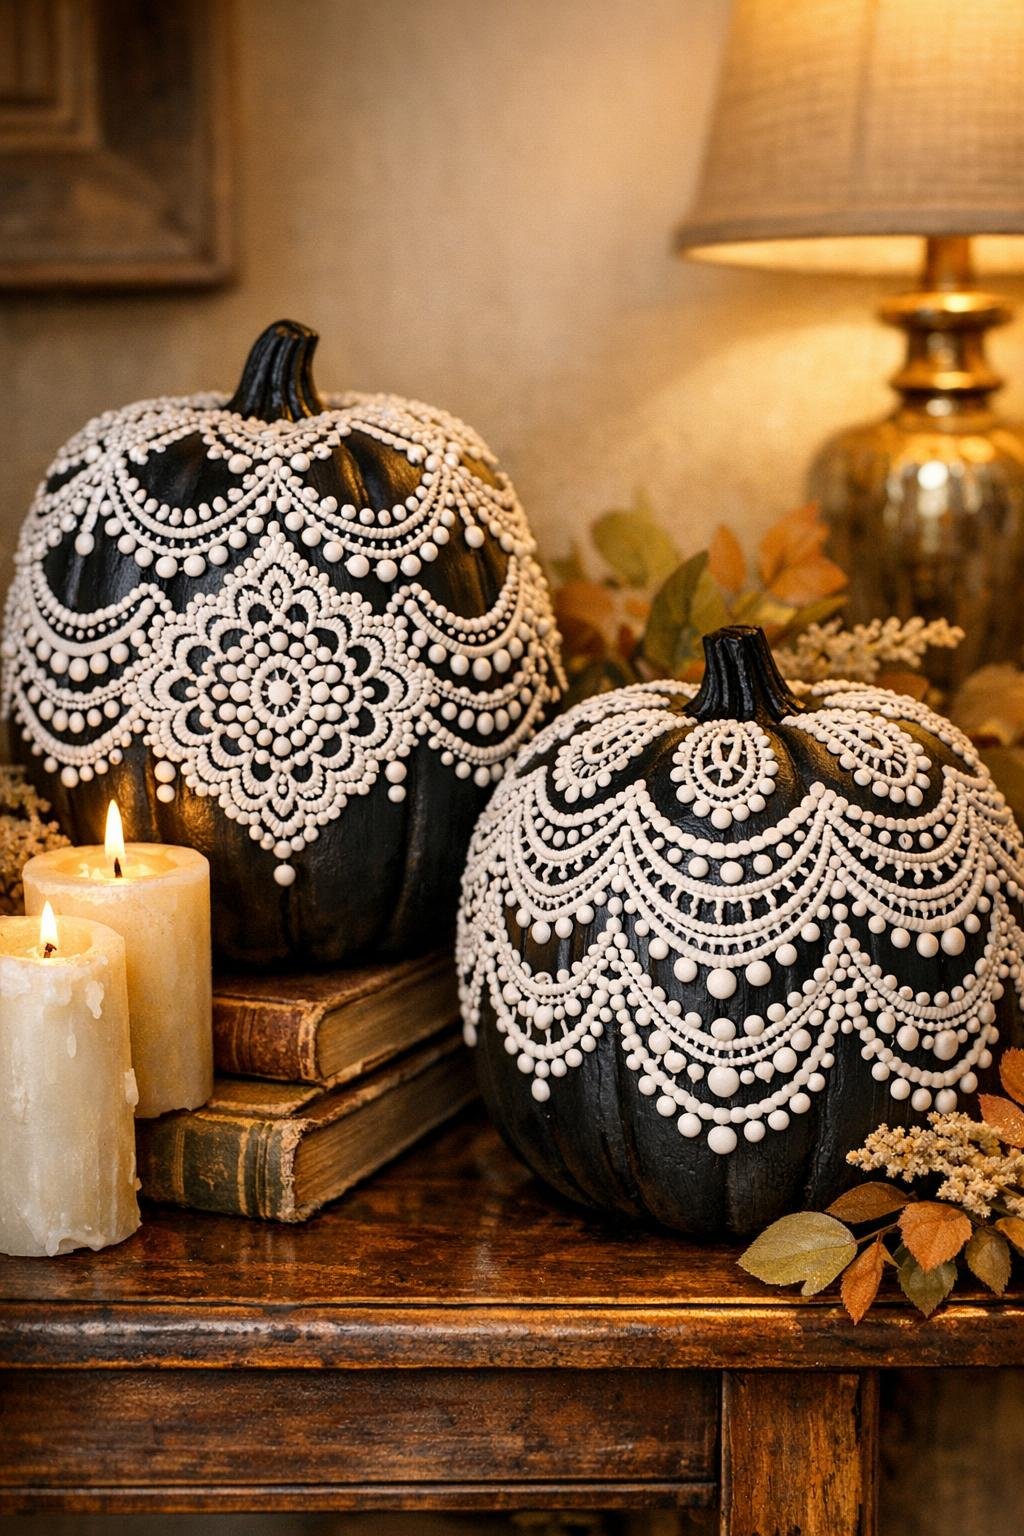
There’s something about black and white together that always feels a little dressed up, and these lace pumpkins have that same old-fashioned charm I love in a good table setting or a handwritten holiday place card. This project is wonderfully simple at heart: you take plain black plastic pumpkins and pipe on white paintable caulk in little dots, scallops, and loops until the surface looks like delicate lace. It’s an easy afternoon craft, but the finish looks far more special than the effort suggests.
I’m especially fond of projects like this because they don’t ask for fancy tools or a lot of money, just a steady hand and a bit of patience. If you can trace a pattern one section at a time, you can do this. The best part is that the raised caulk gives the pumpkin such pretty texture, almost like vintage trim stitched onto a favorite black dress.
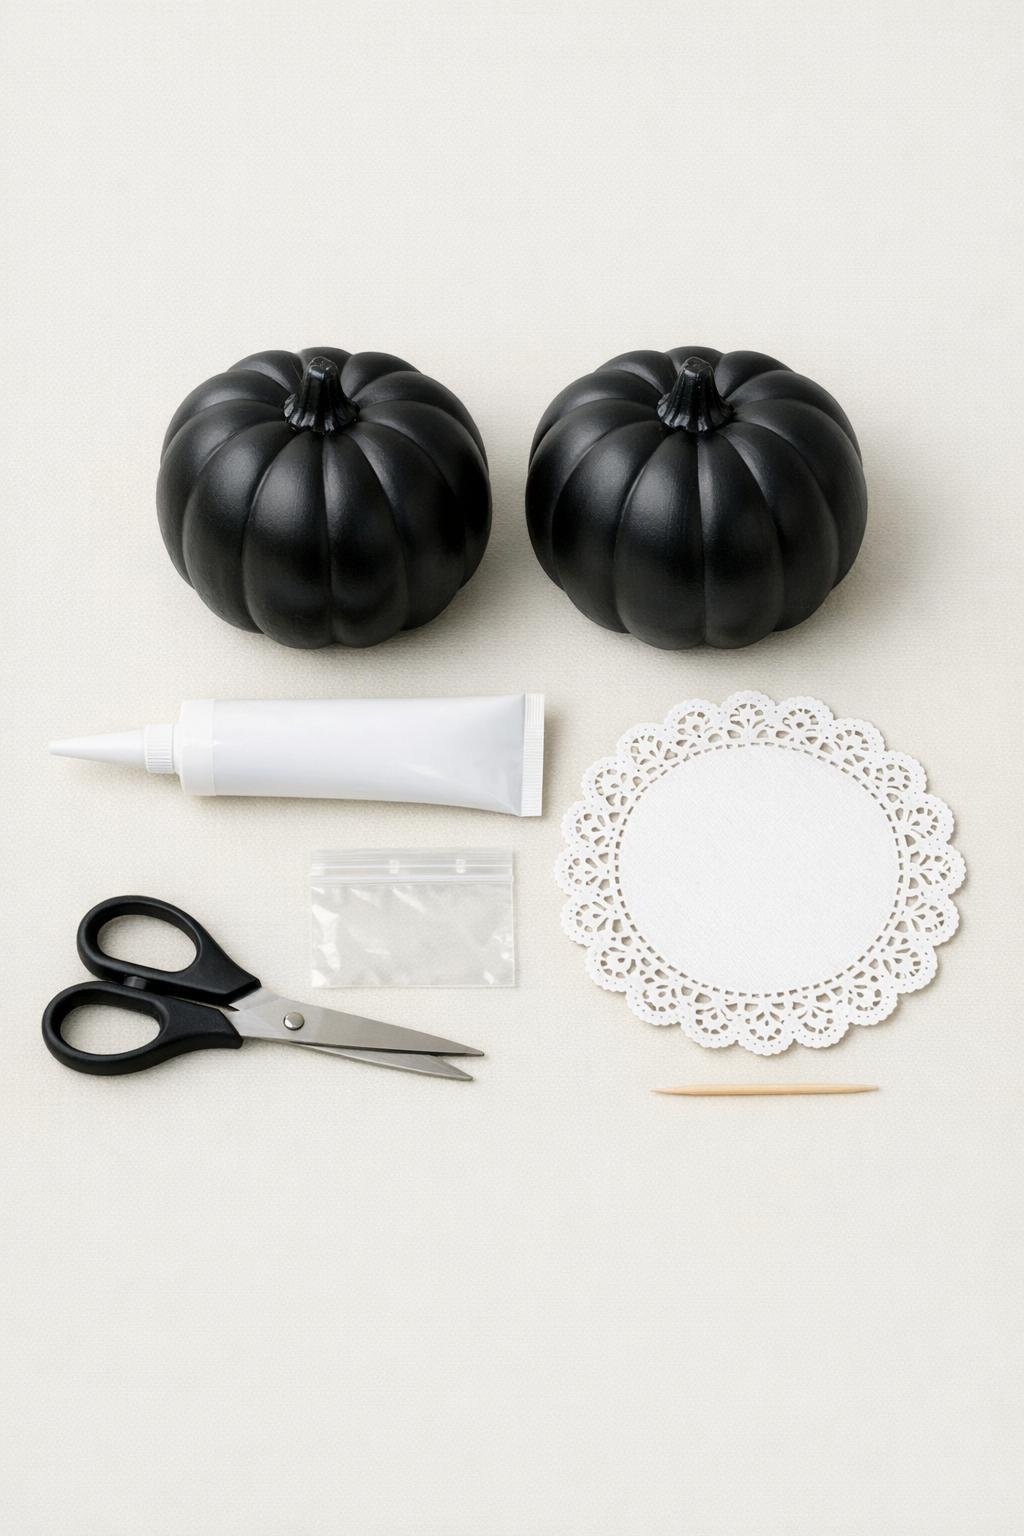
Materials
2 black plastic pumpkins, about 6 to 8 inches wide each
Instructions
1. Wipe both black plastic pumpkins clean and dry so the caulk will grip well, then set them upright on a flat table where they can stay untouched overnight.
2. Lay the lace doily beside your work area and choose one small section of the pattern to copy first, such as a row of scallops with dots inside, rather than trying to mimic the whole doily at once.
3. Snip only the very tip off the caulk nozzle, or fill the zip bag with a little caulk and clip the tiniest corner, making an opening just big enough for fine lines and dots.
4. Practice a few dots, loops, and scallops on scrap paper until the caulk flows in a narrow, controlled line; this tiny opening is what gives the lace its delicate look.
5. Start at the top center of the first pumpkin and pipe a ring of small dots or tiny teardrops around the stem area to create an anchor for the lace design.
6. Add your first band of scallops beneath that top ring, working one pumpkin section at a time and following the natural ridges of the pumpkin so the pattern looks tidy and balanced.
7. Fill in the scallops with little dots, short lines, and loops, copying just one part of the doily at a time; I find it easiest to build the lace in bands rather than scattered motifs.
8. If a line slumps, a dot gets too large, or a point forms where you do not want it, use the toothpick right away to nudge the wet caulk back into shape.
9. Wipe any real mistakes off with a damp paper towel while the caulk is still wet, then re-pipe that little section before moving on.
10. Continue covering the pumpkin with repeating bands of lace until most of the surface is dressed up, leaving only narrow strips of black between motifs so the contrast stays crisp and dramatic.
11. Pipe a slightly fuller lace medallion on one or two wider pumpkin panels if you want a richer look, using layered dots and nested scallops to make the design feel generous instead of sparse.
12. Repeat the same process on the second pumpkin, varying the lace bands a little so the pair looks coordinated but not perfectly matched.
13. Check both pumpkins from all sides and use the toothpick to soften any sharp peaks or connect any broken lines before the caulk starts to set.
14. Leave the pumpkins standing upright and completely undisturbed for 24 hours so the raised lace can cure fully; do not tip, stack, or handle them during this time.
Variations & Tips
For the steadiest piping: I like to rotate the pumpkin instead of twisting my wrist into awkward angles. Keeping your hand comfortable makes the scallops much more even.
If you are nervous about freehanding: Work in simple repeated rows of dots and arches first. Even very basic patterns become beautiful once they wrap all the way around the pumpkin.
For a fuller look: Use several horizontal bands of lace from stem to bottom, then add extra dots between bands so you do not end up with large empty black spaces.
For touch-ups later: Because this uses paintable latex caulk, you can let it cure and then freshen thin spots with a little white craft paint and a small brush if needed.
To make a matched set: Keep the same top border and bottom border on both pumpkins, then change only the center motifs. That gives them a collected, polished look without making them identical.
For displaying: These are lovely on a mantel, sideboard, or Thanksgiving table, especially paired with white candles, dark leaves, or a bit of velvet ribbon. The black pumpkins already bring the drama, so the rest can stay simple.