
There’s something deeply satisfying about making a little object that feels as though it could have been tucked into a china cabinet fifty years ago and still be cherished today. This project starts with the humblest dollar-store balloons and a box of plaster of Paris, but with a little patience and a good eye for shape, you end up with weighty, old-fashioned pumpkins that look far more special than their cost would suggest.
I love a craft like this because it doesn’t ask for fancy tools or perfect technique. If you can stir, pour, and tie a knot, you can make these. They’re especially nice for anyone who loves soft neutral fall decorating, handmade holiday touches, or little seasonal keepsakes that can come back out year after year.
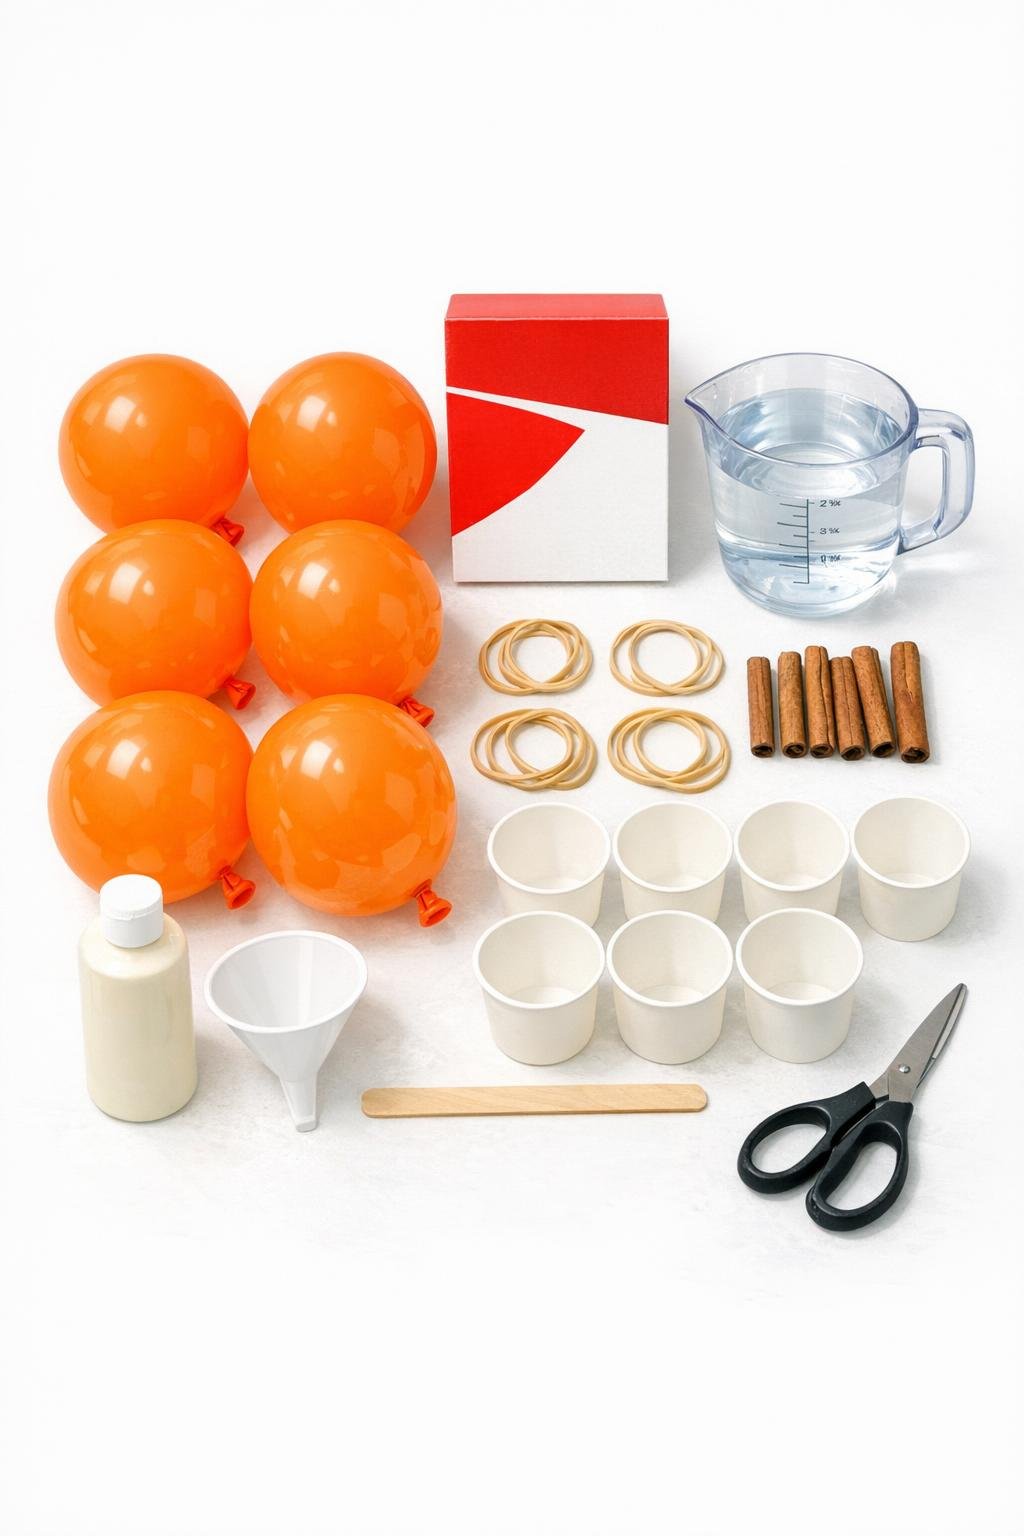
Materials
6 round 12-inch balloons
Instructions
1. Cover your counter with wax paper or cardboard, set out six small bowls, and have every balloon, rubber band, and stem ready before you mix the plaster. Plaster of Paris sets quickly, so I always treat this sort of craft like biscuit-making and get my ducks in a row first.
2. Stretch each balloon gently with your hands, then blow a puff of air into it and let it back out to loosen the rubber. This makes the neck easier to open when you pour in the plaster.
3. Slip the funnel into the neck of the first balloon and stand it in a cup or hold it upright in your hand. Keep the balloon empty for now, just like in the first pouring stage, so you can work quickly once the plaster is mixed.
4. In a paper cup, mix a small batch of plaster of Paris with cool water to about pancake-batter consistency, stirring briskly until mostly smooth. Make only enough for one balloon at a time, since the mixture starts thickening within minutes.
5. Pour the plaster through the funnel into the balloon, filling it only partway until it reaches about grapefruit size. Knot the balloon neck tightly right away so the shape stays compact and rounded.
6. Snap three or four thick rubber bands around the filled balloon from top to bottom, spacing them evenly so they pinch in deep ribs like a pumpkin. Adjust them with your fingers while the plaster is still soft so the sections look balanced all the way around.
7. Rest the balloon knot-side up in a small bowl so it keeps a nice upright pumpkin shape while it sets. Repeat the mixing, filling, knotting, and banding process for the remaining five balloons.
8. Let the six filled balloons sit undisturbed for a few hours, until the plaster inside feels firm and cool no longer. If one settles a little crooked, just rotate the bowl gently during the first few minutes to encourage a rounder base.
9. Cut and peel away the balloon from each hardened form, working carefully so you don’t chip the fresh plaster. Remove the rubber bands and set the pumpkins on a protected surface to dry for a full 24 hours.
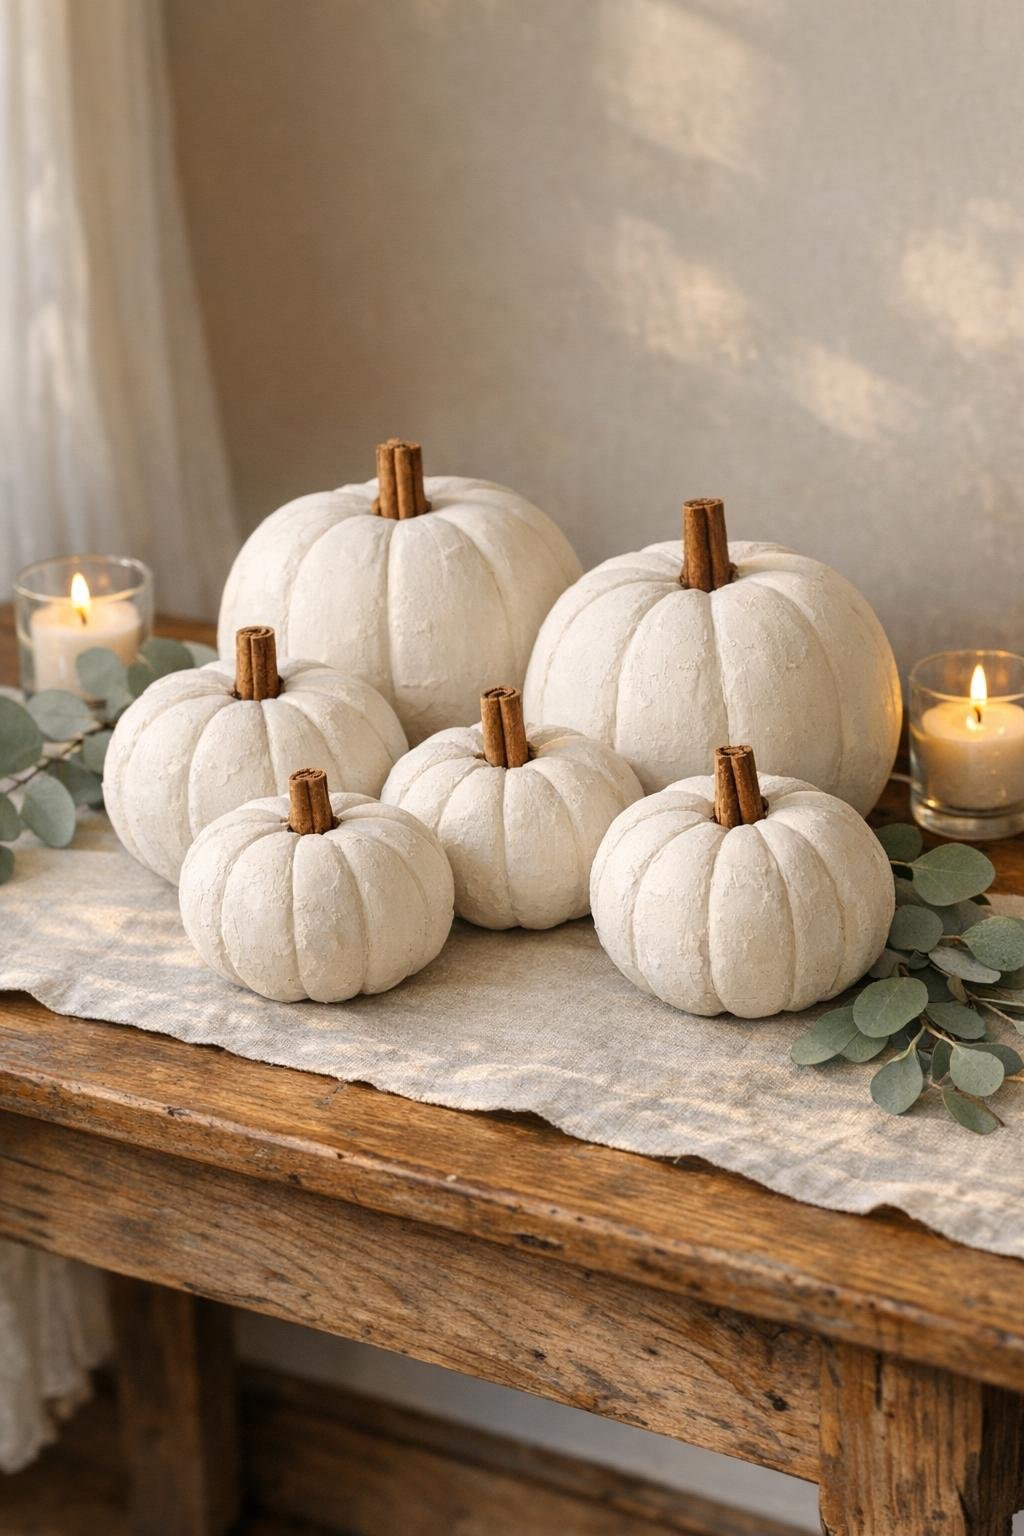
10. Once fully dry, brush each pumpkin with cream or white acrylic paint if you want a softer, more uniform heirloom finish. I like to keep the paint thin enough to preserve the gentle plaster texture instead of making them look slick or plastic.
11. Glue a short cinnamon stick or real dried pumpkin stem into the top center of each pumpkin and let the glue set completely. If needed, trim the bottom of a stem so it sits neatly and looks naturally grown there.
12. Set the pumpkins together in a clustered arrangement so the sizes, ribbing, and little imperfections play off one another. Dispose of any leftover plaster in the trash once hardened, and never rinse it down the sink.
Variations & Tips
For more natural color: Use ivory, antique white, or very pale greige acrylic paint instead of stark bright white. Those softer shades give the pumpkins that old-house, passed-down look I’m always drawn to.
For prettier stems: Real dried pumpkin stems have the most convincing shape, but cinnamon sticks are wonderfully easy and smell lovely when you first set them out. If you use cinnamon sticks, choose chunky ones so they look in scale with the pumpkins.
For a fuller display: Make all six, even if you think you only need three. A clustered grouping with varied ribbing and slightly different shapes looks far richer and more collected than a skimpy arrangement.
To prevent flat-looking pumpkins: Don’t overfill the balloons. Grapefruit size is the sweet spot, because the plaster has enough room to settle into a squat, rounded shape instead of turning into a plain ball.
To avoid cracks and chips: Let the pumpkins dry the full day before painting or gluing stems. Plaster may feel hard on the outside long before the inside has finished curing.
For easy cleanup: Mix in disposable cups and let any leftover plaster harden before tossing it in the trash. That little habit saves your sink pipes, and in a country house especially, I’ve learned not to take chances with plumbing.