
I love a project that starts with something plain and inexpensive and ends up looking like it has a whole mysterious backstory. This round dollar store mirror gets that kind of makeover with nothing more complicated than hot glue, paint, and a little patience. The magic is in building up those loose swirls so the frame takes on that old carved look once the finish goes on.
This is a wonderful weekend craft if you want dramatic Halloween décor without needing specialty tools or a big budget. If you can doodle with a glue gun, you can make this, and I’ll show you exactly how I build up the detail so it looks rich and antique instead of flat.
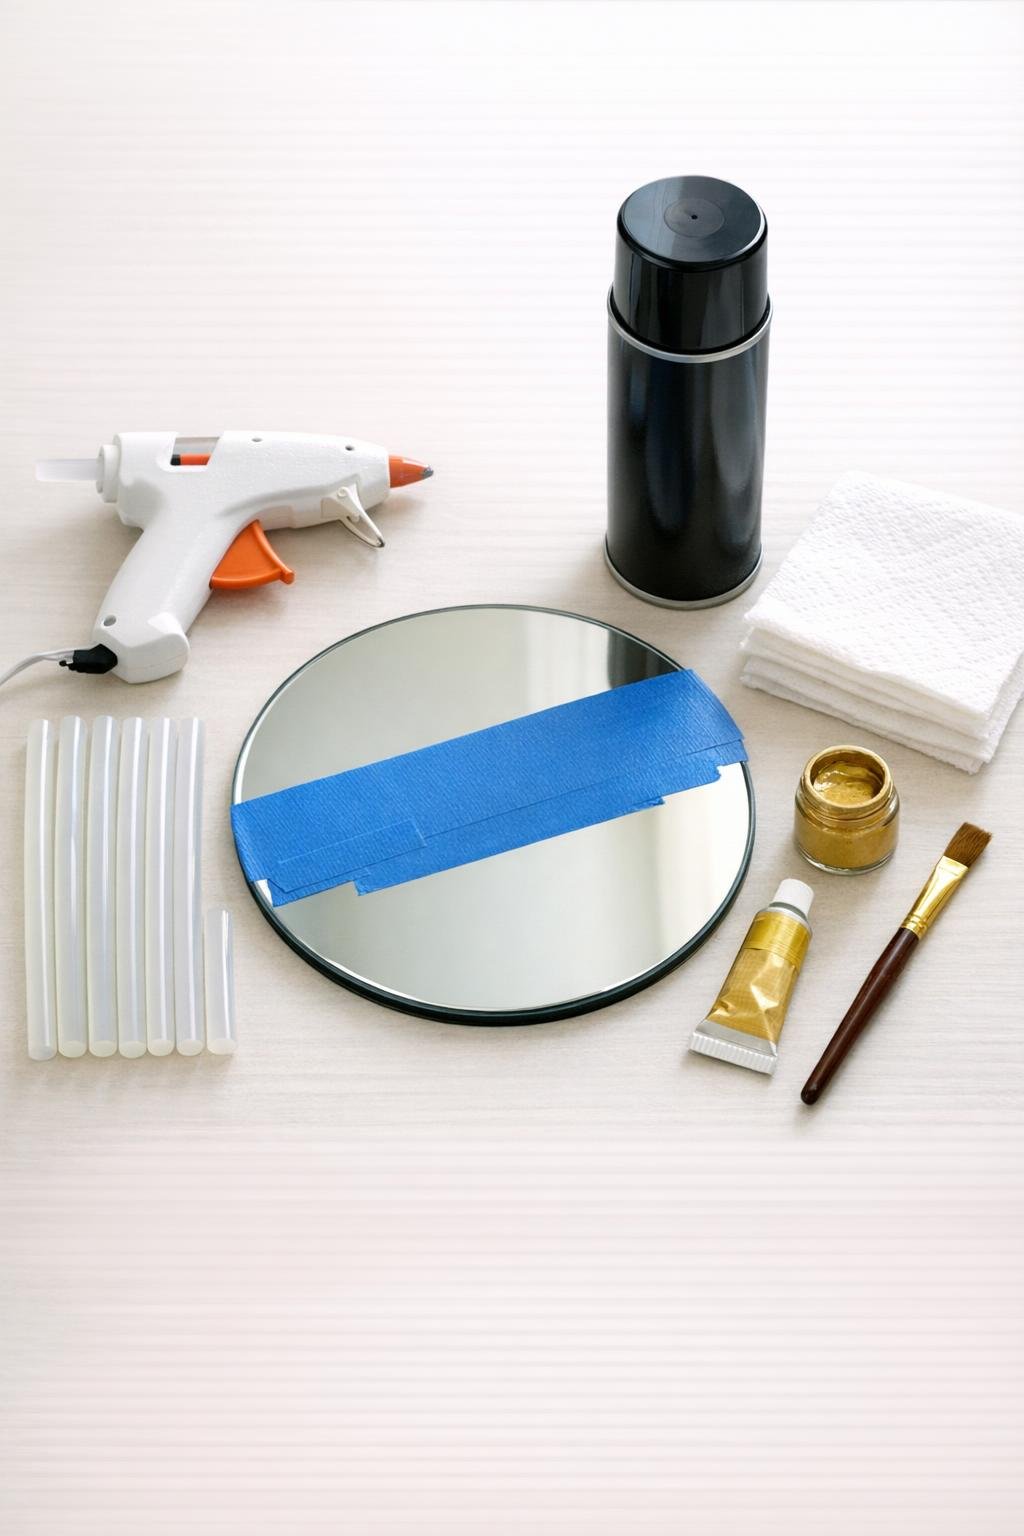
Materials
1 round dollar store mirror, about 10 inches across, with a flat frame edge
Instructions
1. Wipe the mirror frame clean and dry, then tape over the entire glass surface so no glue or paint can touch it. Press the tape down firmly along the inner edge where the frame meets the mirror.
2. Plug in the glue gun and let it heat fully so the glue flows smoothly. Start on the outer frame edge and draw loose, curving swirls, loops, and little curls all the way around the mirror.
3. Go back over each swirl with a second bead of hot glue, stacking it mostly on top of the first line to create raised dimension. Don’t worry about glue strings; I always let them cool and peel them away later.
4. Fill any bare spots with smaller curls, teardrops, and short scrolls so the frame looks full and balanced from every angle. Keep the center glass taped and avoid building glue onto the reflective surface.
5. Let the glue cool completely, then gently pull away any fine glue strings and webs with your fingers or a dry paper towel. This quick cleanup makes the painted finish look much more polished.
6. Set the mirror on scrap cardboard in a well-ventilated area and spray the entire frame with a light coat of black paint. Let it dry for a few minutes, then add 1 or 2 more light coats until every bit of glue is evenly covered.
7. Allow the black paint to dry fully, then dab a tiny amount of gold rub-n-buff or metallic gold paint onto a dry brush or folded paper towel. Lightly skim just the raised areas so the gold catches the high points and the black stays down in the grooves.
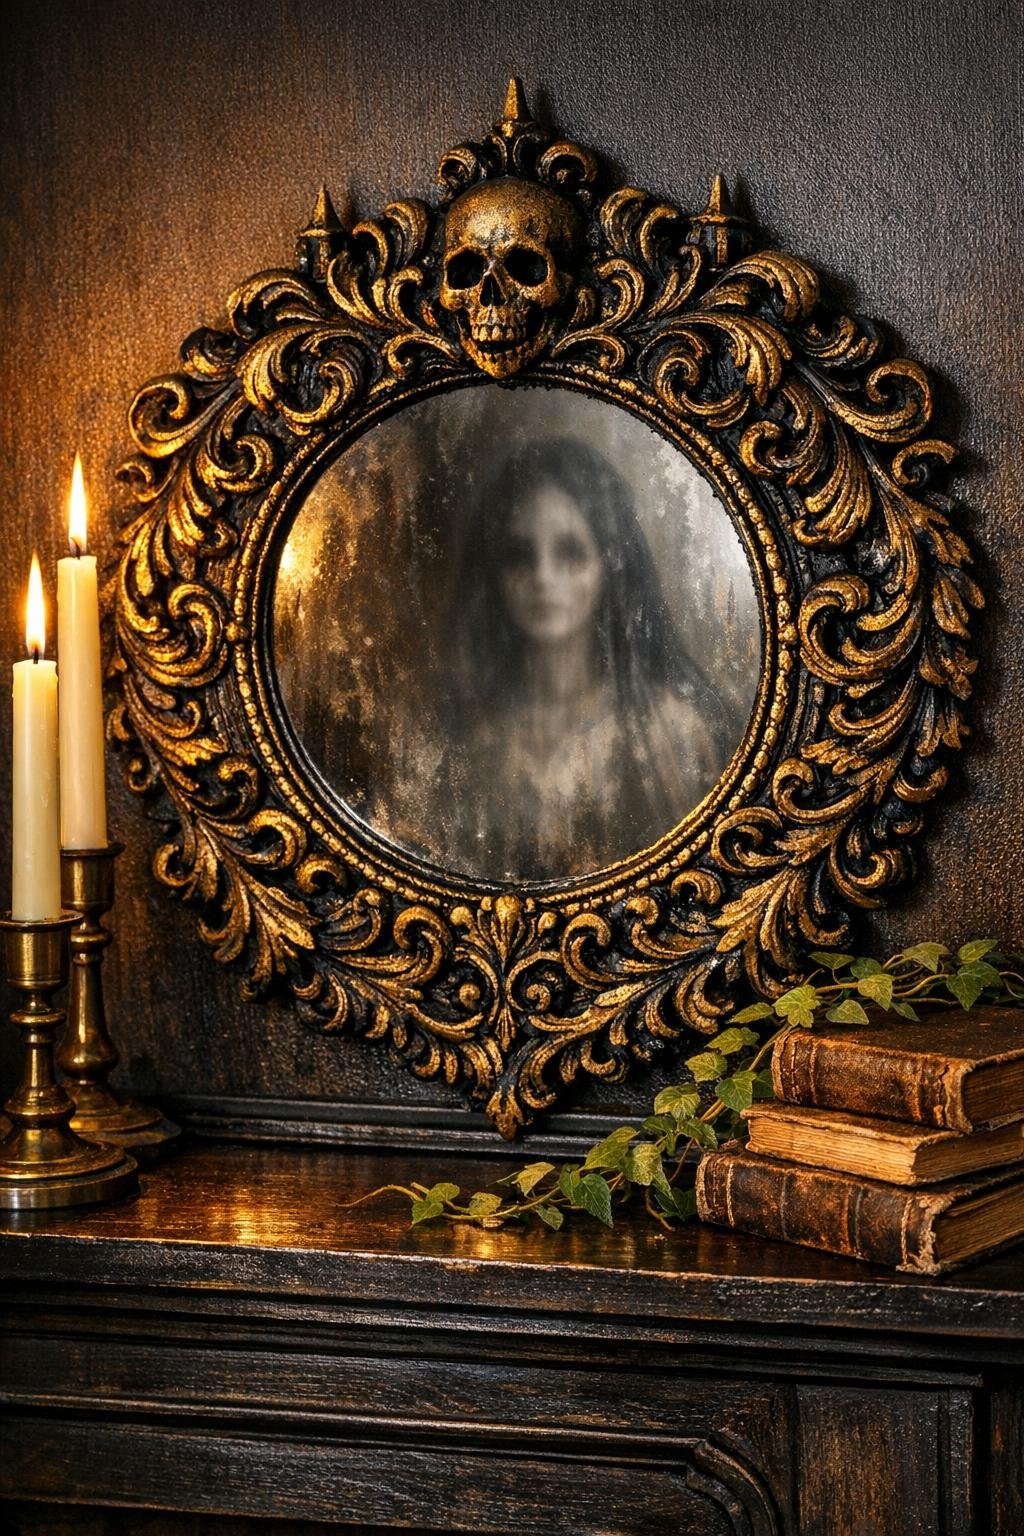
8. Keep dry-brushing until the frame looks aged and dimensional, then remove the painter’s tape from the glass. Buff away any smudges on the mirror, and hang or lean it where that moody antique finish can really show off.
Variations & Tips
More ornate look: Add a few larger S-shaped scrolls first, then tuck smaller curls between them. I find that mixing big and little shapes gives the frame that fuller carved-wood feeling.
For a darker antique finish: Use less gold on your brush and stop sooner. A light hand keeps the mirror moodier, which is especially pretty for Halloween decorating.
If you prefer brighter gold: Use metallic gold paint instead of rub-n-buff and build the highlights in two very light passes. Let the first pass dry before deciding if it needs more shine.
Kid-and-pet household tip: I always let spray-painted pieces dry somewhere undisturbed before bringing them back inside. Once cured, this is an easy piece to style high on a wall, over a mantel, or on a shelf behind other décor.
Glue pattern tip: Try not to make the swirls too uniform. Slightly uneven loops and layered curls are what make it look older and more believable.
Budget note: This is one of those satisfying little projects that looks far more expensive than it is. Around my house, those are the crafts I come back to again and again.