
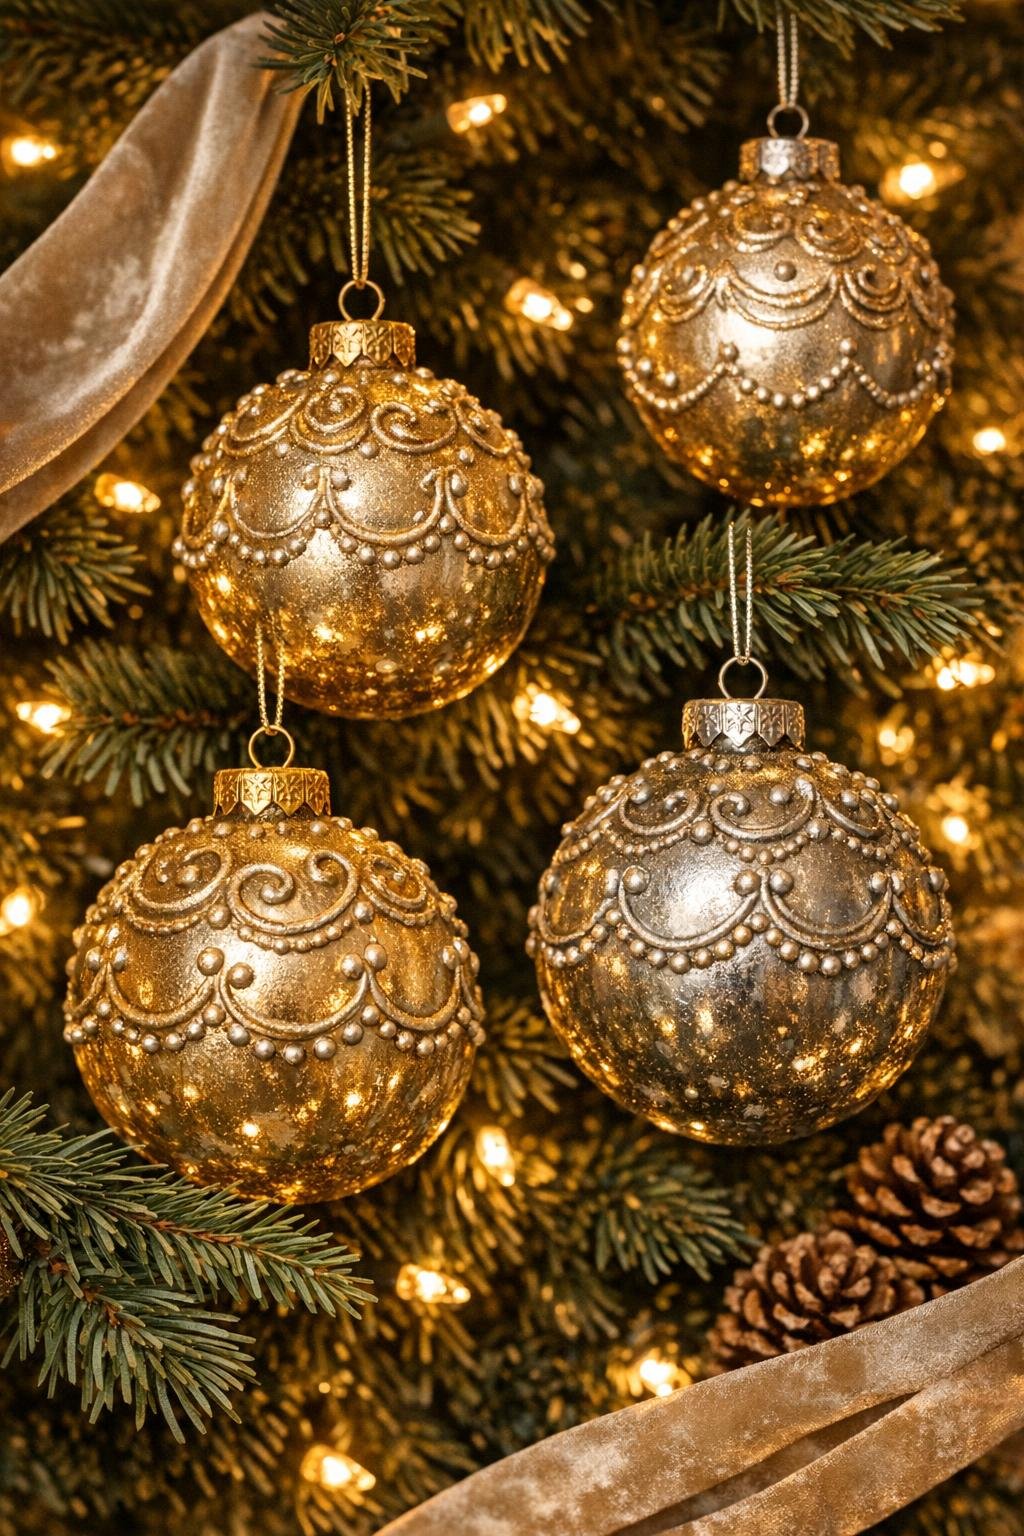
There are a few crafts that feel almost suspiciously easy for how pretty they turn out, and this is one of them. With a plain dollar store glass ornament, a low-temp glue gun, and a couple of coats of metallic paint, you can create that raised, vintage embossed look that feels straight out of an old holiday shop display.
I love projects like this because they fit into a real weeknight. I can set up on the kitchen table after dinner, make a whole batch in about an hour, and end up with ornaments that look far more expensive than they are. If you like easy holiday crafts with a big payoff, this one is absolutely for you.
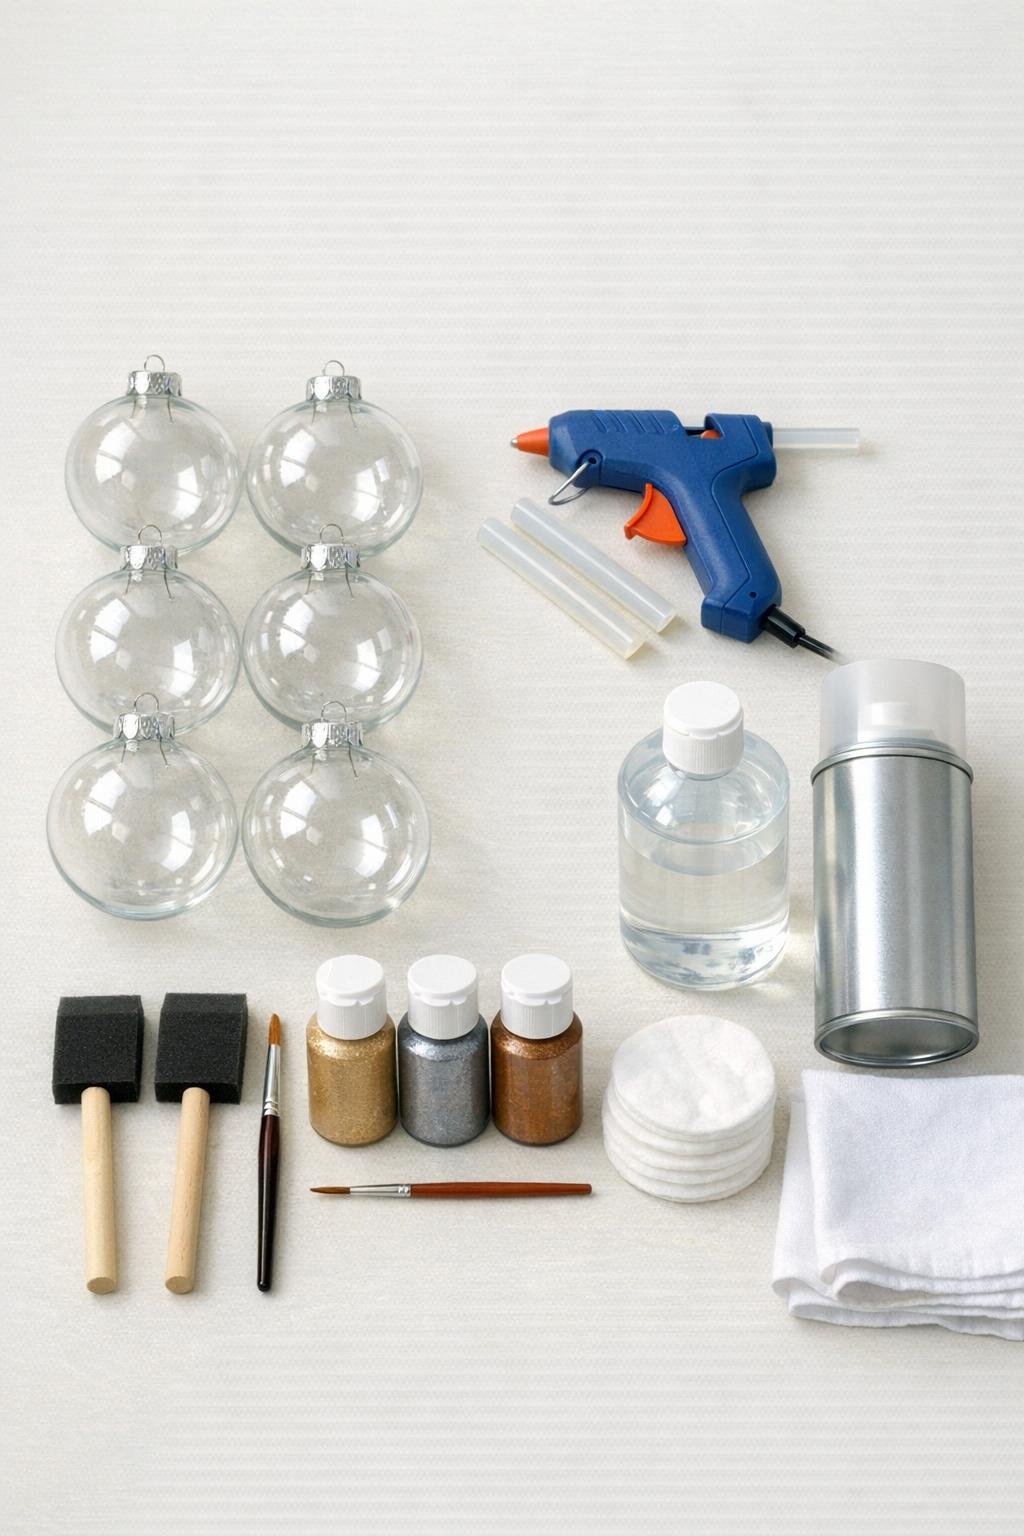
Materials
Instructions
1. Cover your work surface with parchment paper and remove the metal caps from all 6 ornaments. Wipe each glass ball with rubbing alcohol and let them dry fully so the glue and paint stick well.
2. Plug in the low-temp glue gun and let it warm just enough to flow smoothly without becoming runny. Hold one ornament by the neck opening or cap area and start drawing very thin swirls, dots, scallops, and looping lines directly onto the glass.
3. Keep the design light and continuous, filling the ornament with plenty of detail but leaving narrow gaps of smooth glass between the raised lines. Add extra dots around curves and intersections so the finished ornament looks richly embossed instead of sparse.
4. Set the ornament down carefully and let the glue cool completely for 10 to 15 minutes before touching the design. Repeat on the remaining ornaments, varying the patterns slightly so the set looks collected rather than identical.
5. Once the glue is firm, gently pull away any glue strings with clean fingers or the tip of a dry paintbrush. Take your time here, because those tiny strings are much easier to remove before paint goes on.
6. Pour a small amount of metallic acrylic paint onto a disposable plate and load a sponge brush lightly. Dab the paint over the entire ornament in a thin coat, pouncing straight up and down so the paint covers both the glass and all the raised glue details without dragging.
7. Let the first coat dry for about 20 minutes, then dab on a second thin coat for even color and a more solid antique finish. Paint right up to the top neck of the ornament so no clear glass peeks through.
8. For an aged look, dip the fine paintbrush into a small amount of dark bronze or brown metallic paint, wipe most of it off, and lightly dry-brush over the raised lines. This catches the texture and gives the ornament that old-world embossed depth.
9. Let the ornaments dry fully, then reattach the metal caps carefully. Spray each ornament with 1 to 2 light coats of clear acrylic sealer in a well-ventilated area, allowing the first coat to dry before adding the second.
10. Once the sealer is dry, add ribbon or ornament hooks and fluff the hanging loops so they sit neatly. Display the ornaments on the tree, in a bowl, or tied onto gifts where the raised metallic pattern can really catch the light.
Variations & Tips
Color mix: Make the set look extra collected by doing 2 ornaments in champagne gold, 2 in antique silver, and 2 in bronze. I love mixing finishes because it makes even a cheap pack of ornaments feel layered and intentional.
Best glue lines: Keep the nozzle just above the glass and let the glue fall into place in thin beads instead of pressing the tip hard against the ornament. That little trick gives you cleaner raised lines and fewer blobs.
Pattern ideas: Try vines, feathered scallops, snowflake-inspired curls, little berry dots, or bands around the center with dangling loops below. I usually alternate tighter detail near the top and bottom with broader swirls through the middle.
If paint looks streaky: Don’t brush it back and forth like wall paint. Dabbing with a sponge brush gives a much more even metallic finish and helps preserve all that raised texture.
For gifting: Tie each finished ornament with velvet ribbon and tuck it into a small bakery box lined with tissue. It is one of my favorite low-cost handmade gifts because it looks special without taking over my whole weekend.
Durability tip: Do not skip the clear sealer, because acrylic paint can scratch off smooth glass more easily than you would think. Two light coats are better than one heavy coat.
Storage: Wrap each ornament in tissue paper and store them upright in a divided box after the holidays. The raised details hold up beautifully as long as they are not rubbing against each other.