
Fall is when I baby my garden beds a little more than usual. Once the temperatures start swinging and the wind picks up, tender crowns, shallow roots, and newly planted cool-season starts can really benefit from a simple barrier that holds mulch where it belongs instead of letting it skid into the path after the first hard rain. This project turns old garden hose offcuts into a surprisingly tidy mulch-retaining edge, using just two other common shed items to anchor it in place.
I like this one because it feels practical in the most satisfying way: you’re reusing scraps, protecting the bed, and making the whole planting area look more finished in under an hour. If you’ve got a raised in-ground bed, a curved border, or a vegetable patch that always seems to lose mulch along the edge, this is an easy weekend fix with a big visual payoff.
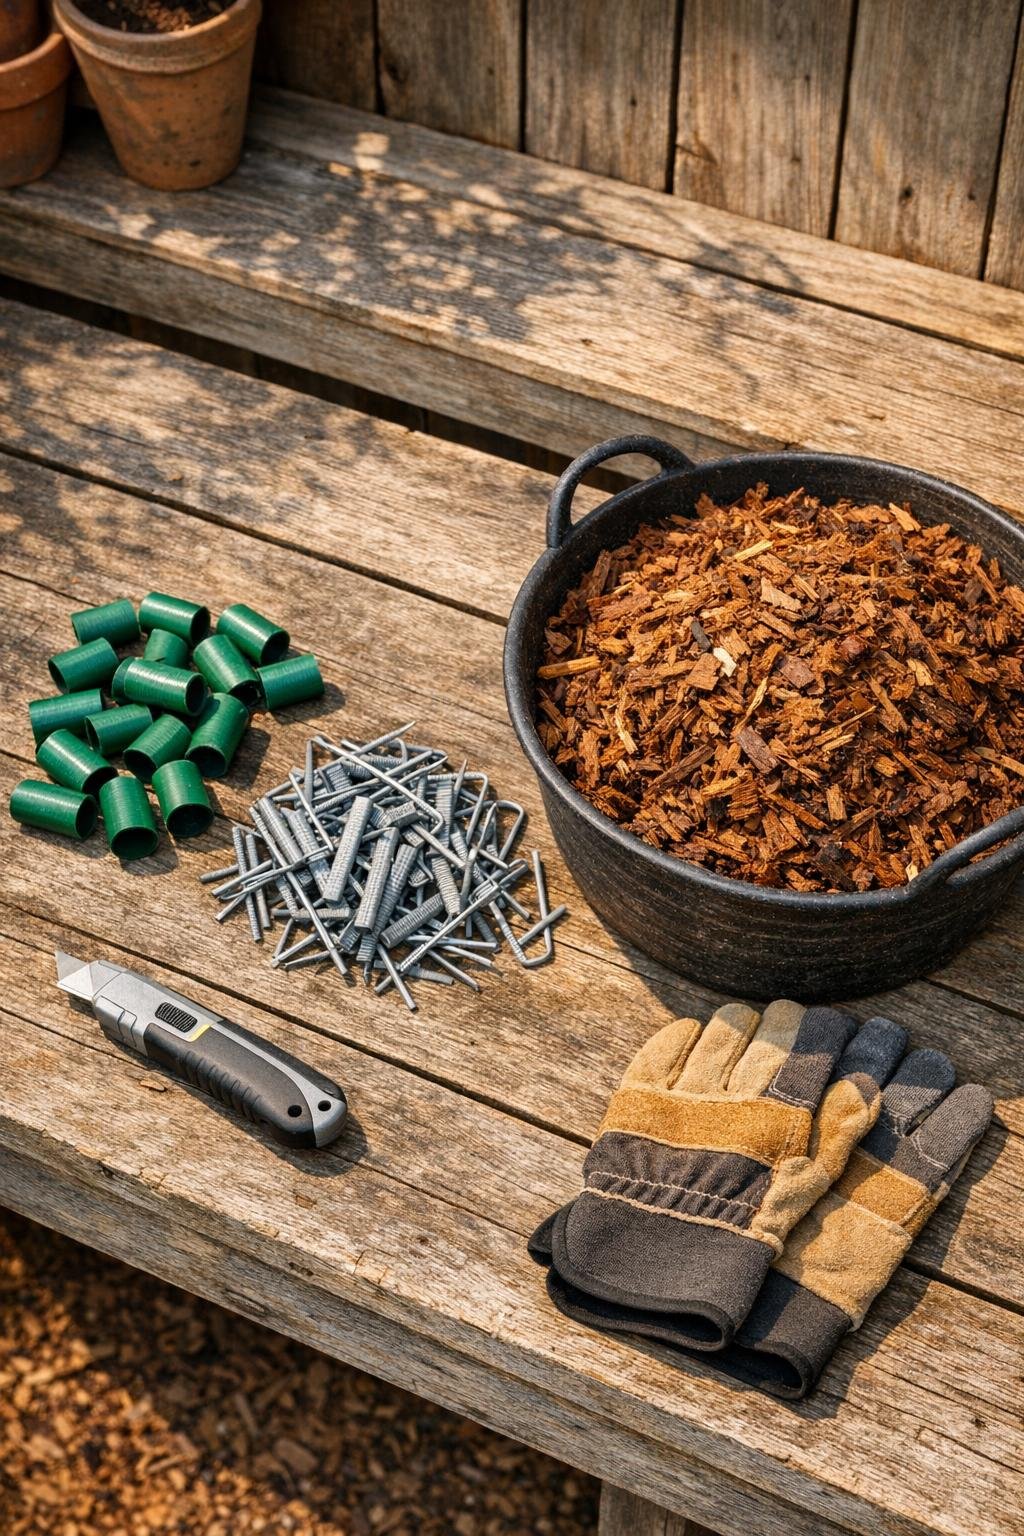
Materials
Instructions
1. Clear the bed edge so you can see the line you want to protect, then pull back any loose mulch 4 to 6 inches from the border. I like to press the soil lightly with my hand or a trowel so the hose pieces sit against a firm surface instead of fluffy debris.
2. Cut all hose offcuts into 12-inch lengths if they are uneven, then slice each piece lengthwise from end to end with a utility knife. Keep the cut as straight as you can so each piece opens into a C-shape that grips the bed edge neatly.
3. Starting at one end of the bed, open a hose piece and press it over the soil edge so the rounded outside faces the path and the slit side hugs the garden side. Slightly nest each new piece against the previous one so the line looks continuous and mulch cannot escape through gaps.
4. Push one landscape staple over each end of every hose piece, straddling the hose and driving it into the soil until snug. On curves or loose soil, add a third staple at the center to keep the hose from lifting.
5. Continue around the bed, bending the hose sections gently to follow curves and trimming one shorter when needed to finish a corner or end cleanly. If a piece wants to twist, rotate it so the flattest side contacts the soil before stapling it down.
6. Pull the mulch back into the bed and pack it lightly against the inside of the hose border to create a low, cushioned berm. Use enough mulch to make a generous 2- to 3-inch layer across the bed, with a slightly thicker ridge right behind the hose barrier.
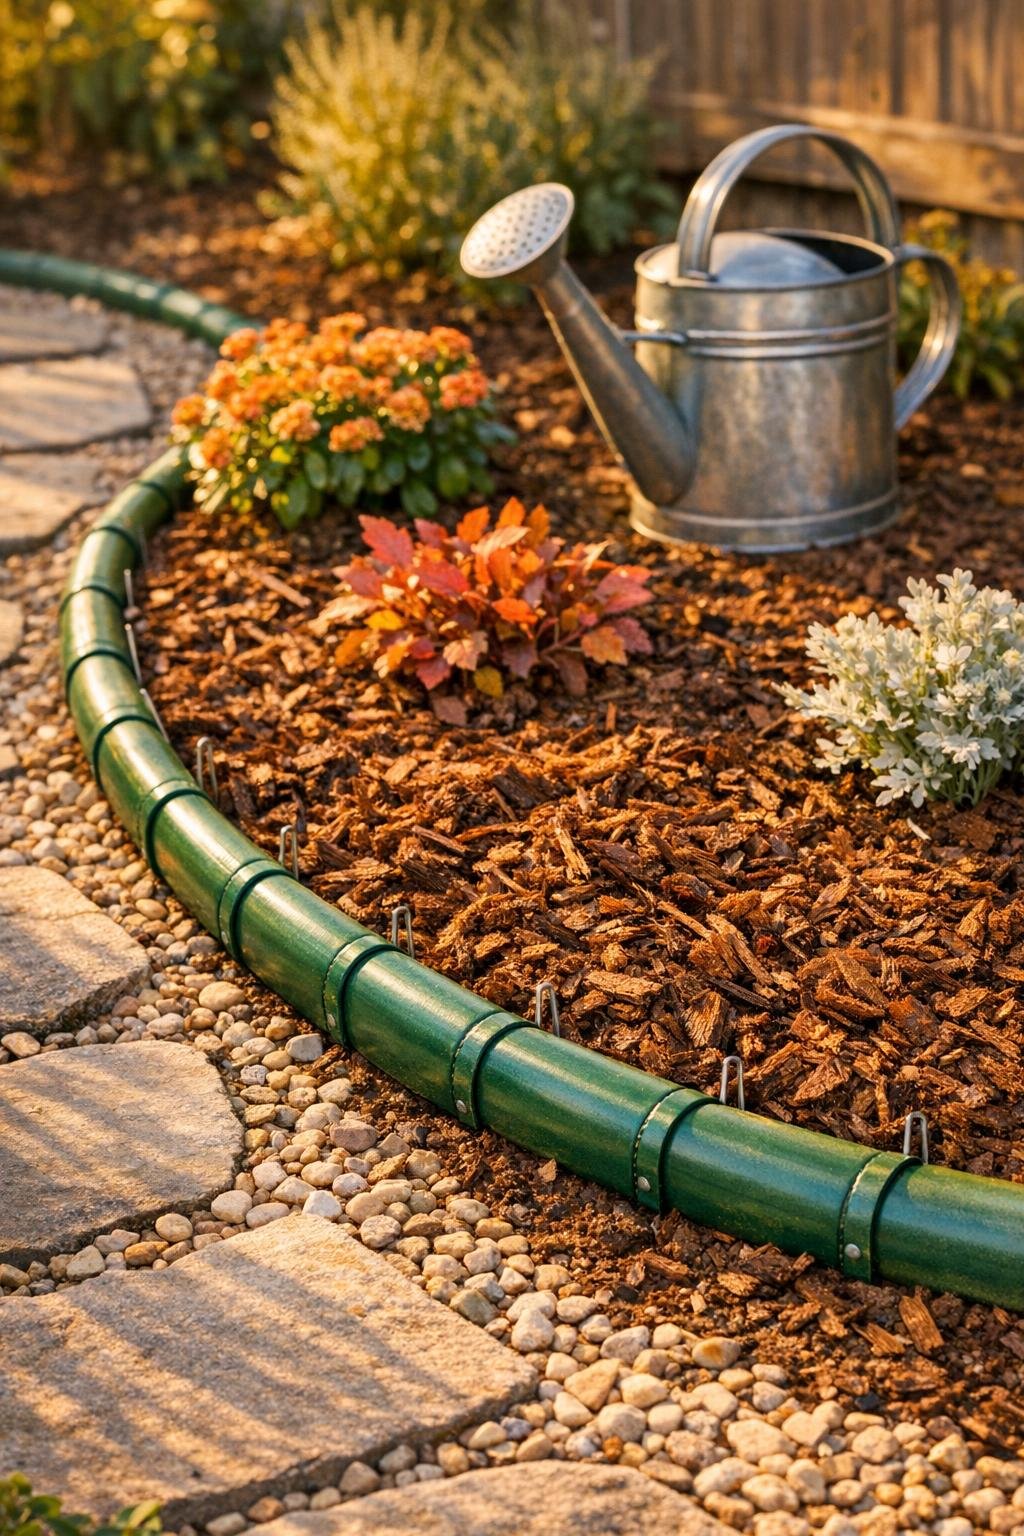
7. Water the mulch lightly to settle everything together, then press any lifted hose sections back down and add an extra staple wherever the line shifts. Once watered in, the border reads as a clean, continuous edge that helps hold mulch through wind and rain.
Variations & Tips
For raised vegetable rows: Use shorter 8- to 10-inch hose pieces on tighter curves and around narrow row ends, because they bend more easily and give you a smoother line.
For extra mulch control: Build the mulch ridge a little higher, about 4 inches behind the barrier, if your bed slopes toward a path or driveway and tends to wash out in heavy rain.
Best hose choice: Older rubber or reinforced hoses hold their shape better than very soft expandable styles. If the hose is brittle or cracked all the way through, skip it and use sturdier sections only.
Cold-weather tip: If the hose feels stiff, set the pieces in the sun for 10 to 15 minutes before slicing and shaping them. Warm rubber is much easier to cut and curves with less fuss.
Neater finish: Keep the top of the hose just peeking above soil level instead of burying it fully. That little rounded edge is what catches wandering mulch and gives the bed a crisp outline.
Where this works best: I use this most often on seasonal beds, herb borders, and freshly mulched perimeters around shrubs. It is especially handy in fall when I want protection now without committing to a permanent hard edging material.