
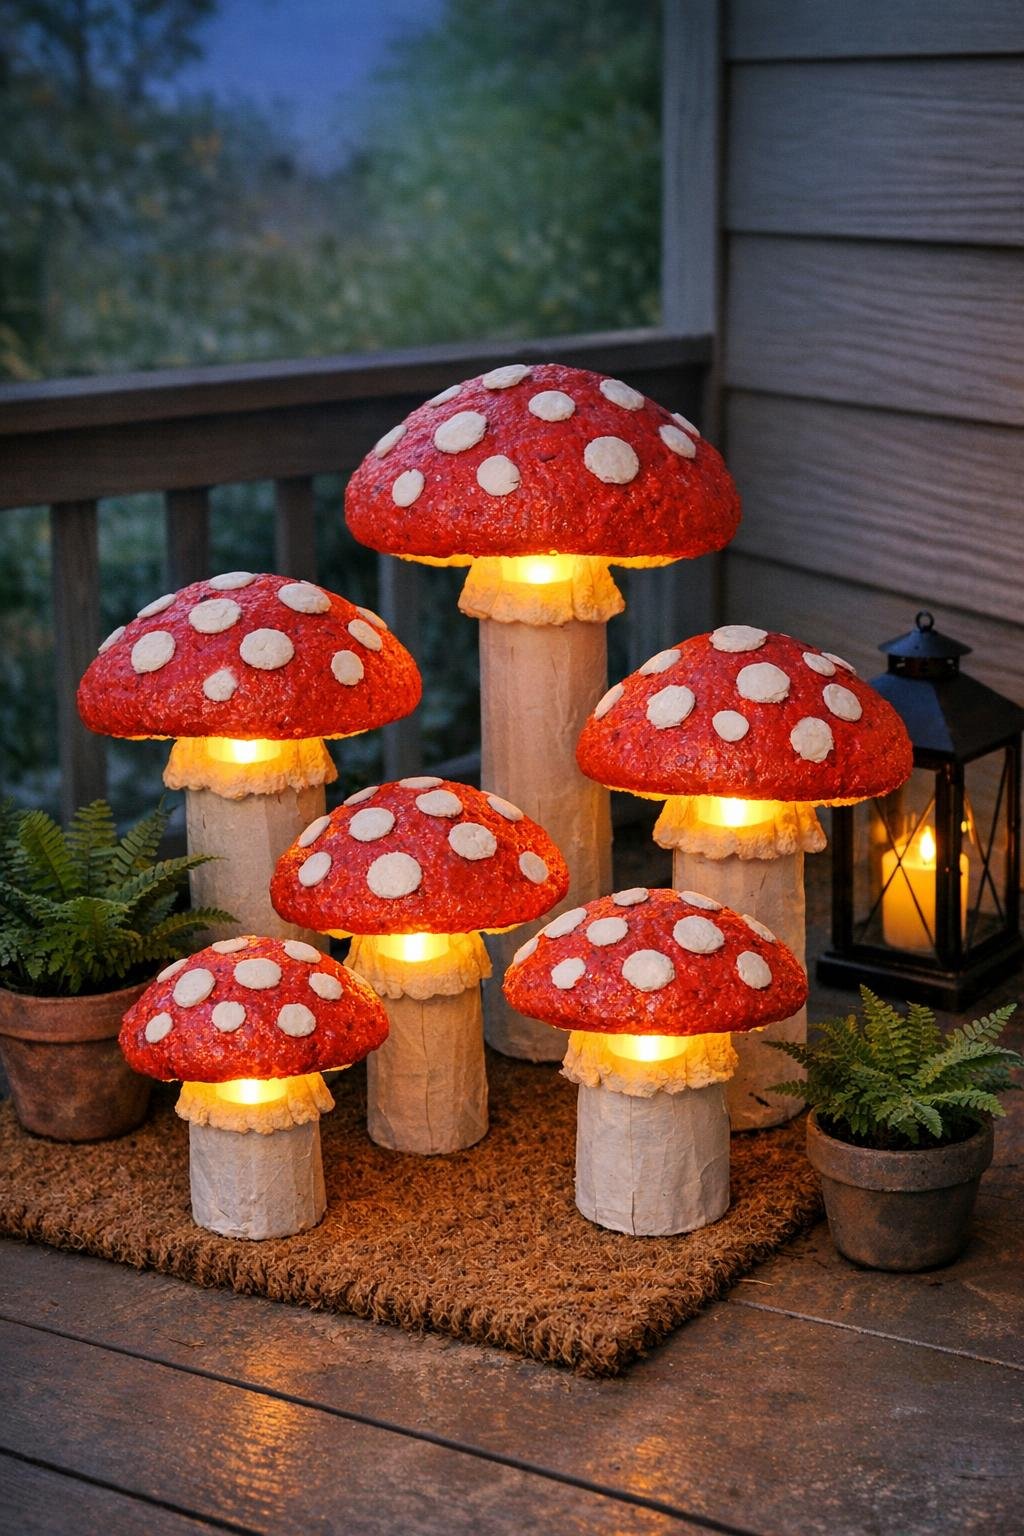
There are some projects that feel a little bit like a county-fair surprise booth to me: plain, everyday supplies going in, and something far more charming coming out the other side. These glowing toadstool lanterns are exactly that kind of make. With nothing more than paper cups, cardboard tubes, expanding foam, paint, and a handful of battery tea lights, you can build a whole little mushroom patch that turns magical after dusk.
I especially love this project for a porch corner, an entry table, or a snug spot by the fireplace where a bit of woodland whimsy feels welcome. It’s easy enough for a beginner, but the finished set looks delightfully generous because you’re making six lanterns at once, in varied heights, like a proper storybook cluster instead of a lone mushroom sitting by itself.
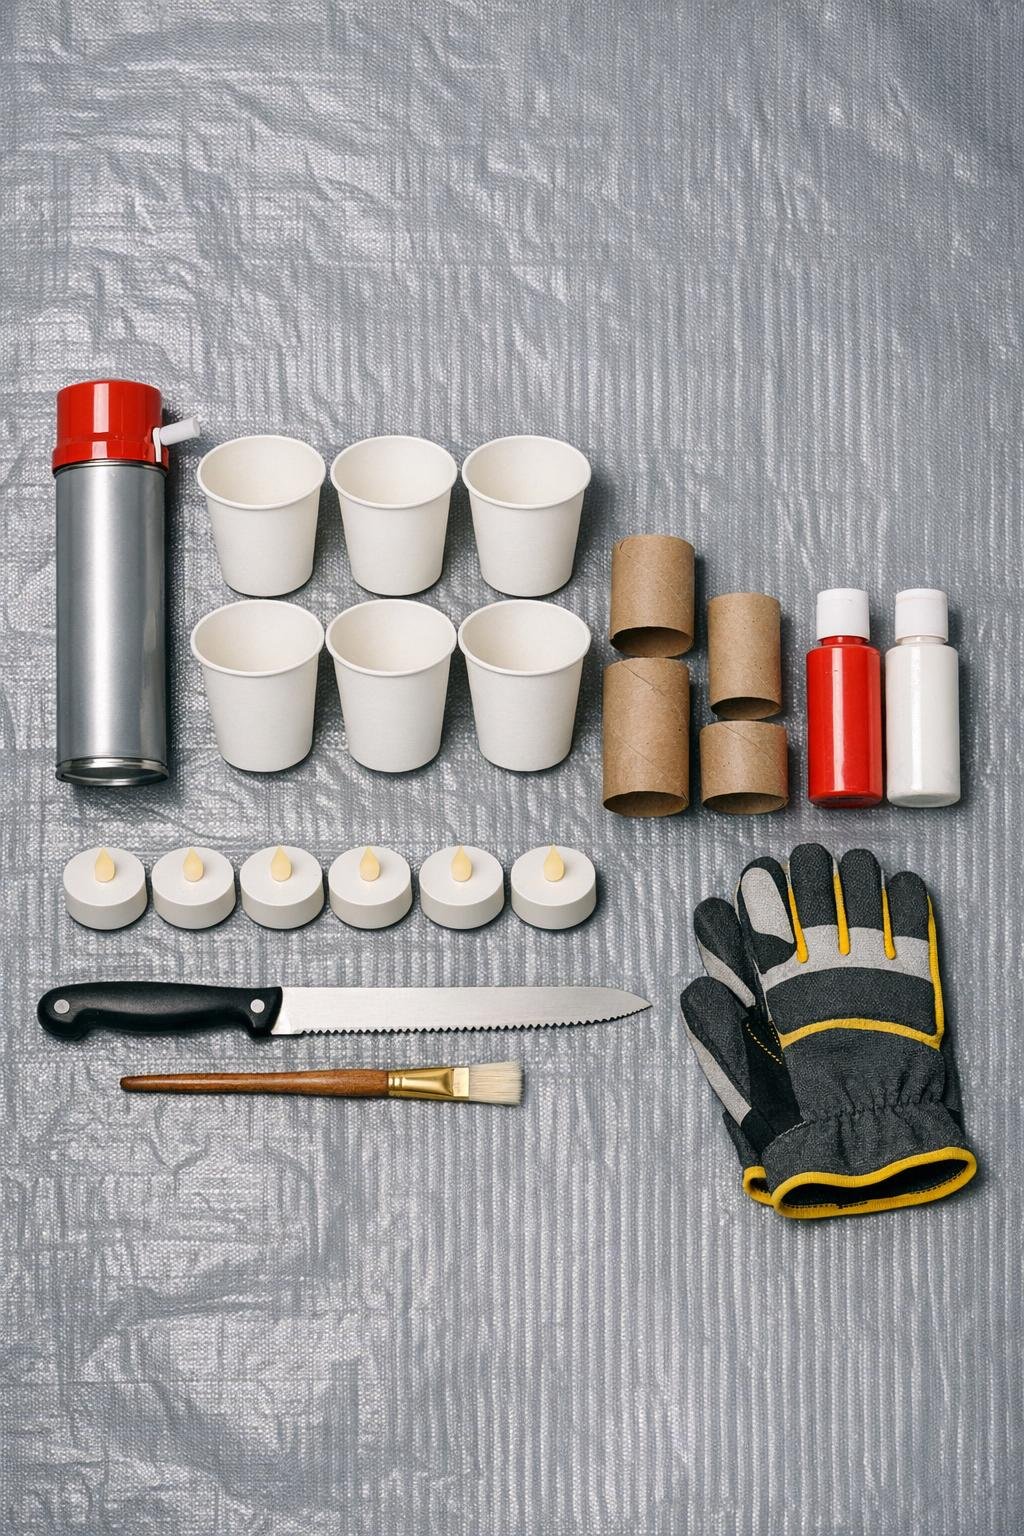
Materials
1 can expanding foam, standard 12–16 oz size
Instructions
1. Spread the tarp over your work surface and put on gloves before opening the foam. Expanding foam is wonderfully useful but sticky as sin, and once it grabs hold of fabric or skin, it does not let go politely.
2. Set the 6 paper cups upright on the tarp with a few inches between them. Arrange the cut cardboard tubes nearby so your stem heights are ready to go for a nicely staggered mushroom grouping later.
3. Shake the can of expanding foam according to the package directions, then squirt foam into the first cup until it is only about one-third full. Repeat with the remaining cups, resisting the urge to add more, because the foam will rise well above the rim on its own.
4. Leave the cups undisturbed to expand and cure overnight. By morning, each cup should have a rounded dome of hardened foam on top, which becomes the toadstool cap.
5. Peel or tear away the paper cups from the cured foam domes. If any paper clings to the foam, rub it off gently with your fingers or trim it away with the serrated knife.
6. Use the serrated knife to trim each dome into a fuller toadstool cap shape, rounding the top and softening any awkward bulges. Keep the caps a little irregular rather than perfectly smooth, because that hand-shaped look makes them more believable and charming.
7. Turn each cap over and carefully hollow out a shallow cavity underneath the center. Make the hollow just wide and deep enough for an LED tea light to nest underneath while sitting on top of the cardboard tube stem.
8. Test-fit a tea light and tube with each cap before painting. Set a tea light on top of a tube, place a cap over it, and check that the cap sits steadily while leaving a little open space underneath for the light to spill out.
9. Paint all 6 cardboard tube stems white, covering the outside fully and the top edge neatly. Stand them upright to dry, and if the cardboard still shows through, add a second coat.
10. Paint the top and outer sides of each foam cap bright red, leaving the hollow underside unpainted or only lightly brushed if needed. Let the red dry completely before adding the classic mushroom dots.
11. Dab white spots over each red cap, varying the size from pea-size to dime-size for a natural toadstool look. I like to cluster a few near the center and scatter more around the edges so the caps look lively rather than too measured.
12. Once everything is dry, place one LED tea light on top of each cardboard tube and set a cap over it. Group the finished toadstool lanterns together by height, tucking the tallest toward the back and the shortest toward the front so they read like a little glowing woodland patch.
Variations & Tips
Stem height mix: Make the set more dramatic by varying the tube lengths even more, but keep the widest caps on the shorter stems so the lanterns stay steady.
Cap shaping tip: If one cap expands lopsided, don’t fuss over it too much. A little wobble and unevenness actually makes the mushrooms look more natural, like the ones that pop up after a summer rain.
Paint coverage: Expanding foam can soak up the first coat of paint a bit, so plan on touching up the red after it dries. A second coat gives the caps that rich storybook color that really glows at night.
Safer lighting: Use only battery LED tea lights here, never real candles. The cardboard stems and foam caps are for gentle faux light only.
Best placement: These hold up best indoors or on a covered porch, since the cardboard stems should stay out of the rain. If you want them outside for a party evening, bring them back in afterward.
Display idea: Nestle the finished lanterns around a pot of ivy, a basket of mums, or a few faux autumn leaves to make the whole grouping feel fuller. Six together already make a lovely patch, but a little greenery around the base helps them look truly enchanted after dark.