
I keep a small compost setup going most of the year, and by the end of the season I’m always looking for one more easy way to make the garden work harder over winter. This stacked terracotta worm habitat is one of those wonderfully simple tricks that looks almost too basic to matter, but it really does. The broken pot pieces create protected little air pockets in the soil, and with two inexpensive add-ins, you end up with a cozy feeding zone that encourages worms to move in and stay put.
I especially love this project because it uses something I already hate throwing away: busted clay pots. If you’ve got a vegetable bed, a raised planter, or even a big garden box that could use richer soil by spring, this is the kind of low-effort, high-payoff project that fits into a busy weekend. I’ve made versions of this while cleaning up the yard before the first real Midwest frost, and it always feels good to turn a mess of shards into something genuinely useful.

Materials
Instructions
1. Pick a spot in a garden bed, raised bed, or deep planter where you want worm activity concentrated, then loosen a 12-inch-wide patch of soil with a trowel to about 3 inches deep.
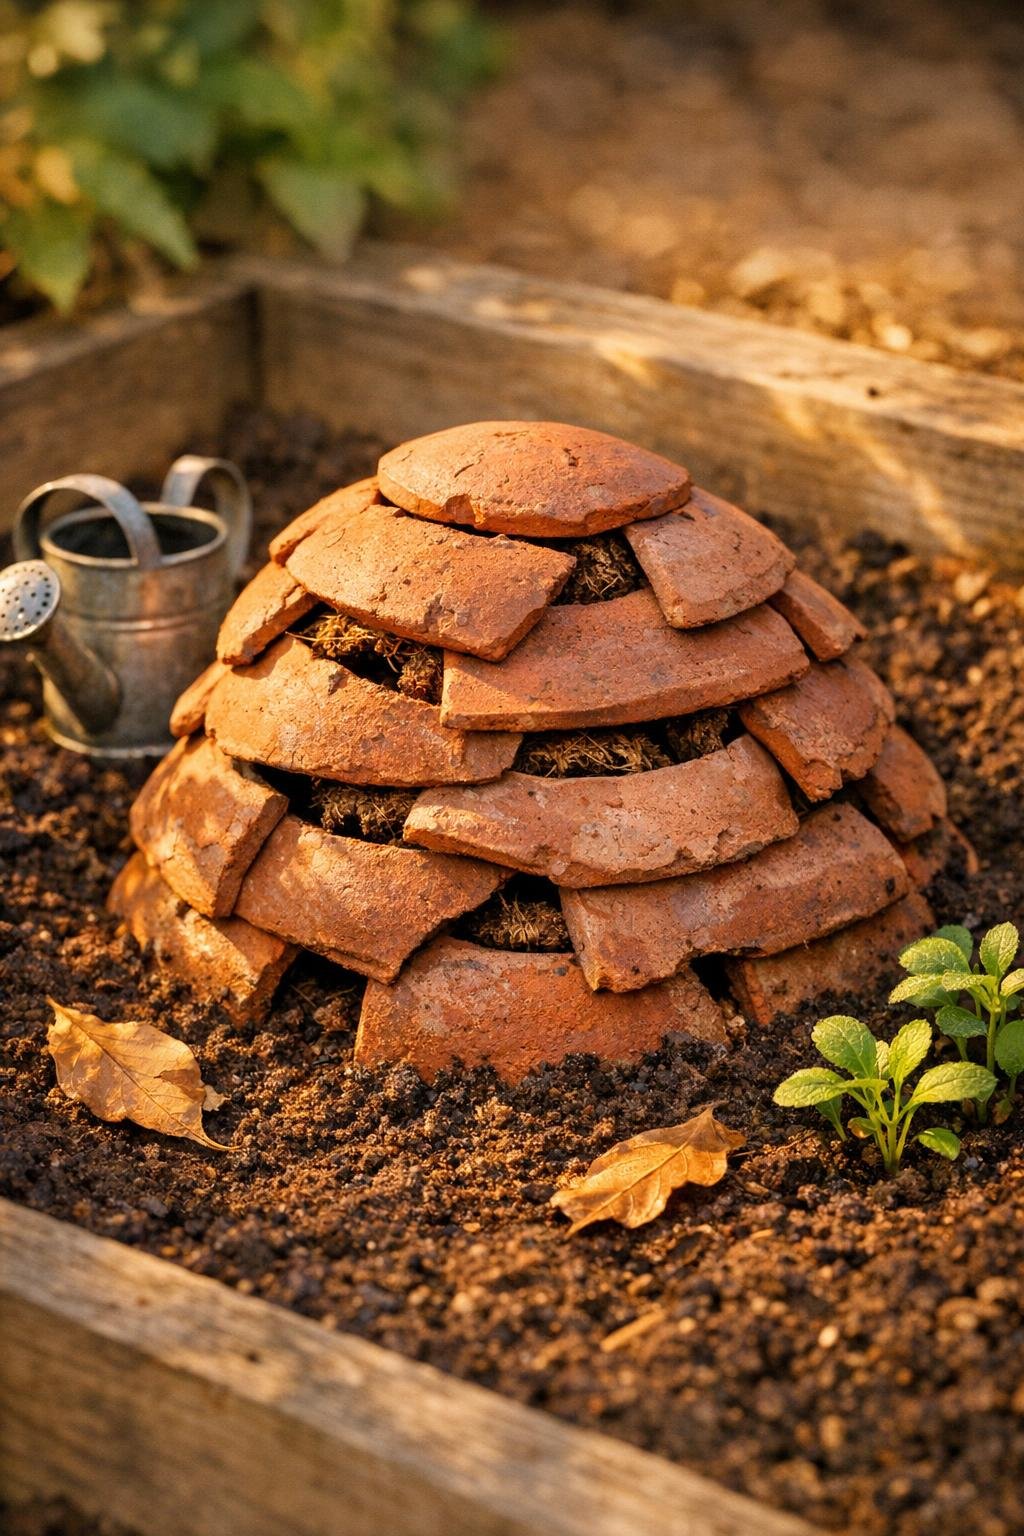
2. Press the largest terracotta shards into the soil in a loose circle, curved sides facing inward, so they form a low ring about 8 to 10 inches across with small gaps between the pieces.
3. Layer a second round of medium shards over the first, overlapping them like roof tiles so the gaps are partly covered but the structure still has pockets and tunnels.
4. Tuck one strip of coconut coir around the inside wall of the shard ring, letting it line the clay pieces and create a moisture-holding sleeve.
5. Add 1 cup of chopped kitchen scrap compost or shredded leaves into the center, then cover that lightly with a handful of soil so the food is buffered and won’t attract pests on the surface.
6. Lay the second strip of coir loosely over the top of the food pocket, then stack 3 to 5 more terracotta shards over it in a dome-like cap that still leaves side openings for airflow and worm access.
7. Wrap jute twine around the stack two or three times and tie it snugly enough to keep the upper shards from sliding, but not so tight that you crush the shape or close the openings.
8. Tuck the final strip of coir into any larger side gaps where you want extra shade and moisture retention, leaving a few visible entry points at soil level.
9. Pull soil up around the outside base of the stack to lock it in place, then press gently so the habitat feels stable and looks integrated into the bed rather than perched on top.
10. Water the whole area slowly with 2 to 3 cups of water until the coir and surrounding soil are evenly moist but not soupy.
11. Refresh the center every 1 to 2 weeks with a small handful of chopped scraps or leaves, always covering fresh material with a little soil or coir to keep the habitat tidy and active through the end of the season.
Variations & Tips
For raised beds: I like to place one habitat near heavy feeders like tomatoes or squash, about 6 to 8 inches away from the main stem, so worms can improve the soil nearby without disturbing roots.
For planters: Use 6 to 8 smaller shards instead of a full-size stack and build a 5- to 6-inch-wide version in a large container at least 16 inches across.
Best food additions: Chopped vegetable peels, coffee grounds, crushed eggshells, and shredded leaves break down nicely here. I skip meat, dairy, oily foods, and big citrus chunks.
Moisture check: If the coir feels crisp and dry, add a little water; if the area smells sour or looks slimy, back off on both food and moisture for a week.
Cold-weather use: In my climate, I keep adding leaves and mild kitchen scraps until the ground starts freezing hard, then I just let the habitat sit and finish mellowing in place.
If you do not have coir: Burlap works well as a substitute, and even folded brown paper can help temporarily, though coir lasts longer outdoors.
Why terracotta helps: Clay naturally buffers moisture and temperature, so those curved broken pieces create a sheltered little zone that worms seem to find quickly once food and moisture are consistent.