
I love a Halloween project that lands somewhere between clever and effortless, and this one absolutely does. You start with a plain dollar store foam pumpkin, wrap it in first aid gauze, and with just a couple of tiny details, it turns into a playful seasonal accent that looks far more charming than its tiny budget suggests.
This is a perfect quick craft if you want something cute for a shelf, entry table, or kitchen counter without pulling out a whole afternoon's worth of supplies. The key is keeping the wrap loose and irregular so it reads like an old movie mummy instead of a neatly bandaged pumpkin. It takes about 15 minutes, costs only a few dollars, and gives you one of those satisfying little transformations I always appreciate in busy seasons.
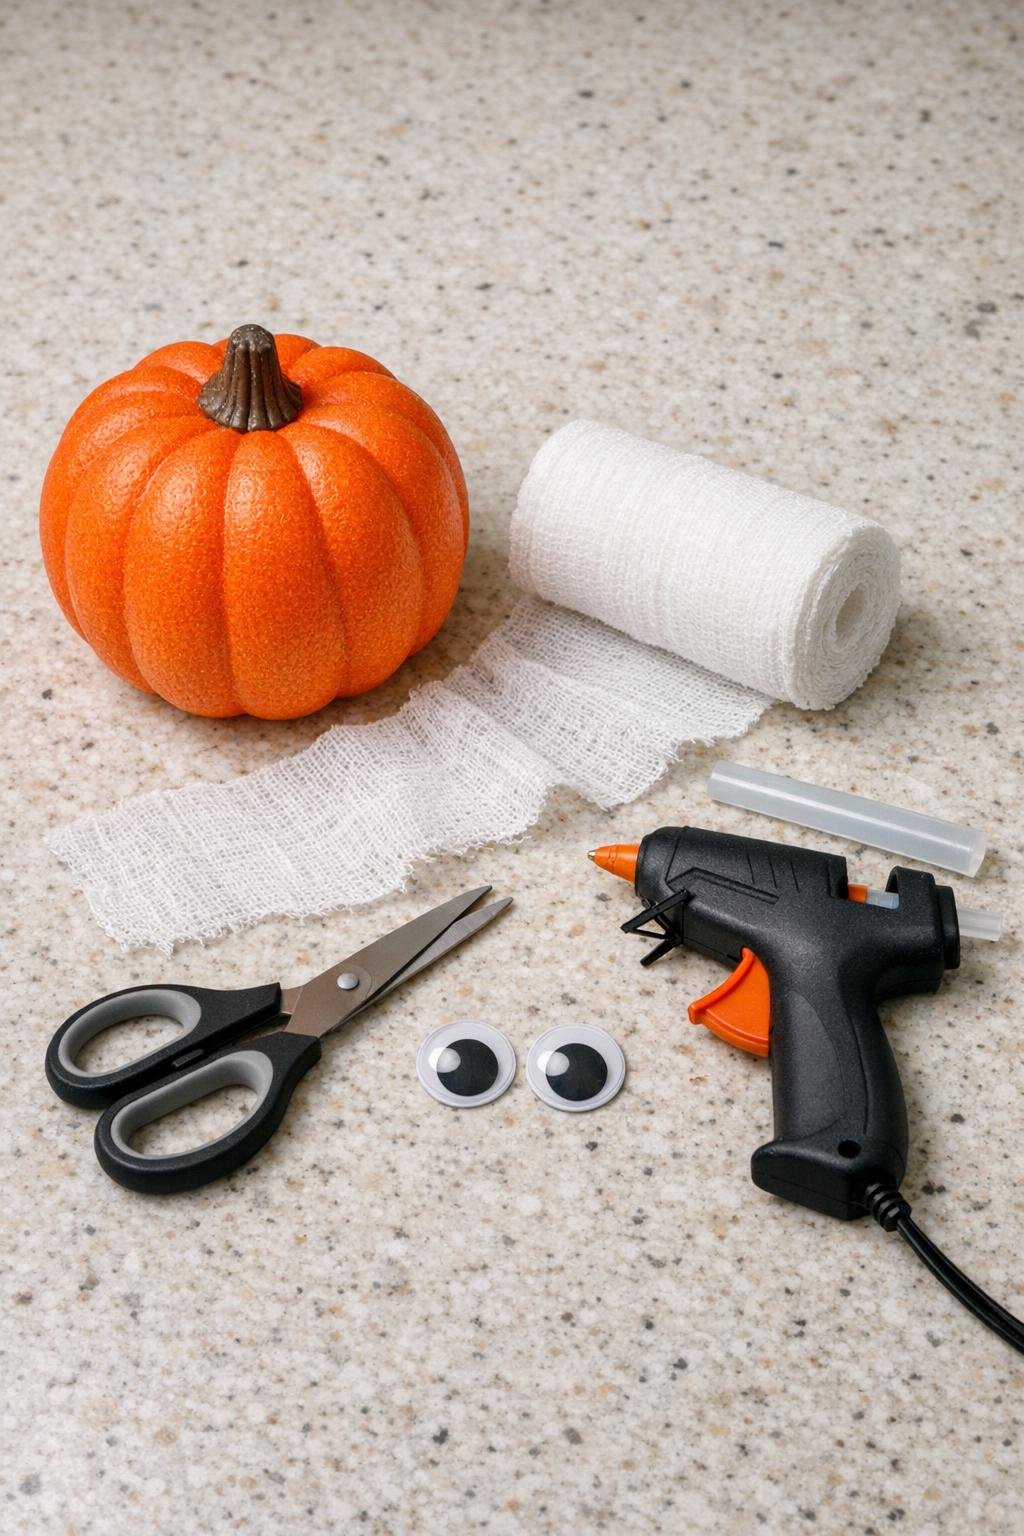
Materials
Instructions
1. Set the foam pumpkin on your work surface and plug in the hot glue gun so it is fully heated before you start wrapping.
2. Trim off a short starter piece of gauze if the end is ragged, then place a pea-sized dab of hot glue low on one side of the pumpkin and press the end of the gauze into it for a few seconds.
3. Wrap the gauze around the pumpkin at a slight angle, keeping it loose enough that the ridges of the pumpkin still show and small slivers of orange peek through.
4. Add a tiny dab of hot glue every few turns, especially where the gauze crosses a slick curve, so it grips the foam instead of sliding down.
5. Change direction as you wrap, crisscrossing the gauze over itself and leaving uneven openings so the finish looks casual and mummy-like rather than tight and tidy.
6. Cover most of the pumpkin, including part of the top around the stem, but stop before the surface is completely hidden; the contrast of white gauze and orange peeking through is what makes it work.
7. Tuck the end of the gauze under a nearby layer, secure it with a final small dab of hot glue, and snip away any excess.
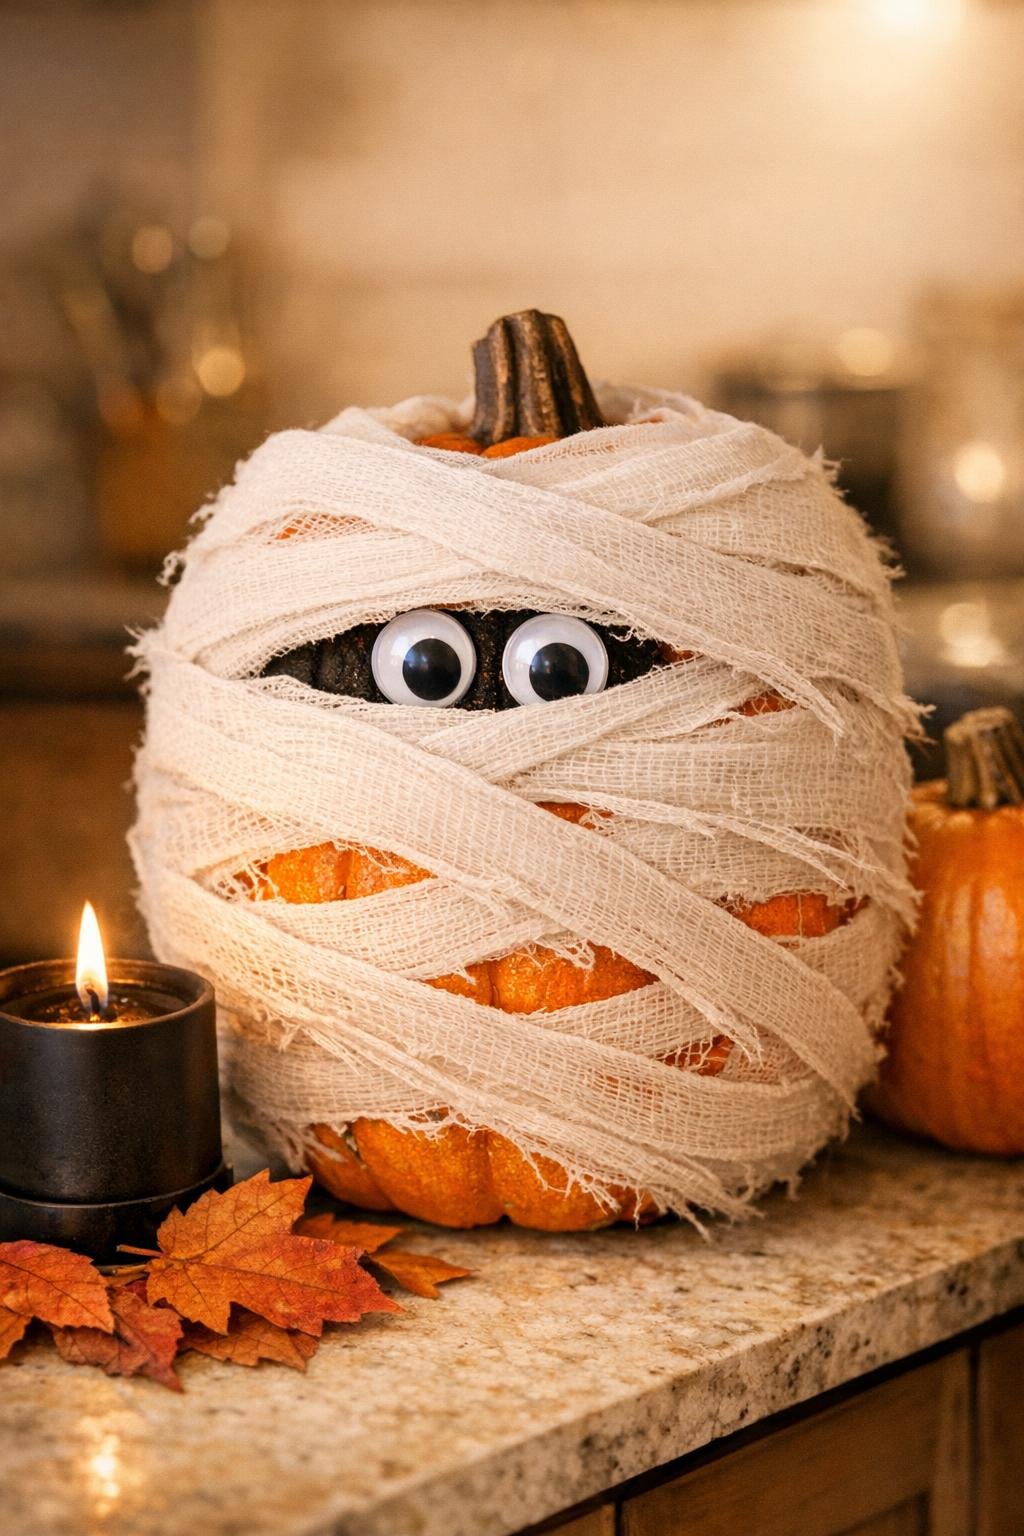
8. Choose a gap near the upper front of the pumpkin and hot glue the two googly eyes side by side underneath the gauze so they look like they are peeking out.
9. Gently lift and adjust a few strips of gauze around the eyes with your fingers until the face looks slightly crooked and playful.
Variations & Tips
Make a little group: These look especially good in a cluster of three. Use one 5-inch pumpkin, one 6-inch pumpkin, and one 7-inch pumpkin, then vary the eye placement so each one has its own personality.
Use the stem to your advantage: If your foam pumpkin has a nice stem, leave more of it exposed. That bit of visible structure helps the finished piece still read clearly as a pumpkin.
Don’t wrap too tightly: This is the biggest trick in the whole project. Tight, even wrapping makes it look like a medical dressing, while loose, uneven layers create the lighthearted mummy effect.
Glue sparingly: You only need tiny dabs under the first wrap and every few turns after that. Too much glue can soak through the gauze and leave hard shiny spots.
Try aged color: If you want an older, spookier look, lightly brush the gauze with a very small amount of diluted tan or light brown craft paint after wrapping. Let it dry completely before adding the eyes.
Display idea: I like these on a tray with a candle and a couple of mini pumpkins, because the white gauze stands out beautifully against darker fall colors. They are also cute tucked onto a bookshelf or set beside a bowl of Halloween candy.