
There is something so satisfying about turning a humble ball of yarn and a dinner fork into a whole batch of tiny pumpkins. I love projects like this because they feel easy enough to squeeze into an afternoon, but the finished pieces have that sweet, handmade charm that makes a shelf, mantel, or fall table feel extra cozy.
If you want a simple seasonal craft that does not require special tools or a big budget, this is a wonderful one. I especially like making these in batches while chatting at the kitchen table, and once you get the rhythm of the fork pom-pom method, the little pumpkins come together surprisingly fast.
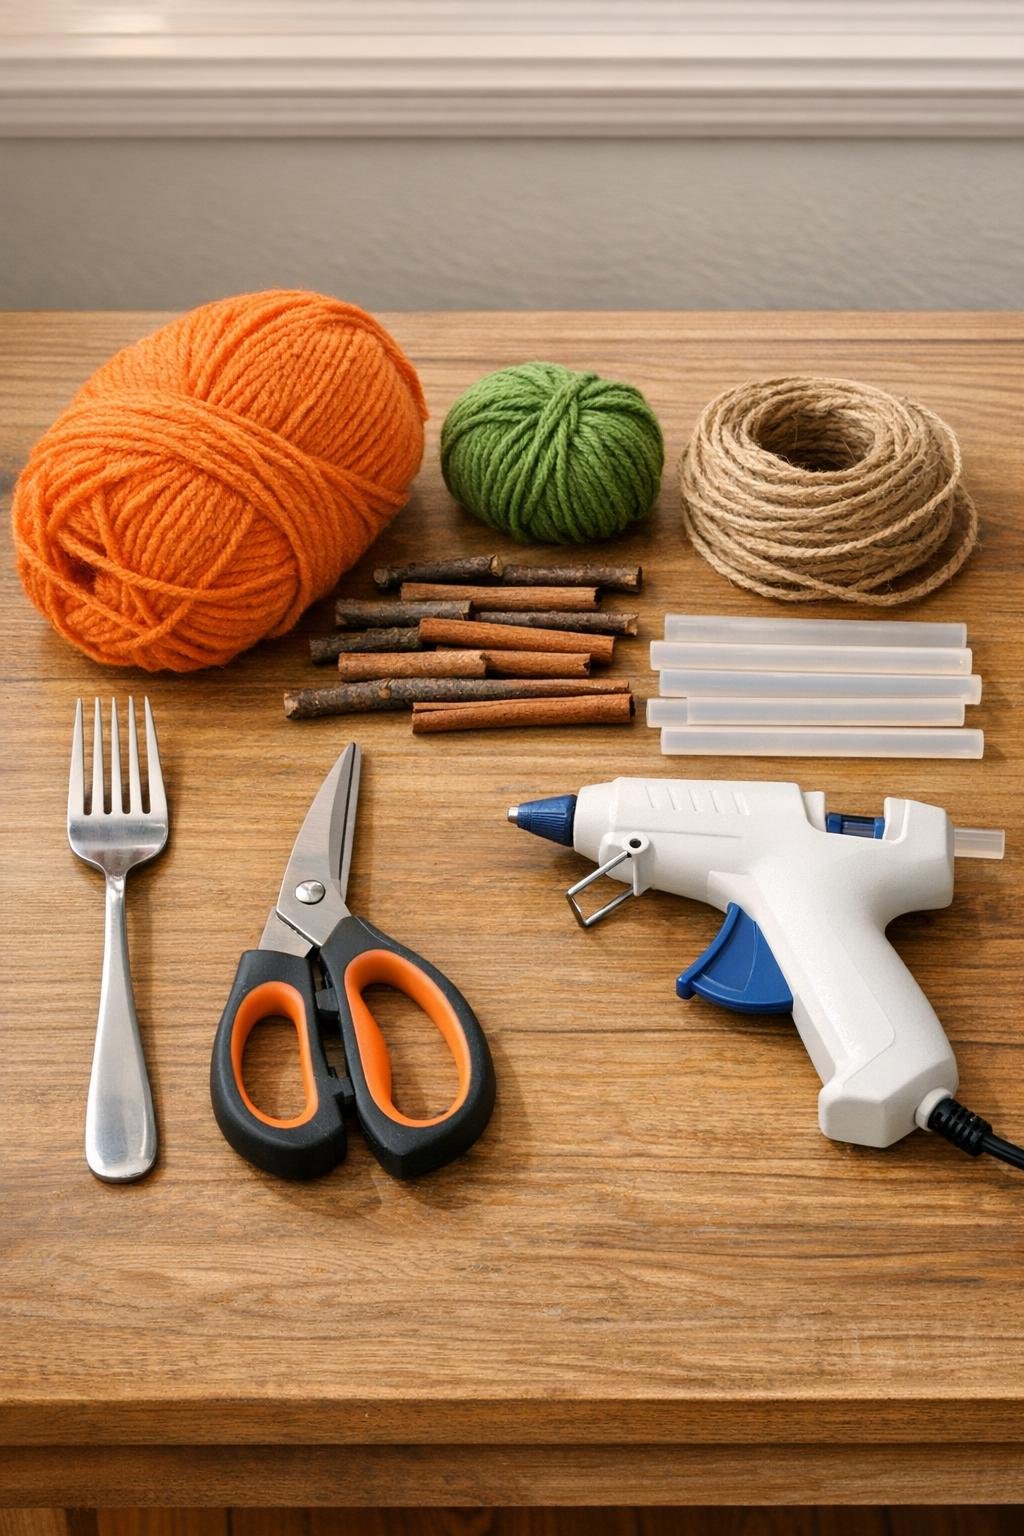
Materials
Instructions
1. Cut your supplies before you start so assembly goes smoothly: cut 12 pieces of orange yarn at 6 inches each for the center ties, cut your 6-foot jute twine, and set out 12 stem pieces.
2. Hold the end of the orange yarn against a plain dinner fork and wrap the yarn around the tines 60 times, keeping the wraps snug and centered without pulling so hard that the fork bends.
3. Slide one 6-inch orange strand through the center gap of the fork, wrap it around the middle of the yarn bundle, and tie a very tight double knot right in the center.
4. Carefully slip the tied bundle off the fork, keeping your fingers on the center knot so the wraps stay together.
5. Cut through all the loops on one side, then turn the bundle and cut through the loops on the other side to create a fluffy pom-pom shape.
6. Trim the yarn slowly all around until the pom-pom becomes a dense, rounded little pumpkin about 2 to 2 1/2 inches wide; stop often to fluff it in your hands and check for uneven spots.
7. Repeat the wrapping, tying, cutting, and trimming process until you have 12 round orange pumpkins.
8. Cut 12 pieces of green yarn about 4 inches long, then wrap each piece around a finger or pencil to form a loose curl for a vine.
9. Add a pea-sized dab of hot glue at the top center of one pumpkin and press in a twig piece or cinnamon stick, holding it upright for a few seconds until secure.
10. Glue one curled green yarn piece beside the stem on each pumpkin, tucking the end slightly into the yarn so it looks nestled in naturally.
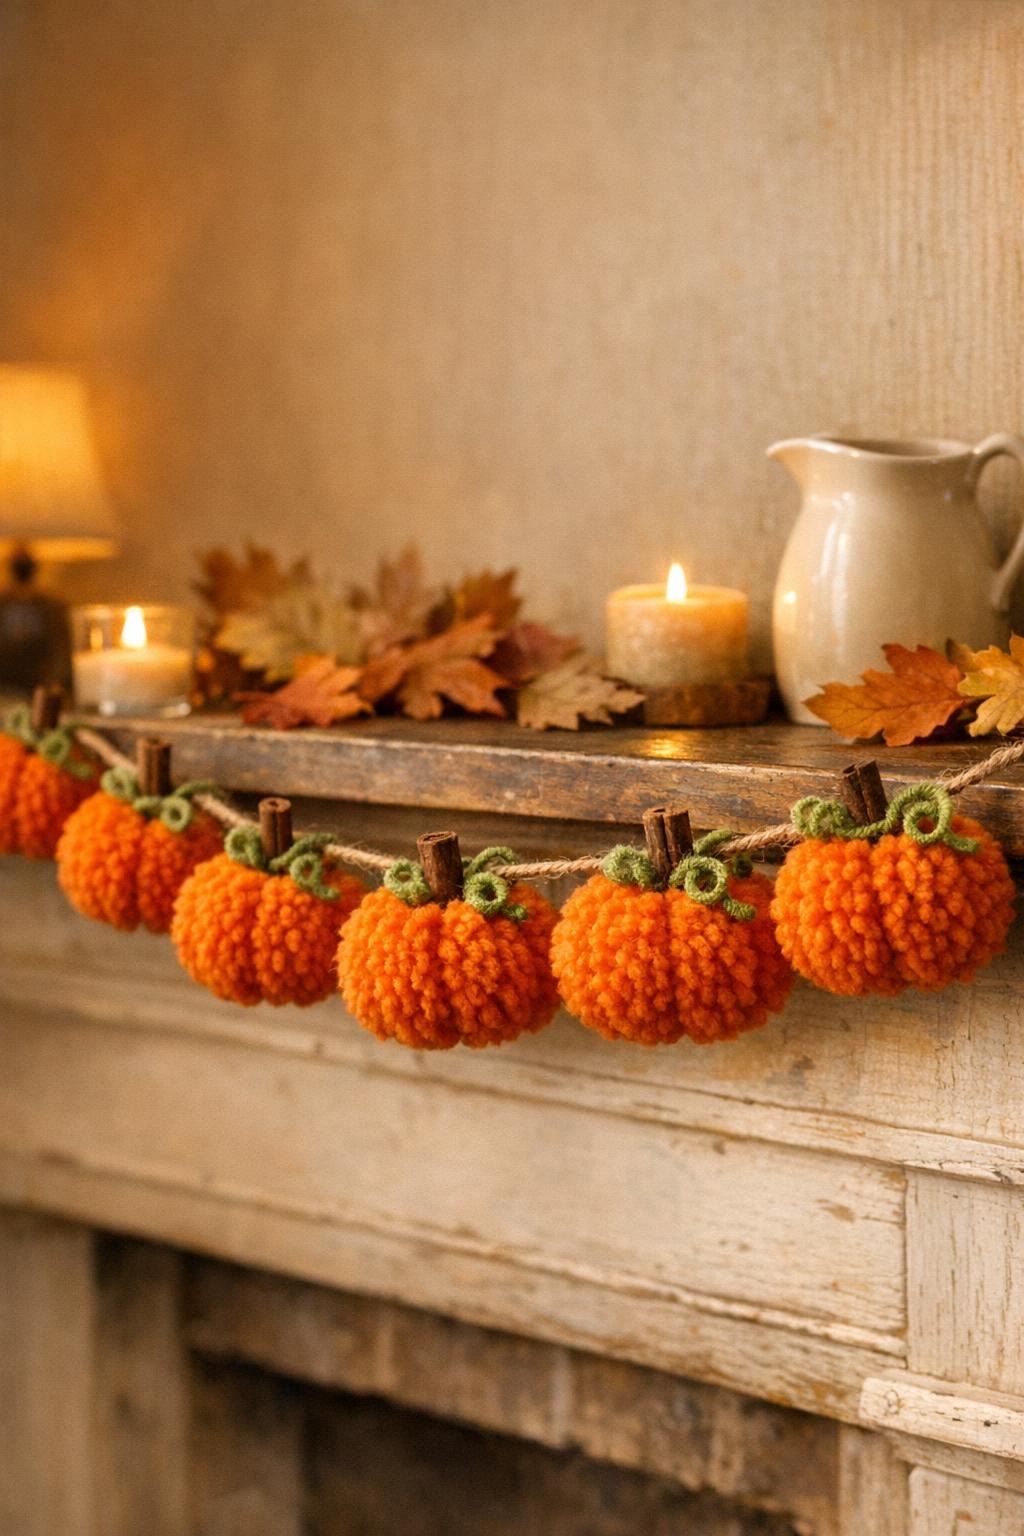
11. Lay out the 6-foot jute twine and space the pumpkins about 4 to 5 inches apart, leaving 6 inches of twine free at both ends for hanging.
12. Turn each pumpkin over, add a short line of hot glue across the back center, and press it onto the jute twine; for extra hold, add a tiny second dot of glue over the twine once the first glue cools.
13. Let the garland rest flat for 10 to 15 minutes so every glued spot sets completely before you lift or hang it.
14. Fluff each pumpkin one last time with your fingers, trim any stray yarn ends, and hang the garland where the pumpkins can drape naturally.
Variations & Tips
For fuller pumpkins: If your yarn is thin, wrap 70 times instead of 60. A fuller bundle trims into a prettier, plumper pumpkin.
For picky decorators: If bright orange feels too bold for your home, try rust, cream, mustard, or soft sage for a quieter fall look. I do this when I want something that blends in with the rest of my kitchen and dining room.
Cinnamon stick option: Cinnamon sticks make especially pretty stems and add a gentle fall scent. If they are long, cut or snap them into 1 to 1 1/2 inch pieces before gluing.
Keep the center tight: The most important step is that center knot. I always double-knot it as tightly as I can, because a loose center will let the pom-pom fall apart when you cut the loops.
Trim slowly: It is tempting to snip quickly, but small trims give a much rounder pumpkin. Rotate the pom-pom in your hand as you cut so you do not end up with flat sides.
Make hanging loops: If you want to hang the garland from hooks, tie a small loop at each end of the jute twine before attaching the pumpkins.
Use them other ways: These little pumpkins are also adorable glued onto a wreath, scattered down the center of a table, or clipped individually onto a fall gift bag.
Storage tip: Store the garland flat in a shallow box after the season. A quick fluff with your fingers next year will bring the pumpkins right back to life.