
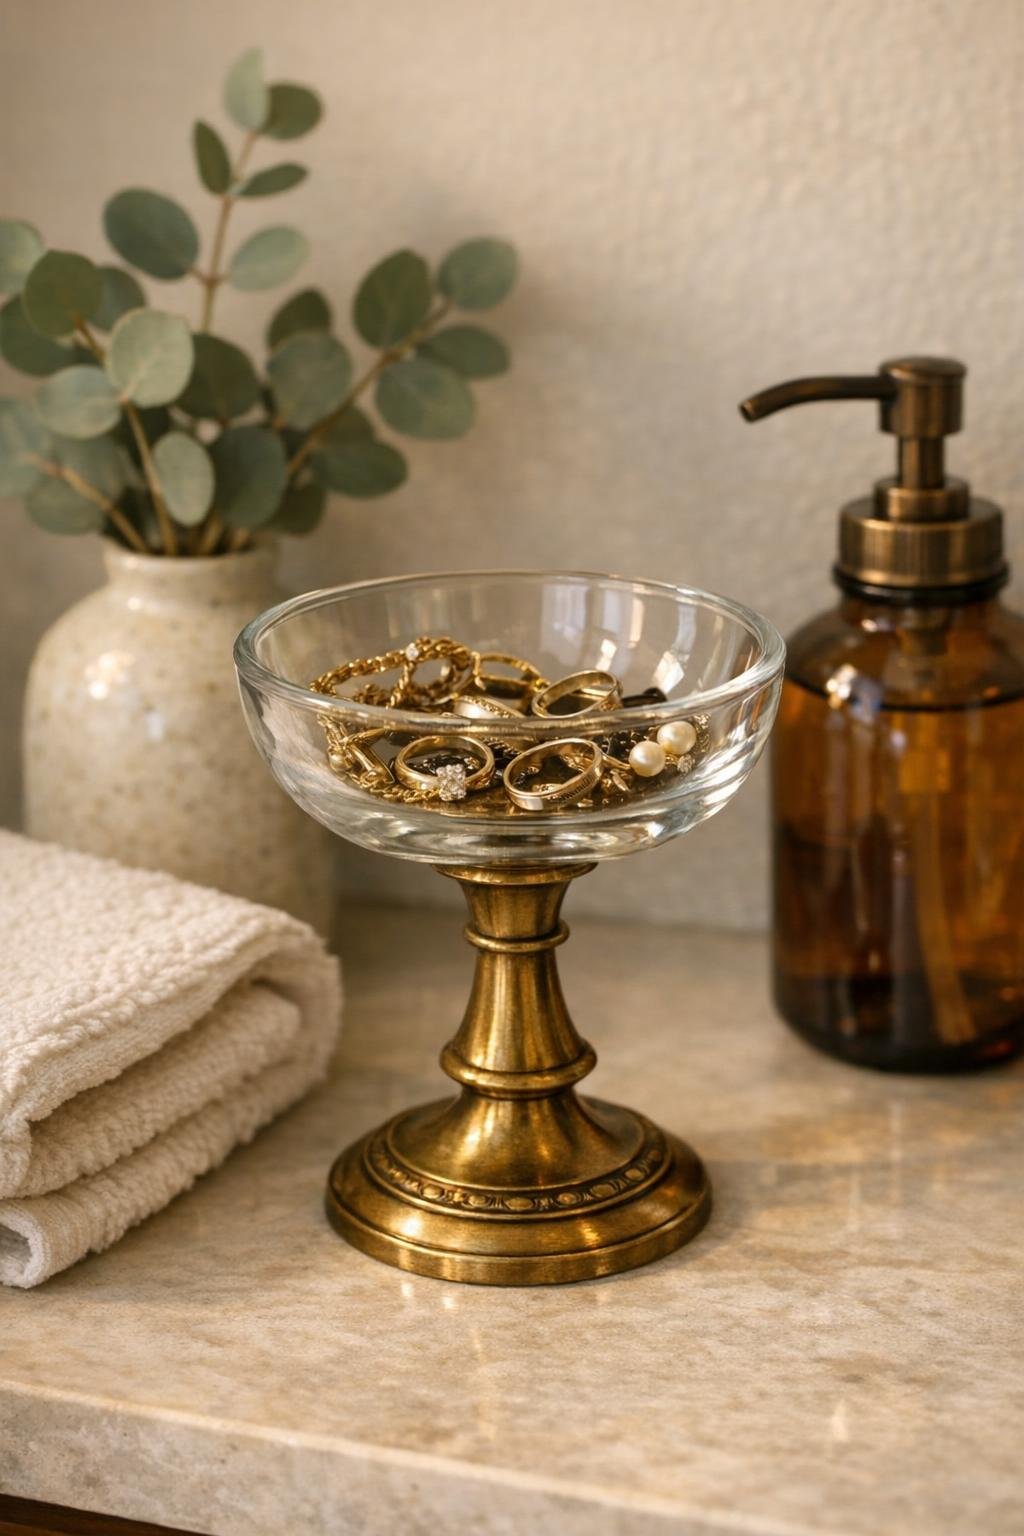
I love a bathroom detail that looks a little bit collected and fancy but takes almost no time to put together, and this jewelry dish is exactly that kind of project. By flipping a brass candlestick holder upside down and topping it with a small glass dessert bowl, you get a pretty elevated catchall that looks right at home on a vanity, bathroom counter, or guest sink.
This is a great project for anyone who wants a stylish spot for rings, earrings, hairpins, or a watch without buying one more organizer from the store. I’m especially fond of projects like this because they give everyday objects a second life, and as someone who’s always trying to keep my house looking pulled together between workdays, I appreciate a fast win that still feels polished.
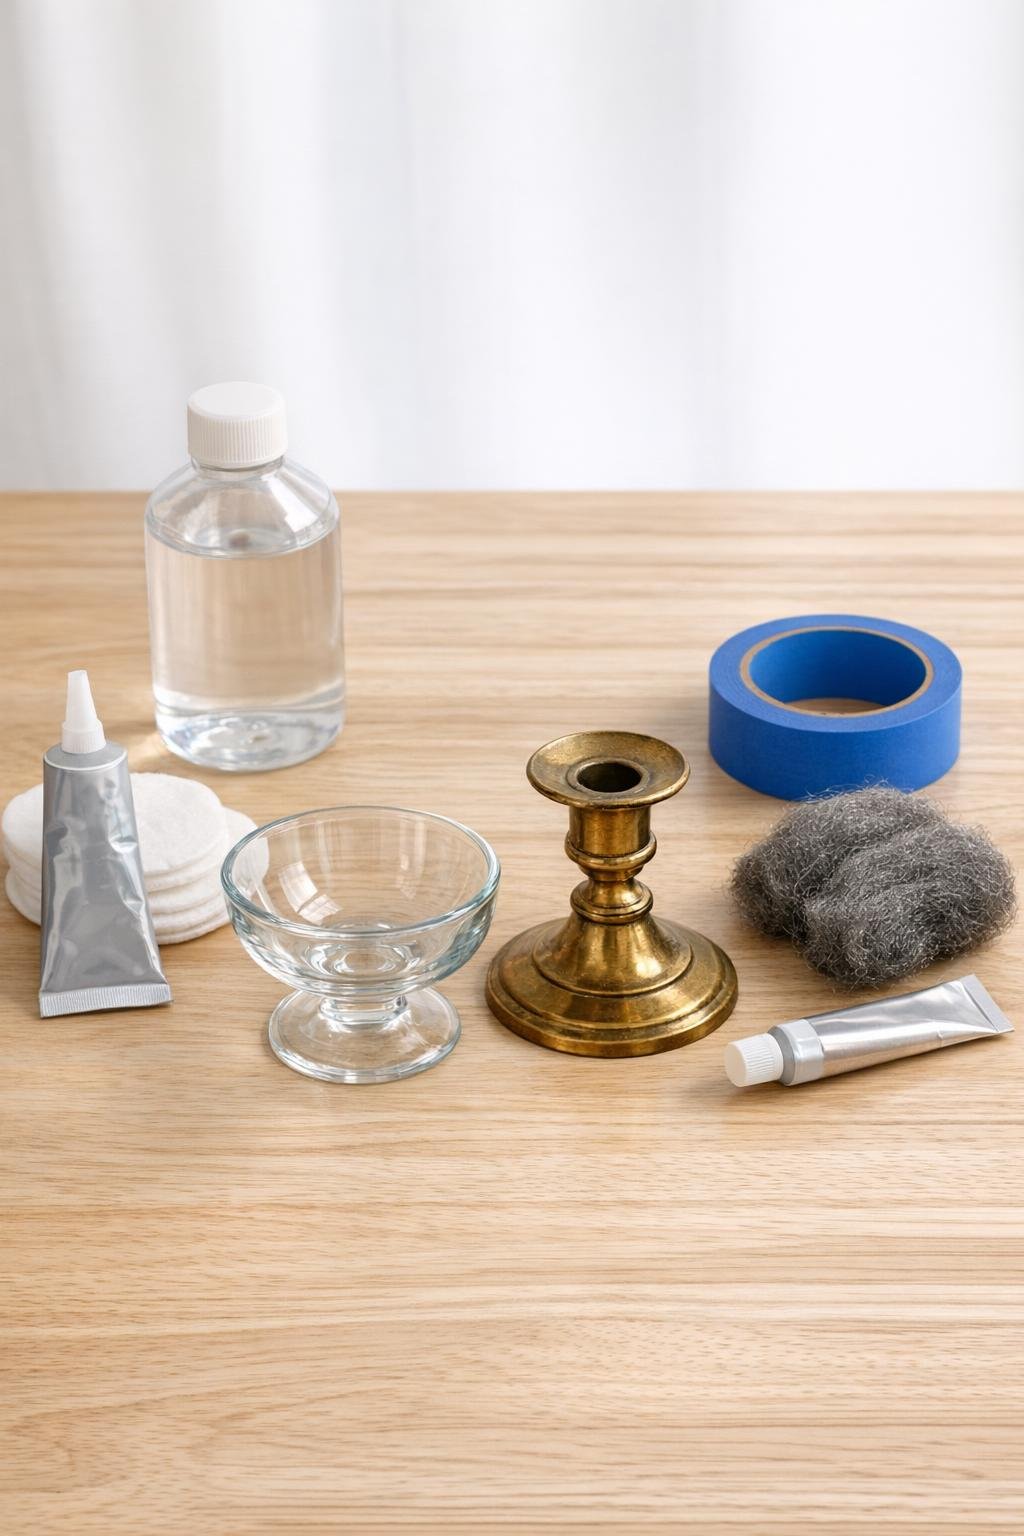
Materials
Instructions
1. Wash the glass dessert bowl with warm soapy water, rinse it well, and dry it completely so the adhesive can grip clean glass.
2. Wipe the flat rim or top contact area of the brass candlestick holder with rubbing alcohol to remove dust, wax, and oils.
3. If the brass is very slick or tarnished, buff just the contact point lightly with fine steel wool, then wipe away any residue with a clean cotton pad.
4. Turn the candlestick holder upside down and set it on a flat surface to make sure it sits level and doesn’t wobble; if needed, rotate it until you find its steadiest position.
5. Set the glass bowl upside down and test-fit the candlestick on the center of its outer base so you can see exactly where the two pieces will connect.
6. Add two short loops of painter’s tape as placement guides on the outside of the bowl base, marking the centered spot without covering the glue area.
7. Apply a thin, even ring of clear adhesive around the contact edge of the upside-down candlestick holder; use enough for full coverage, but not so much that it will squeeze out heavily.
8. Center the candlestick holder on the outside bottom of the glass bowl and press gently for 20 to 30 seconds so the adhesive spreads into a solid bond.
9. Turn the piece right side up carefully and check it from all angles, nudging it into alignment right away if the bowl looks slightly off-center.
10. Wipe away any visible glue squeeze-out immediately with a cotton pad lightly dampened with rubbing alcohol, being careful not to disturb the joint.
11. Let the jewelry dish cure undisturbed according to the adhesive directions, usually 24 hours, on a flat surface away from moisture and steam.
12. Once cured, buff the visible brass lightly and, if you like, rub on a very thin coat of clear wax to help the finish stay pretty in a humid bathroom.
Variations & Tips
Use a stronger profile: If you want a more dramatic look, choose a slightly taller brass candlestick holder and a wider dessert bowl, but keep the bowl shallow enough that jewelry stays easy to grab.
Try a matching set: I’ve made these in pairs before for a primary bathroom: one dish for daily jewelry and one for hair ties, clips, and bobby pins. It makes the counter feel intentional instead of cluttered.
Keep the glass crystal clear: Before placing it in the bathroom, polish the bowl with a lint-free cloth so fingerprints don’t get trapped in the final look.
Check for weight balance: A brass holder with a broad base is best because it gives the finished dish a sturdy pedestal feel and helps prevent tipping.
Swap the finish carefully: If your candlestick isn’t brass, you can spray-paint it in a warm brass tone first, but let it dry fully before gluing and leave the top contact area unpainted for the best bond.
Make it gift-worthy: Add a ribbon around the stem and tuck a pair of earrings or a little hand cream beside it if you’re giving this to a friend or setting up a guest bathroom tray.