
There’s a kind of garden wisdom that gets passed around in plain clothes, and this is one of those tricks. A simple plant collar made from split garden hose and a ring of wire can give tender seedlings a little pocket of protection right when the weather turns sharp and mean. Around here, when spring gets ahead of itself and then drops a surprise frost on us, I like having a few of these ready by the potting bench.
This project is for any gardener who saves scraps, hates waste, and wants an easy way to shield young tomatoes, peppers, basil, and other frost-fussy starts. It takes very little to make, goes together fast, and has that satisfying old-school practicality I’ve always admired in seasoned gardeners who know how to stretch one humble item into three good uses.
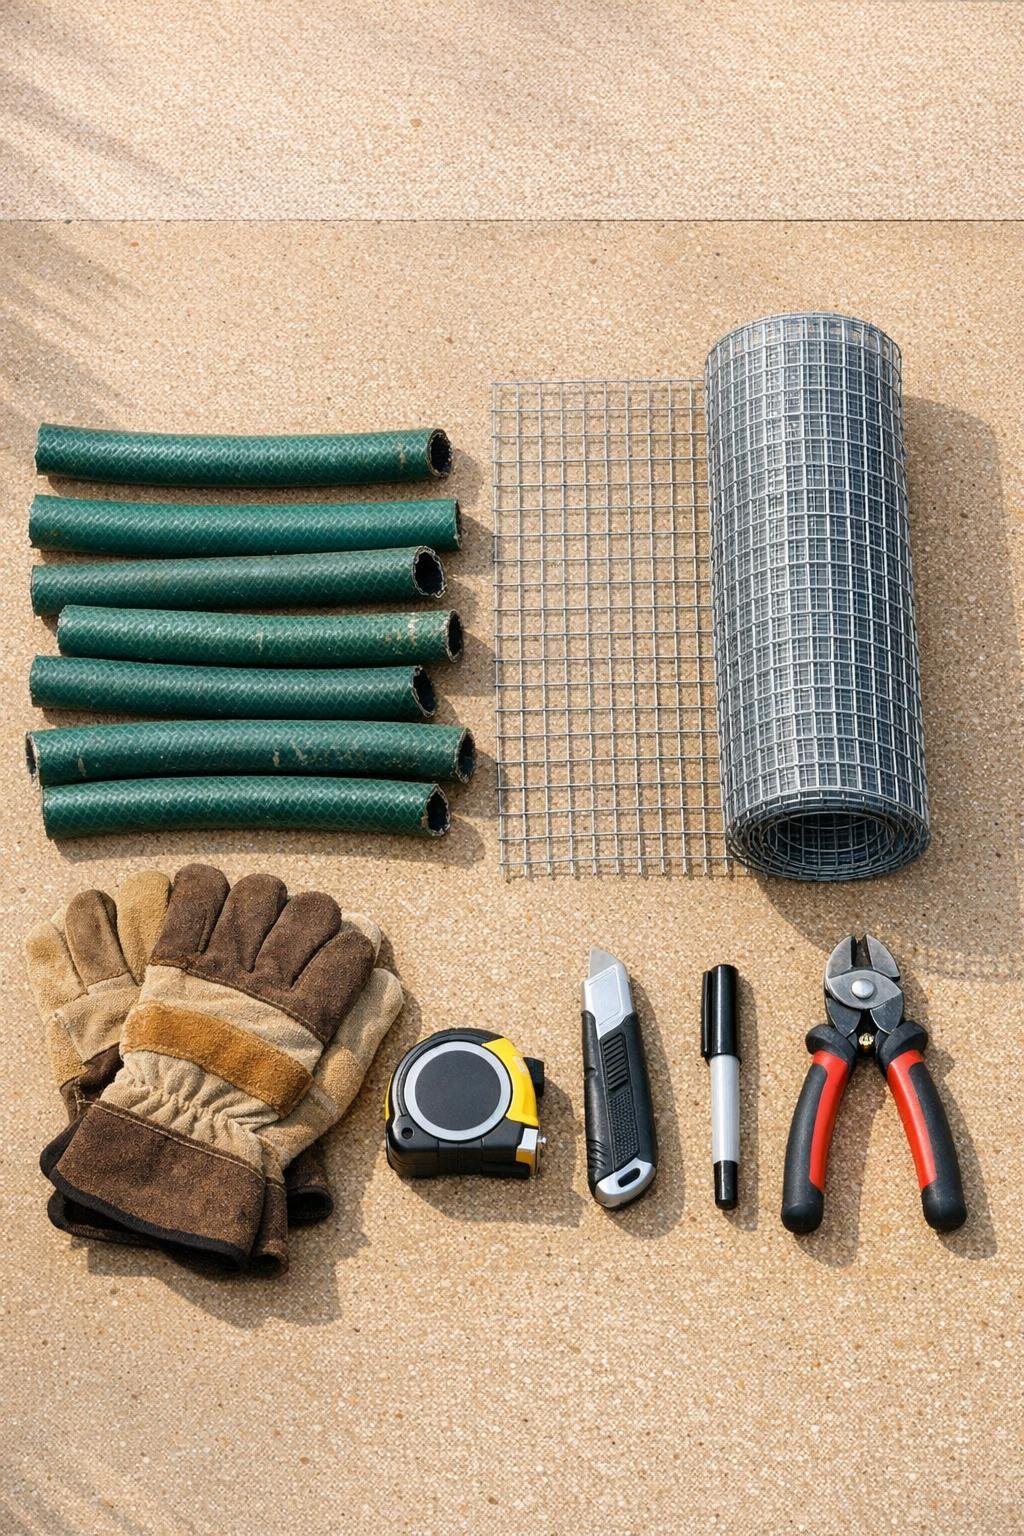
Materials
Instructions
1. Measure and cut your wire mesh into panels 12 inches tall by 18 inches wide for small plants, or 14 inches tall by 24 inches wide for larger transplants that need a roomier collar.
2. Cut the hose offcuts so you have enough pieces to cover the full top edge of each wire panel, then slice each hose piece lengthwise with a utility knife so it opens into a clip-on sleeve.
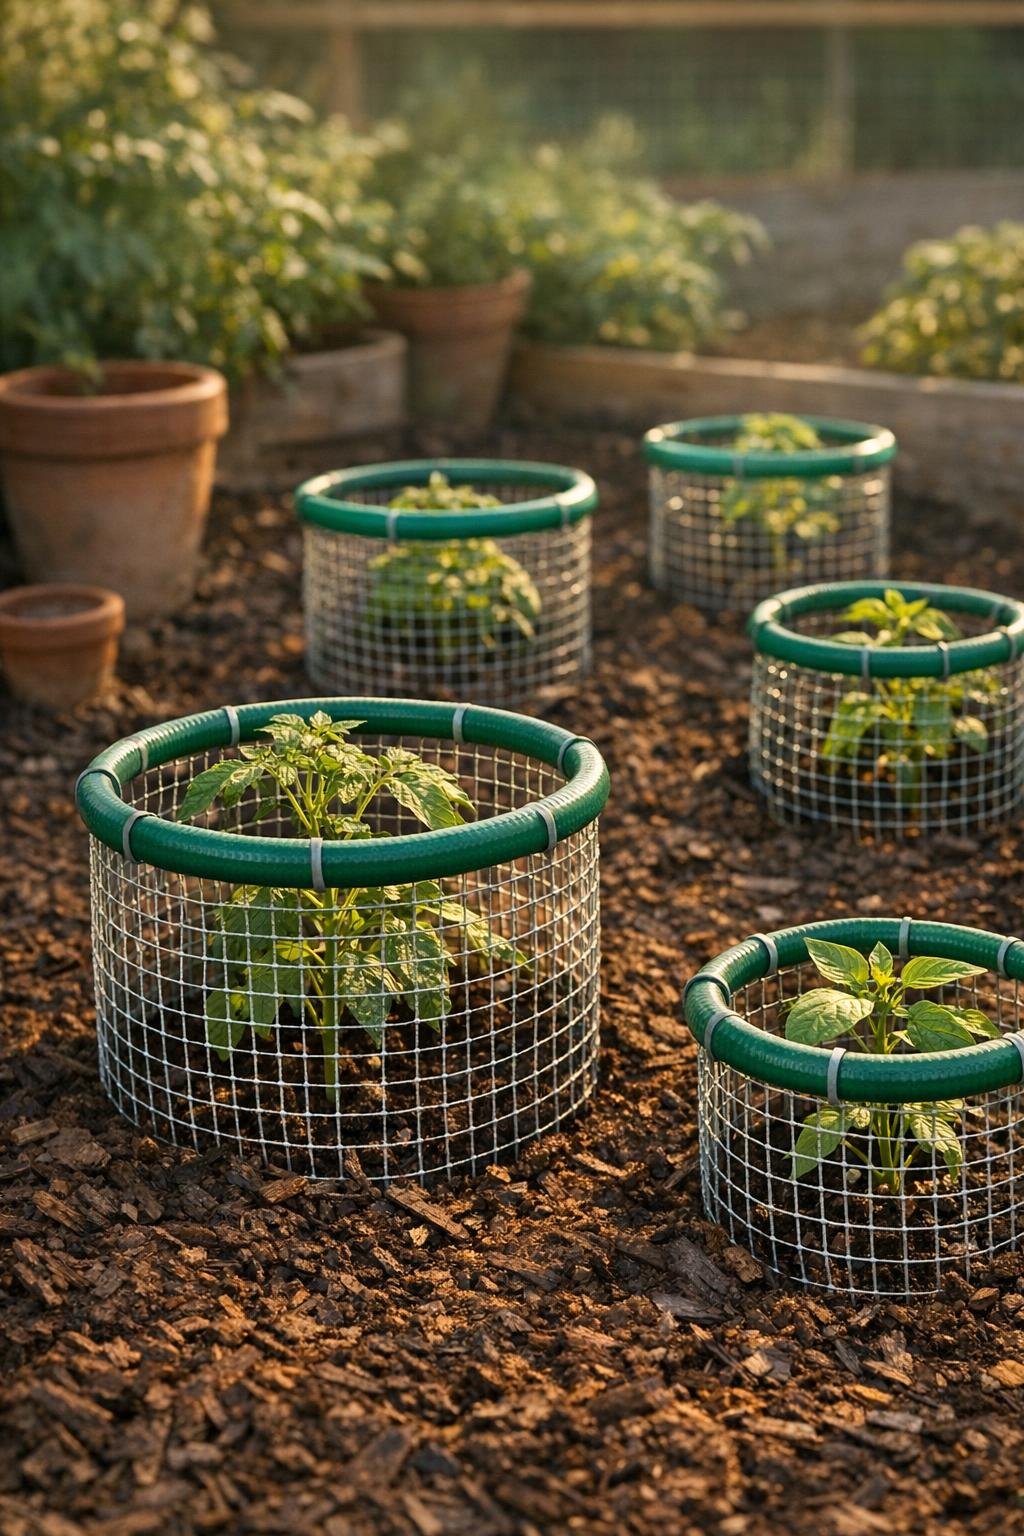
3. Press the split hose pieces over the entire top cut edge of the wire mesh, fitting them snugly end to end so the rim is fully covered and safer to handle around tender stems and your hands.
4. If you like a tidier finish, wrap a short strip of weatherproof duct tape around any hose joints that feel loose, especially where two hose pieces meet on the top rim.
5. Curve the panel into a cylinder and overlap the wire ends by 1 to 2 inches, making a collar wide enough to sit around the plant with 3 to 4 inches of breathing room on all sides.
6. Fasten the overlapped seam with 3 to 5 pieces of garden wire or zip ties, spacing them evenly from top to bottom so the collar holds its round shape without wobbling.
7. Set the finished collar around your transplant and push the bottom edge 1 to 2 inches into the soil, or mound soil lightly around the outside to block cold drafts at ground level.
8. For extra frost protection, place the collars around plants late in the afternoon so the soil can release stored warmth into that small protected space overnight, then remove or lift them the next morning if the day turns warm.
Variations & Tips
For tomatoes: I make these a little taller for tomatoes, about 14 inches high, because their stems can handle early protection and they seem to appreciate the windbreak just as much as the extra warmth.
For peppers and basil: Keep the collar a bit narrower around heat-loving plants. A smaller protected pocket holds warmth better on those chilly nights that sneak in after a bright day.
Safer edges: If your mesh is especially sharp, fold the bottom row upward before setting the collar in place. That gives you a sturdier base and makes installation easier on the hands.
When to use them: These are best for light frost and cold spring nights, not a hard deep freeze. I put them out when temperatures are expected to dip into the mid-30s and pair them with a fabric row cover if the forecast looks rougher.
Storage tip: Stack the collars inside one another at season’s end and keep them in the shed. They’re lightweight, reusable, and one of those handy little garden helpers you’ll be glad to see again next spring.
Why the hose helps: The split hose softens the top edge, adds a little weight and insulation, and makes the collar easier to grab and move. It’s one of those thrifty improvements that feels small until you’ve used it for a season.