
If your entryway turns into a paper drop zone by the end of the week, this is the kind of easy little project that actually helps. I love a DIY that takes about as long as unloading groceries, and this mail sorter is exactly that: a natural wooden toast rack turned into a tidy spot for letters, bills, cards, and those random envelopes I always seem to find wedged into my purse.
What makes this one especially nice is that it feels intentional without requiring power tools or a full afternoon. The small round cork trivet gives the toast rack a finished base so it looks more like decor and less like something borrowed from the kitchen, and the whole thing fits beautifully on a console table, narrow shelf, or kitchen counter near the door.
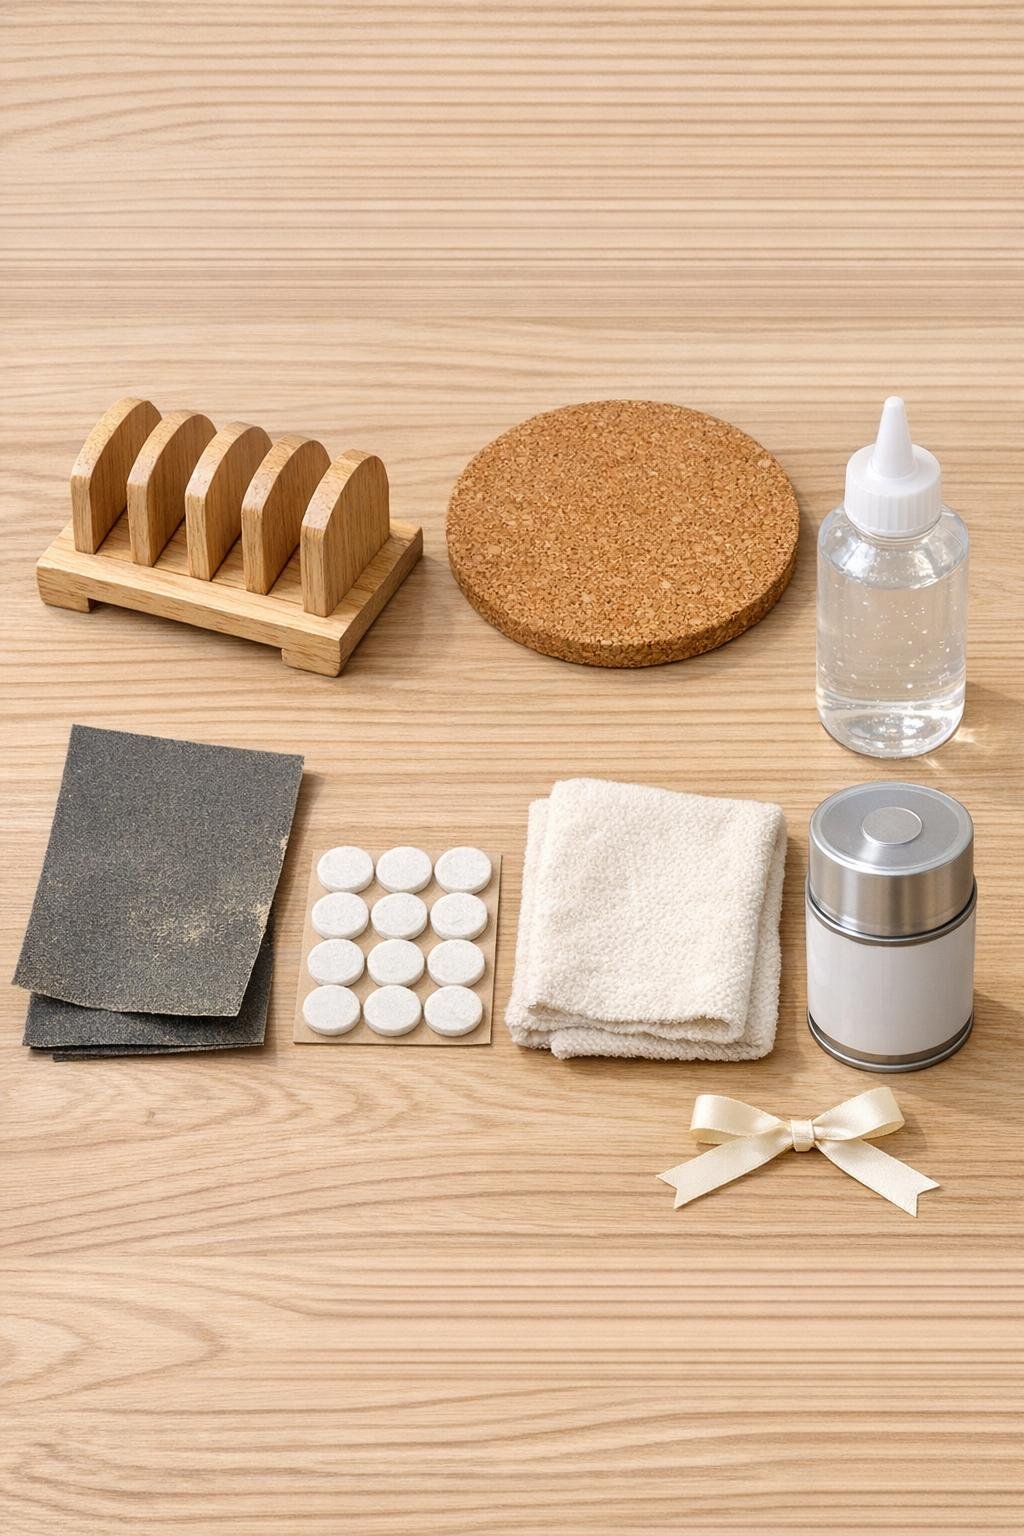
Materials
1 natural wooden toast rack, approximately 8 to 10 inches long with 5 to 6 slots
Instructions
1. Set the wooden toast rack on top of the cork trivet and center it so the rack has an even border of cork all the way around.
2. Lightly sand any rough edges on the toast rack, especially along the handle and divider edges, then wipe away all dust with the cloth.
3. Brush or wipe on a thin coat of clear matte sealer over the toast rack and let it dry completely so the wood is easier to dust and less likely to stain from daily handling.
4. Add a thin, even line of strong glue to the bottom contact points of the toast rack, then press it firmly onto the center of the cork trivet.
5. Keep the rack centered and let the glue cure according to the package directions before moving it; this is what keeps the base feeling solid instead of wobbly.
6. Turn the piece over and stick the felt pads to the underside of the cork trivet, spacing them evenly near the outer edge to protect your entry table or console.
7. If you want a softer decorative touch, tie the ribbon into a small bow around one end of the toast rack handle or side rail, keeping it snug but simple.
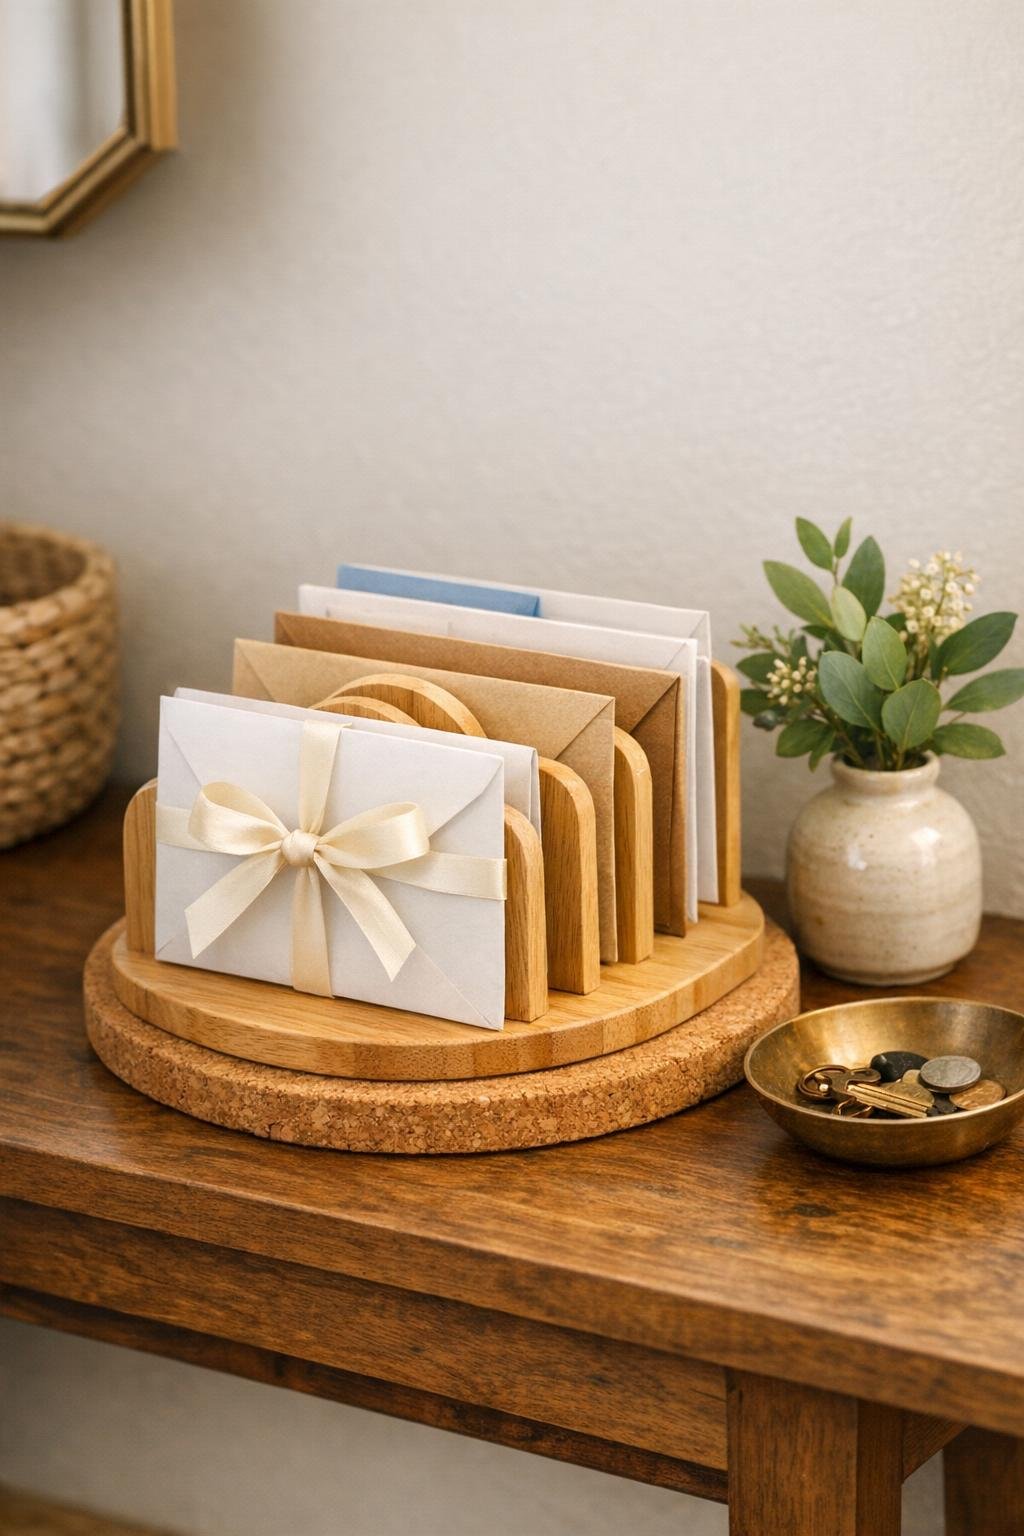
8. Slide letters, unopened envelopes, outgoing mail, and small paper lists into the slots, grouping them by type so the sorter is genuinely useful the moment it lands by the door.
Variations & Tips
Add a key drop: Set a small dish right beside the sorter for keys and earbuds so your whole entryway routine lives in one spot. I do this because otherwise my keys migrate to the kitchen island by day two.
Use the slots with intention: Assign one slot to bills, one to outgoing mail, one to coupons or receipts, and one to school or household papers. That tiny bit of structure makes this much more than a cute organizer.
Keep the natural look: If your decor leans warm and simple, skip paint and stick with a clear sealer. The wood-and-cork combination already has that easy, clean look that works with almost any entry table.
Paint it if you want contrast: You can paint the toast rack before sealing it if you want it to match black, white, or colored entryway decor. Just let the paint dry fully before gluing it to the trivet.
Choose the right rack: A rack with 5 or 6 slots holds enough mail to be useful without looking crowded. I would not go too tiny here, because a fuller rack is what gives this trick its neat, organized payoff.
Make it renter-friendly: If you are unsure about permanent glue, use strong removable mounting strips between the rack and trivet instead. It still gives you the same look while letting you separate the pieces later.