
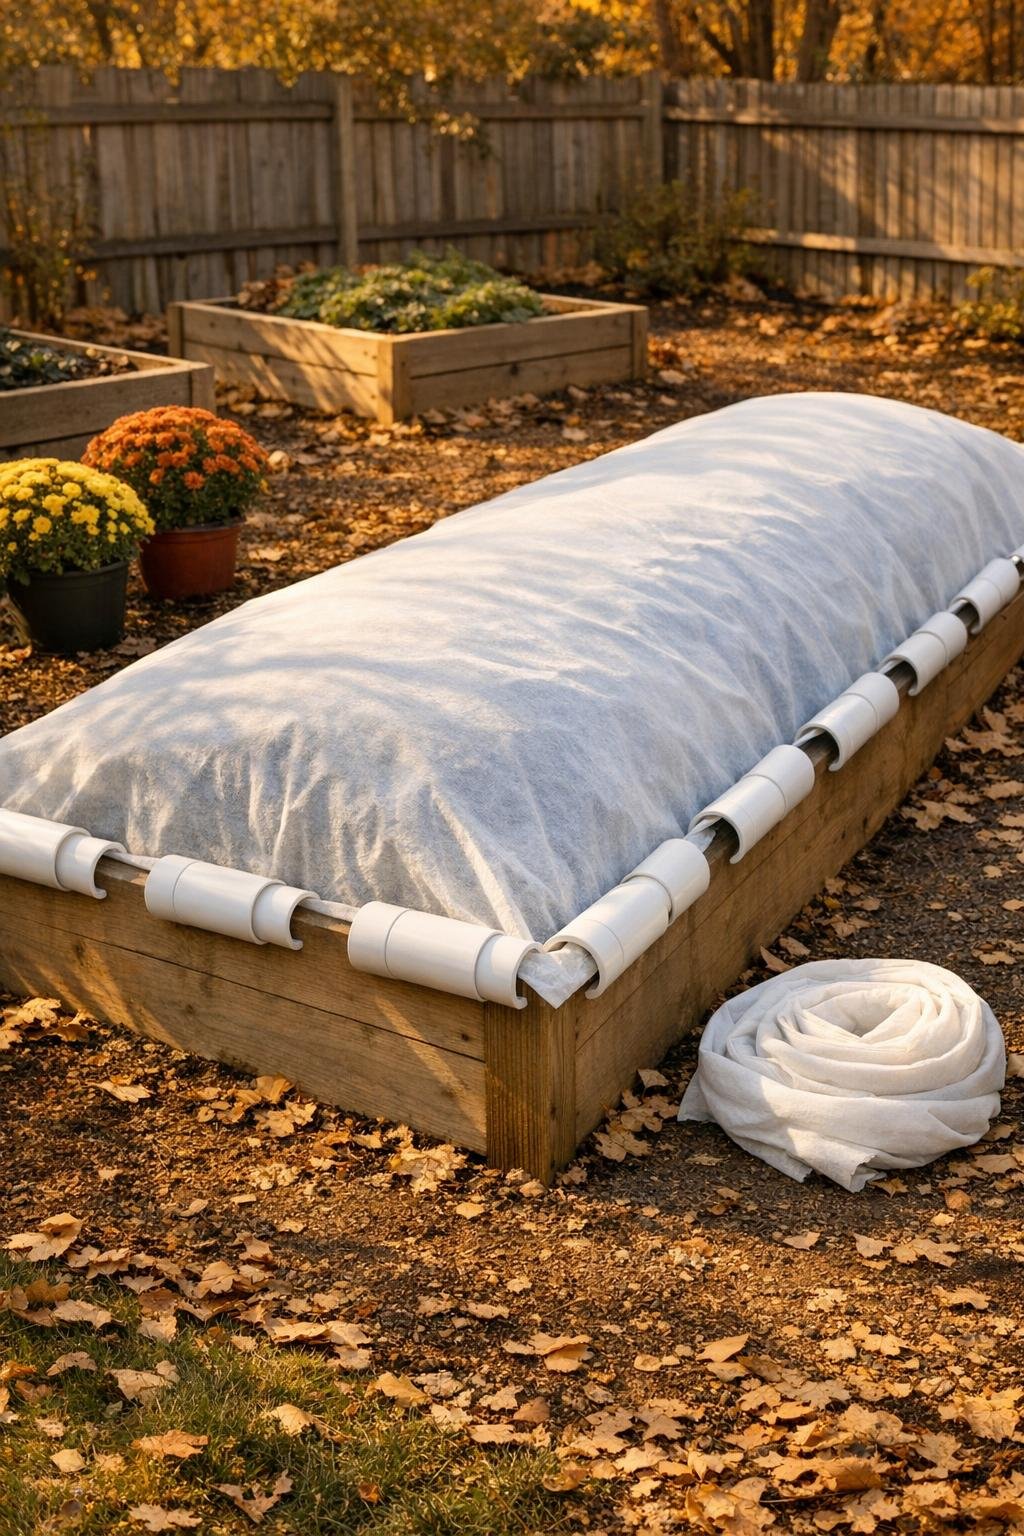
When the weather starts turning sharp here in the Midwest, I get mighty protective of my garden beds. After putting up and pulling down all manner of covers over the years, I can tell you the little thing that makes the biggest difference is not always the cover itself, but what holds it down. This simple row-cover weight uses short PVC pipe sections with the bottoms cut open, plus two good shed staples, to make sturdy clamp-on weights that stay put through wind, light frost, and all that blustery fall fuss.
What I love about this project is that it is quick, practical, and uses materials many of us already have tucked in a corner of the shed. The finished weights are easy to slide over frost cloth, plastic, or insect netting along the edge of a raised bed, and they look tidy instead of cobbled together. If you want a garden solution that is useful right away and lasts for seasons, this is the kind of project that earns its keep.
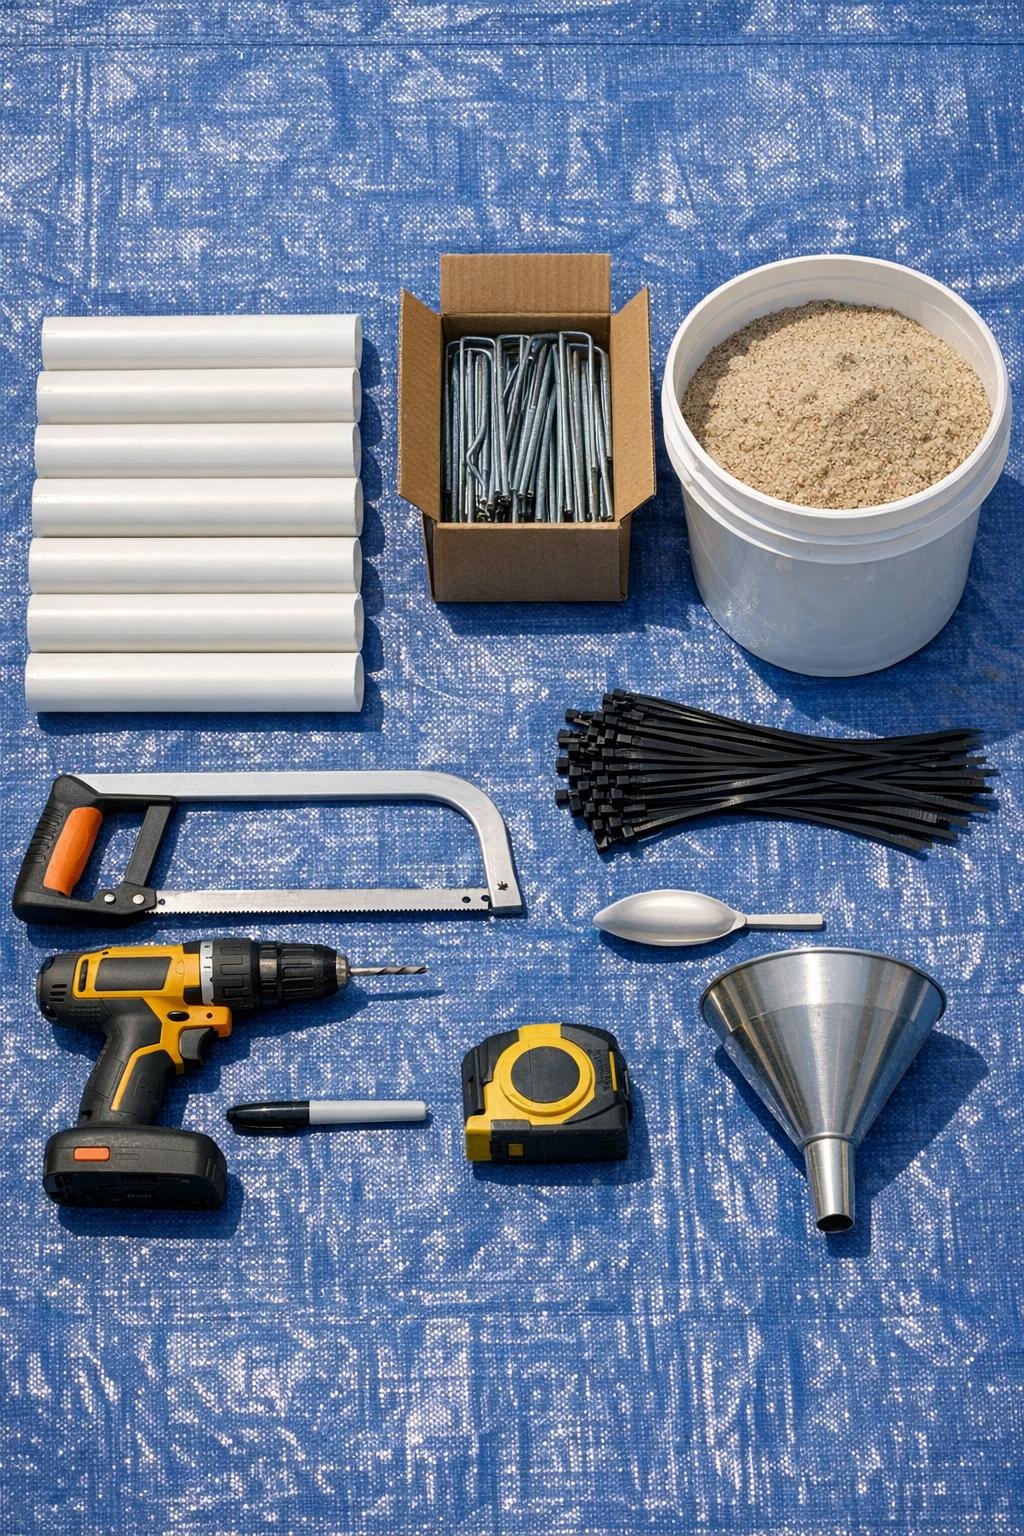
Materials
Instructions
1. Cut your 3-inch PVC pipe into eight 10-inch sections if they are not already cut, then brush away any loose shavings so the edges are easy to mark and handle.
2. On each pipe section, mark a straight 1-inch-wide strip running the full length of one side; this will become the bottom opening that lets the weight clip over the edge of the row cover.
3. Use a hacksaw to cut along both marked lines on each section, then remove that long bottom strip so every pipe piece becomes a C-shaped sleeve with an open slot.
4. Smooth the cut edges with sandpaper or a utility blade so the plastic will not snag your row cover fabric when you slide the weights into place.
5. Drill one small hole about 1 inch down from each end of every pipe section, keeping the holes centered on the solid top side so you can fasten in the landscape staple handle.
6. Slide one galvanized landscape staple into the pair of holes on each pipe section so the curved top of the staple forms a carrying handle and the legs point down inside the pipe.
7. Thread a zip tie through each drilled hole and around the staple legs, then pull tight to lock the staple in place; trim the tails so nothing catches on fabric or gloves.
8. Temporarily tape one end of each pipe section, stand it upright, and pour in enough dry sand to fill it about three-quarters full; that gives good heft without making the weight awkward to move.
9. Tape the second end closed as well, pressing firmly so the sand stays put, then shake each piece gently to settle the fill and add a little more sand if needed.
10. Lay your row cover over the garden bed, gather the edge neatly along the board or soil line, and press each weighted PVC sleeve over the fabric so the open slot grips the cover while the sand-filled body holds it down.
11. Space the weights about every 18 to 24 inches around the bed, adding extra pieces on the windward side or at the corners where covers like to billow up first.
12. When you need to water, weed, or harvest, lift the staple handle, slide the weight off, and set it right back in place when you are done; once you use them a few times, you will wonder how you gardened without them.
Variations & Tips
For lighter covers: If you are only holding insect netting or a very light floating row cover, fill the pipe just halfway with sand so the weights are easier to move and store.
For wet climates: Use pea gravel instead of sand if you are worried about moisture getting into a poorly sealed end; it will still add good weight and dries out faster.
For longer beds: Make a dozen or more pieces at once. I like having enough to place them close together because a snug edge keeps warmth in far better than a loose one.
To protect delicate fabric: Double-check every cut edge before using the weights. Even a quick smoothing makes a big difference, especially with thinner frost cloth.
For tidier storage: Stack the finished sleeves in a milk crate or hang them by the staple handles on garage hooks so they are easy to grab when the forecast turns frosty.
My best fall-garden habit: Keep the weights right beside the folded row cover instead of in separate spots. Around here, the wind comes up fast, and having everything together means I can cover the greens before supper and sleep easier that night.