
I love a project that feels a little magical without asking for a whole weekend, and this one absolutely fits that bill. With a plain dollar store glass bowl, a pile of hot glue dots, and a few light coats of glossy white spray paint, you can turn something basic into a beautiful decorative piece that looks far more special than its price tag.
This is an easy evening craft, especially if you enjoy repetitive, relaxing handwork the way I do when the kitchen is finally cleaned up and the house gets quiet. The key is patience more than skill, and if you can make neat little dots, you can make this. Once it's finished, it's lovely filled with wrapped candy, pinecones, or ornaments for fall and winter tables.
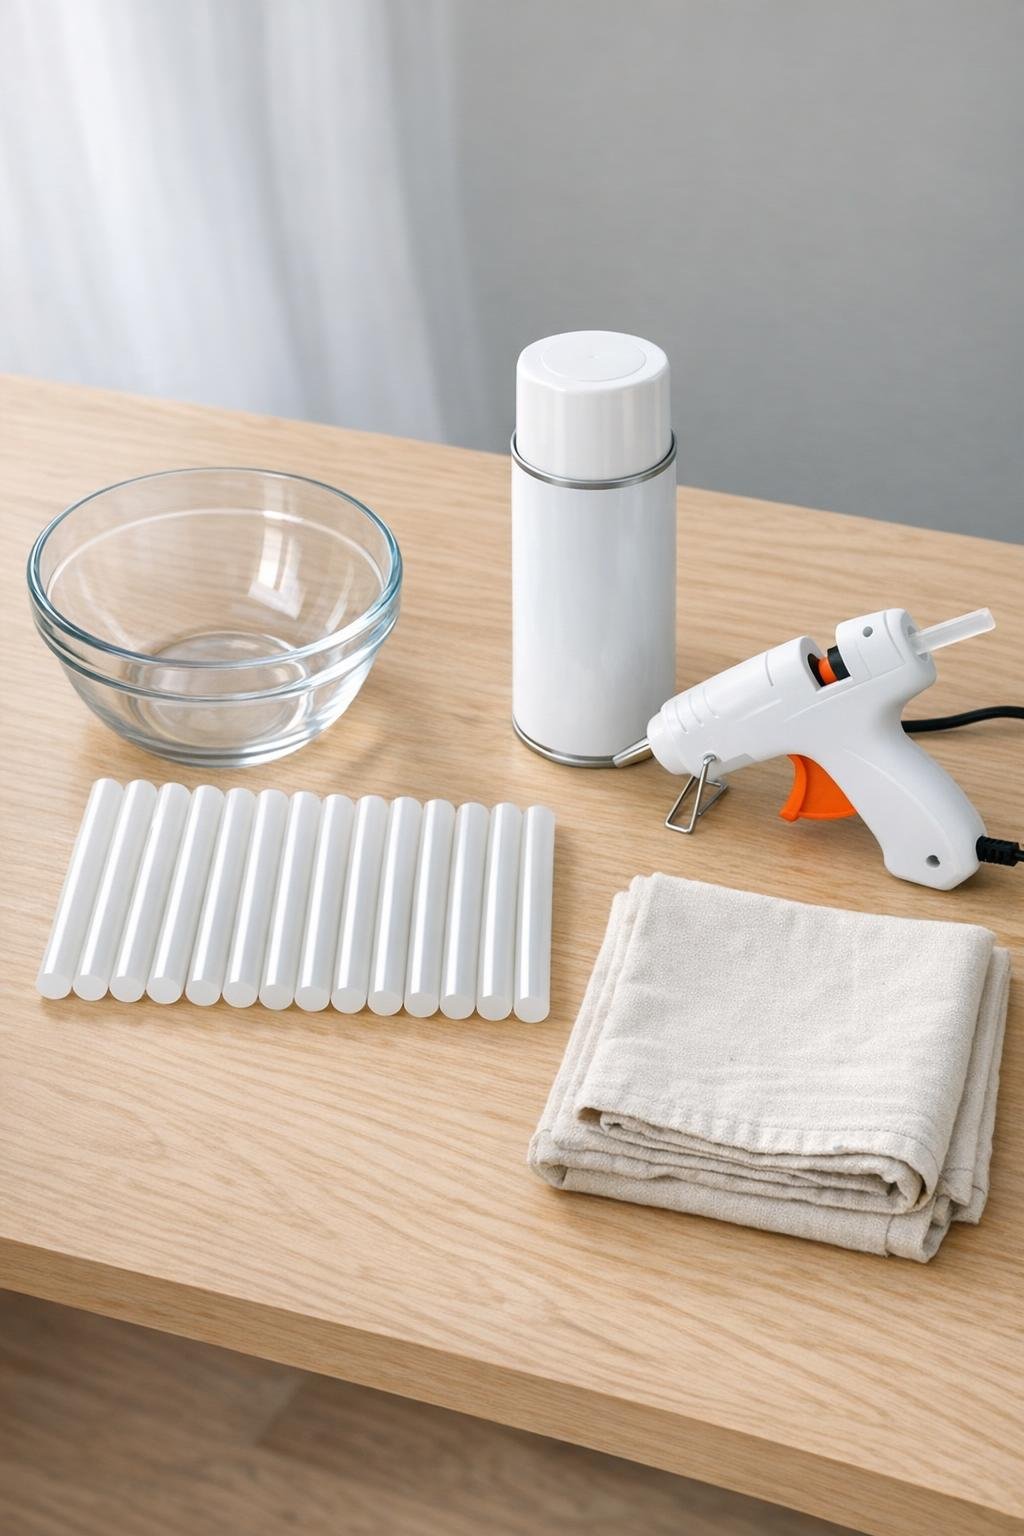
Materials
Instructions
1. Wash the glass bowl with warm soapy water, dry it well, and make sure the outside is free of dust or fingerprints so the glue sticks cleanly.
2. Plug in your glue gun and set the bowl upside down or right side up in a comfortable position where you can rotate it easily while you work.
3. Start near the base and make one practice dot on the outside of the bowl, letting the glue mound up into a rounded bump before pulling the gun straight away.
4. Continue making a full ring of evenly spaced dots, keeping each dot about the same size and leaving roughly 1/4 inch between them so the pattern reads like real hobnail glass.
5. Work upward in small rings, rotating the bowl as you go and offsetting each new row slightly so the dots nest nicely between the row below.
6. If a dot looks too small or leaves an awkward gap, add a tiny dab of extra glue right away to round it out before moving on.
7. Cover the entire outside of the bowl with dots, stopping at the rim and checking from all angles to make sure the spacing looks even and full.
8. Let the glue cool and harden completely for 10 to 15 minutes, then lightly inspect the bowl with your fingertips and trim away any fine glue strings.
9. Take the bowl to a well-ventilated spraying area, place it upside down on an empty can or similar stand over your drop cloth, and spray the outside only with a very light first coat of glossy white paint.
10. Let that coat dry for a few minutes, then add 2 to 4 more thin coats, turning the bowl as needed until the finish looks smooth, glossy, and evenly white without drips.
11. Allow the bowl to dry fully according to the spray paint directions, keeping it upside down while it sets so the painted outside stays neat and untouched.
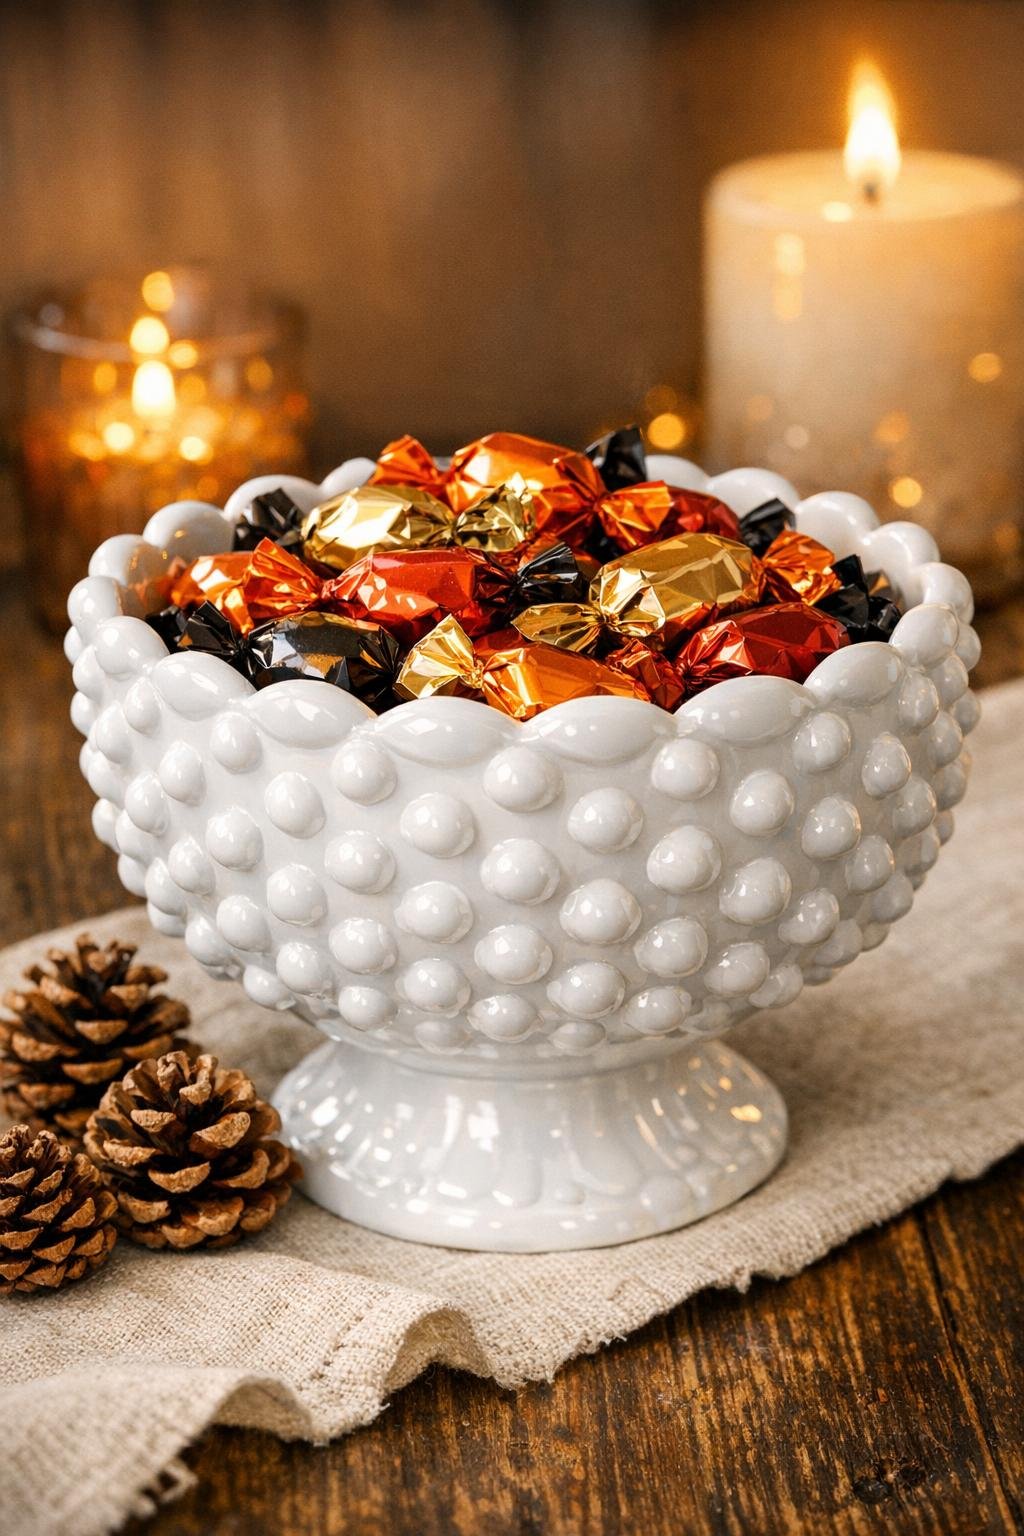
12. Turn the bowl right side up and use it as a decorative candy bowl filled with wrapped candy, pinecones, mini ornaments, or other dry display items, since the painted finish is not food safe on the inside surface.
Variations & Tips
For the most even dots: I like to squeeze, pause for a second, and lift straight off. If you swipe the glue gun away, the dots can end up pointy instead of rounded.
If your pattern starts drifting: Stop every couple of rows and look at the bowl from the top and side. Catching uneven spacing early is much easier than trying to hide it with paint later.
For a fuller vintage look: Make your rows fairly close and consistent all the way around. Dense coverage is what gives this project that pretty old-fashioned milk glass feel instead of a random textured look.
What to fill it with: Wrapped candies are my favorite for family gatherings, but for a fuss-free centerpiece you can also use pinecones, acorns, mini pumpkins, or small ornaments when the holidays roll around.
For picky decorators: If bright white feels too crisp for your room, you can use a soft cream gloss spray instead. It keeps the same vintage look but feels a little warmer.
Care tip: Hand wash gently if needed, and avoid soaking or scrubbing the painted exterior. I treat this more like pretty seasonal decor than everyday dishware.
Important safety note: Keep all paint on the outside only, and do not use the bowl for unwrapped food. The safest and prettiest use is as a decorative bowl for wrapped treats or dry filler.