
There’s a very particular kind of craft I love: one that looks far fussier than it really is. These glitter swirl ornaments are exactly that project. You start with plain clear dollar store ornaments and a little floor polish, and in just a few minutes you get a smooth, sparkling interior finish that catches every bit of holiday light.
If you’ve never made ornaments this way, don’t worry—the method is simple, but the small details matter. I’ll show you how to coat the inside evenly, avoid that annoying puddle at the bottom, and get a dense glitter finish that looks magical instead of patchy. This is a wonderful project for anyone who wants a polished, giftable decoration without breaking out complicated supplies.
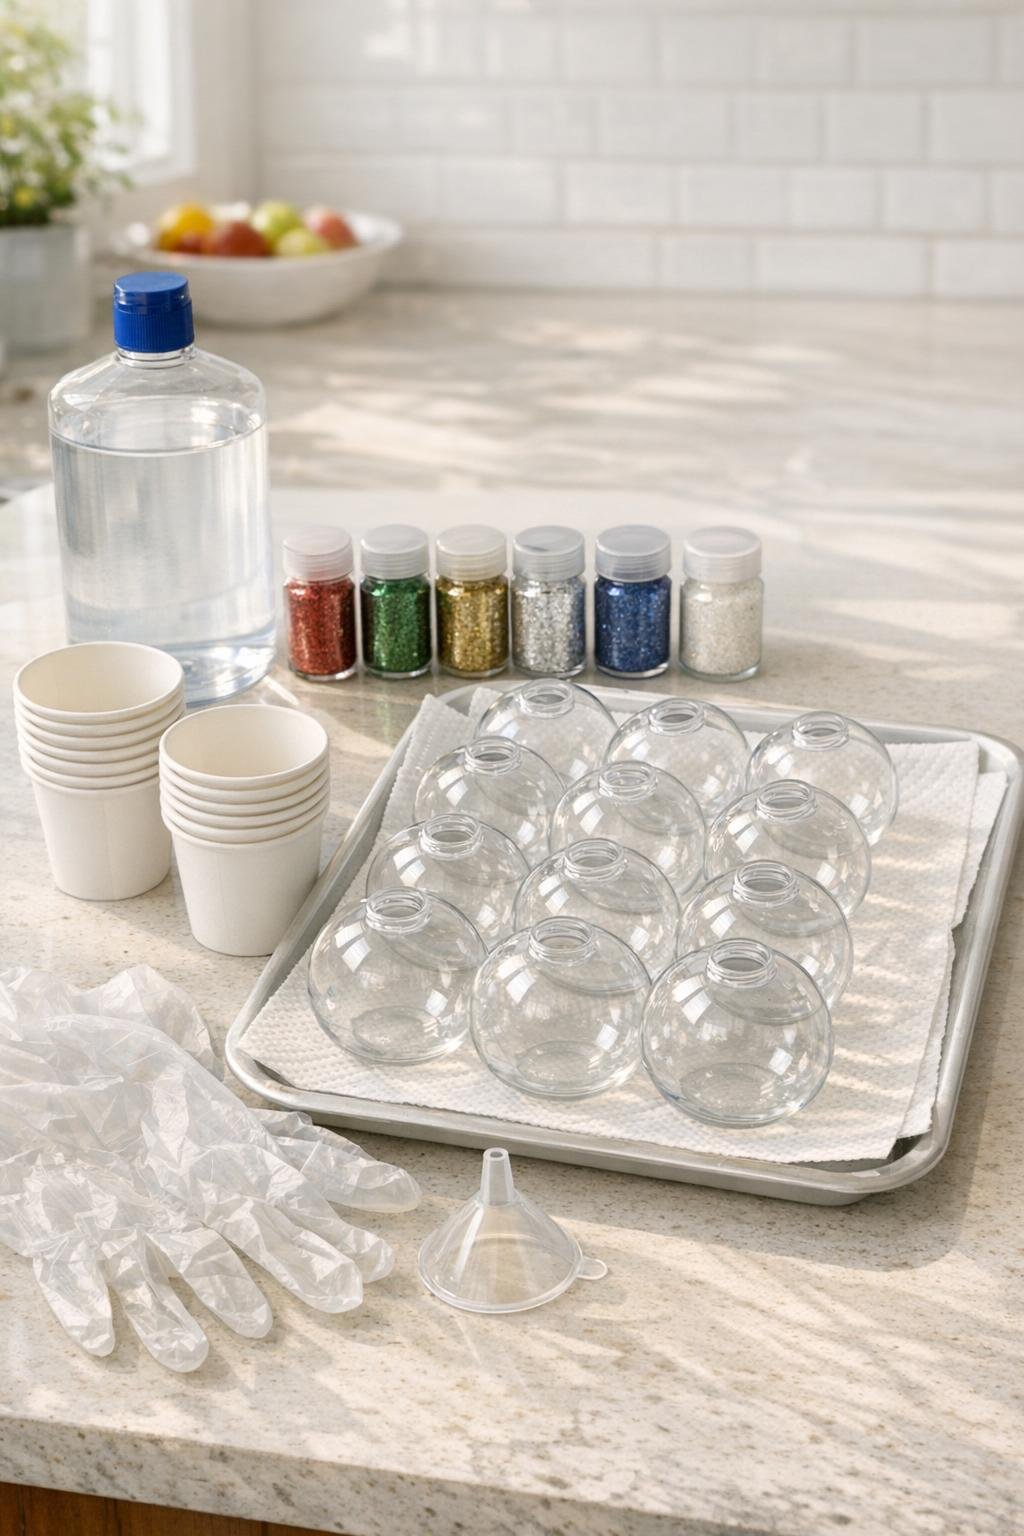
Materials
Instructions
1. Set a tray on your counter, line it with paper towels, and remove the tops from all 12 clear ornaments so you can work assembly-line style without drips getting everywhere.
2. Place one ornament in your hand and use the funnel to pour in about 1 teaspoon of clear floor polish; that small amount is enough to coat the inside without leaving a thick pool.
3. Slowly tilt and rotate the ornament in every direction until the polish runs over the entire interior surface and no dry spots remain.
4. Turn the ornament upside down over a paper cup and let the excess polish drain out for 2 to 3 minutes; this is the step that prevents a puddle from drying inside.
5. Add 1 to 2 teaspoons of fine glitter to the damp ornament, cover the opening with your hand, and shake and roll it until the glitter sticks all over the coated interior.
6. Tap out any loose excess glitter back into a paper cup or onto the tray, then check the ornament under the light and add a pinch more glitter anywhere the coverage looks thin.
7. Set the ornament upright on the tray to dry for 30 to 60 minutes, then replace the cap once the inside looks evenly coated and no wet polish is collecting at the bottom.
8. Repeat with the remaining ornaments, changing glitter colors as you like, and finish each one with its hanging loop or a short ribbon for a polished, gift-ready look.

Variations & Tips
Single-color elegance: Use one glitter shade for the whole batch if you want a more curated look; silver, champagne, icy blue, or classic red all look especially polished together.
Layered sparkle: Mix two fine glitter colors in one ornament for a deeper, more dimensional finish. I like combining gold with copper or silver with pale blue for extra richness.
Why fine glitter matters: Fine glitter clings to the damp polish in a much more even layer. Chunky glitter tends to slide, clump, and leave bare patches, which makes the ornament look unfinished.
Drain thoroughly: If you rush the draining step, the excess polish settles into a visible pool at the bottom. I’ve learned that a couple of patient minutes in the paper cup saves the whole ornament.
Batch-making tip: Work in groups of three or four ornaments at a time rather than all twelve at once. That pace is much easier to manage, especially when you’re swirling, draining, and glittering before the polish starts to settle.
Gift idea: Package two or three finished ornaments in a small box with tissue paper for an easy handmade holiday gift. They look far more expensive than the supplies would suggest, which is always one of my favorite kinds of kitchen-table magic.