
There is something so satisfying about turning a handful of backyard leaves into something useful for the table. This project uses fresh fall leaves and a plain cotton napkin to make a one-of-a-kind botanical print, and it feels a little bit like kitchen-table magic every single time. I love projects like this because they are inexpensive, quick enough to finish in an afternoon, and special enough to pull out for family dinners all season long.
If you enjoy easy crafts with a big payoff, this one is for you. It is especially nice for anyone who likes natural decorating, simple handmade touches, or wants a low-cost fall project that still looks thoughtful and polished. I have done versions of this with my family after leaf collecting walks, and the fresh-leaf part really is the secret to getting those beautiful plant colors into the fabric.
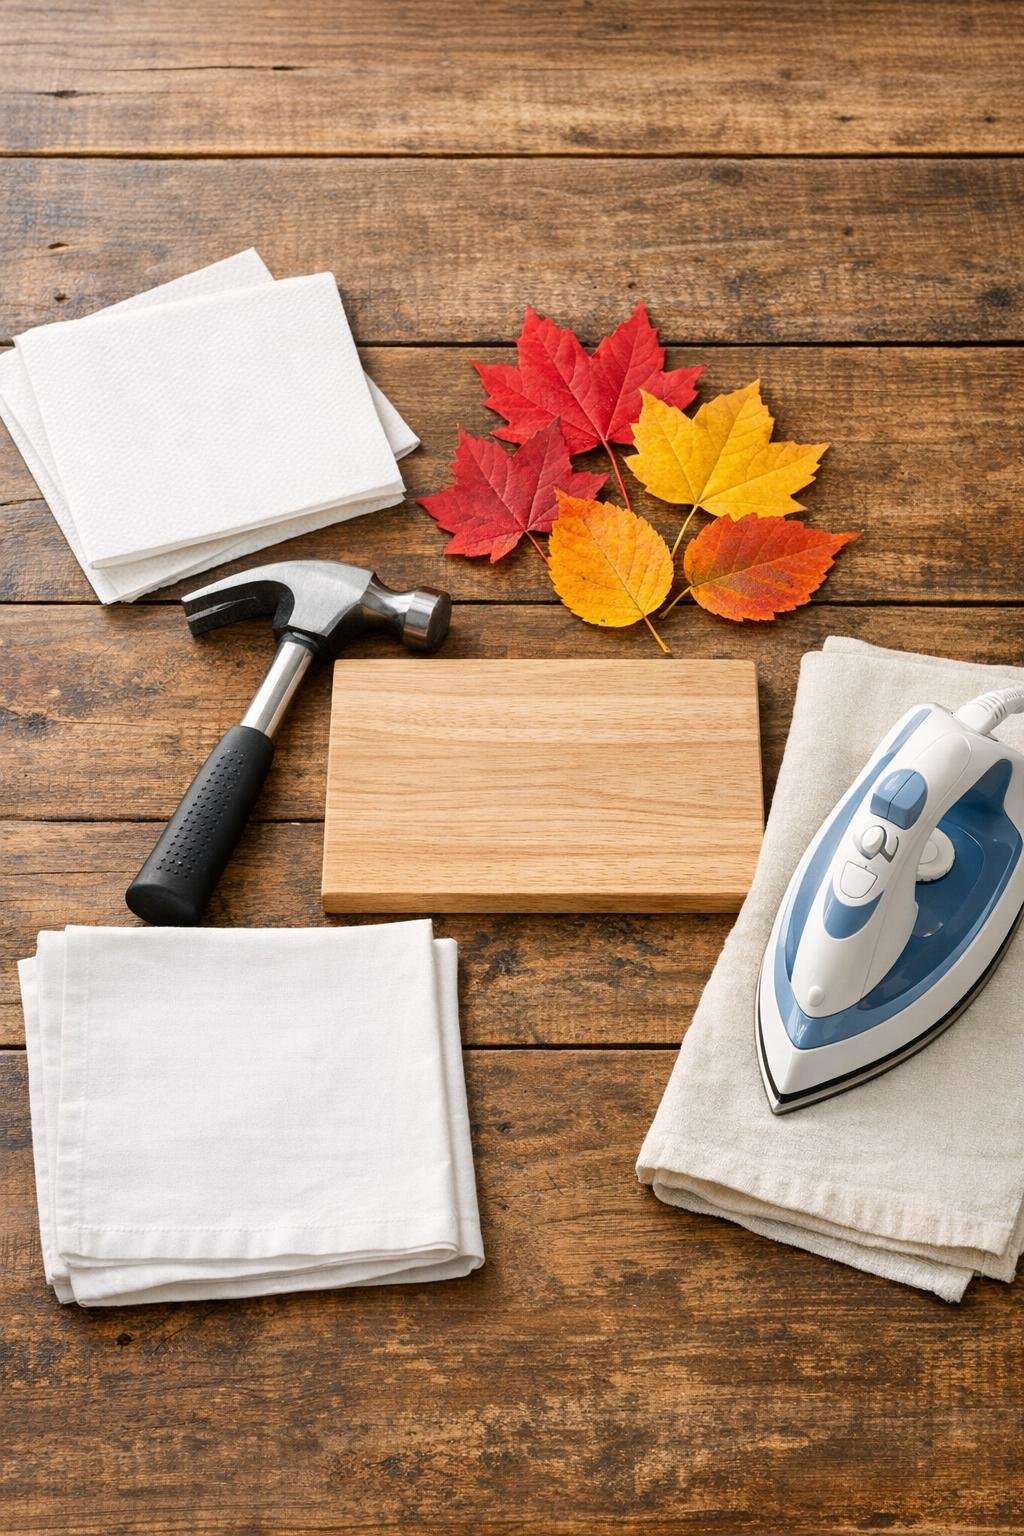
Materials
Instructions
1. Wash and dry the cotton napkin first if it is brand new, then iron it flat so the fabric is smooth and ready to take a clear print.
2. Collect fresh, flexible leaves and choose the ones that still feel moist rather than crisp or waxy; if needed, mist or dab them very lightly with water and pat off the excess.
3. Set your wooden board on a sturdy work surface and lay the napkin flat on top, keeping the fabric smooth and wrinkle-free.
4. Test one leaf on the scrap cotton first by placing it face-down and hammering through a paper towel; if the print looks faint, switch to a fresher leaf before starting on the napkin.
5. Arrange 3 to 5 leaves face-down on one corner or along one edge of the napkin, leaving a little space between them so each shape stays distinct.
6. Cover the leaves with a sheet of paper towel to keep bits from flying and to help you see where you have already hammered.
7. Tap the entire surface of each leaf evenly with the hammer, starting at the stem and working outward to the edges so every vein and point gets pressed into the cotton.
8. Lift one corner of the paper towel and check the transfer; if some sections look pale, lay the towel back down and hammer those spots again with light, even strikes.
9. Peel away the paper towel and gently remove the leaf pieces from the fabric, using your fingertips to brush off any stuck bits without smearing the print.
10. Repeat with more fresh leaves until the napkin has a full, balanced arrangement, concentrating the prints along a border, one quadrant, or scattered across the lower half for a generous finished look.
11. Let the napkin dry completely for 10 to 15 minutes, then place the pressing cloth over the printed area and iron it with a hot dry iron for 1 to 2 minutes to help set the color.
12. Fold or style the napkin once it is cool, and hand wash gently in cold water when needed to keep the leaf prints looking their best as long as possible.
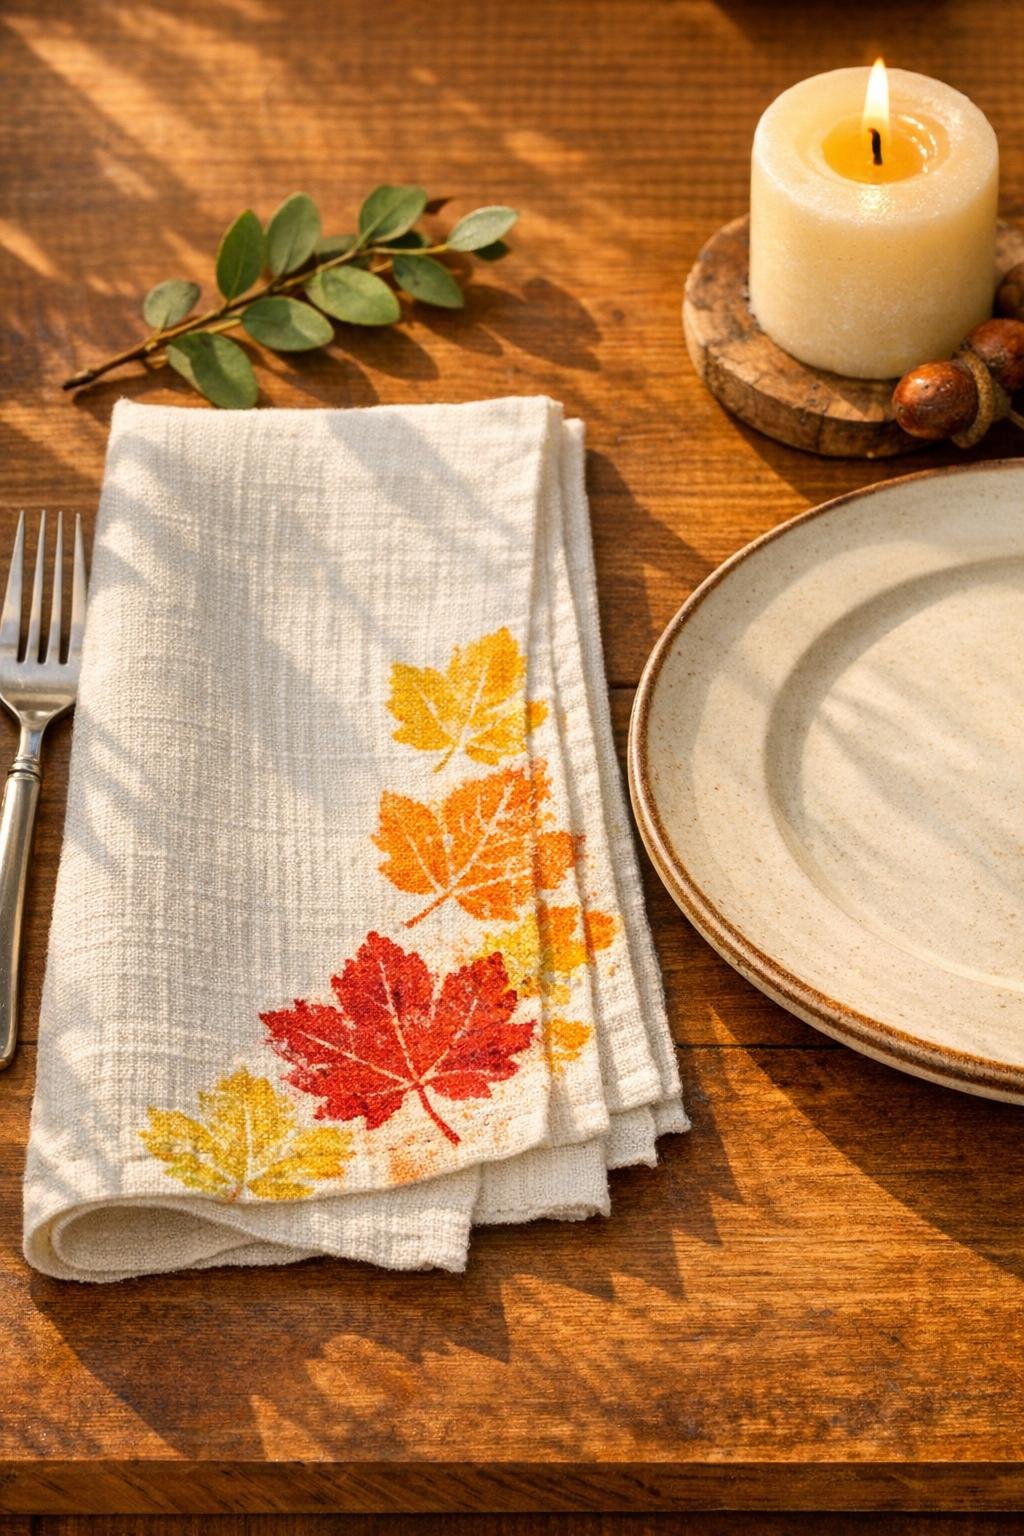
Variations & Tips
Best leaves to use: Thin, fresh leaves usually print better than thick or shiny ones. Maple, oak, sweetgum, and small garden leaves are all worth testing, but always try one on scrap fabric first.
For picky decorators: If your family likes a cleaner look, keep the prints to one corner of the napkin. If you love a fuller fall table like I do, build a dense border along one whole side so it shows beautifully when folded.
Color tip: Red and burgundy leaves often give the prettiest dramatic prints, while yellow and green can be softer and more subtle. Mixing several leaf colors gives the napkin a layered, collected look.
Hammering tip: Firm, even tapping works better than very hard pounding. You want full contact across the leaf, especially at the veins and pointed edges, without shifting it around.
Fabric tip: Plain white or natural 100% cotton gives the clearest transfer. Blends and heavily textured fabrics usually produce weaker, blurrier prints.
Care tip: These are best treated like special-occasion napkins. Hand wash in cold water, skip harsh detergents, and air dry flat because some natural fading over time is normal.
Make-it-a-set idea: Create four napkins with slightly different leaf arrangements for a coordinated set. I like using the same general border placement on each one so the table looks pulled together without being too matchy.