
There’s something about a Halloween wreath that sets the whole tone for the front porch, and this one does it with a little drama and a very manageable budget. I love projects like this that look boutique-store fancy but start with simple dollar store basics, and this gilded skull wreath is exactly that kind of makeover.
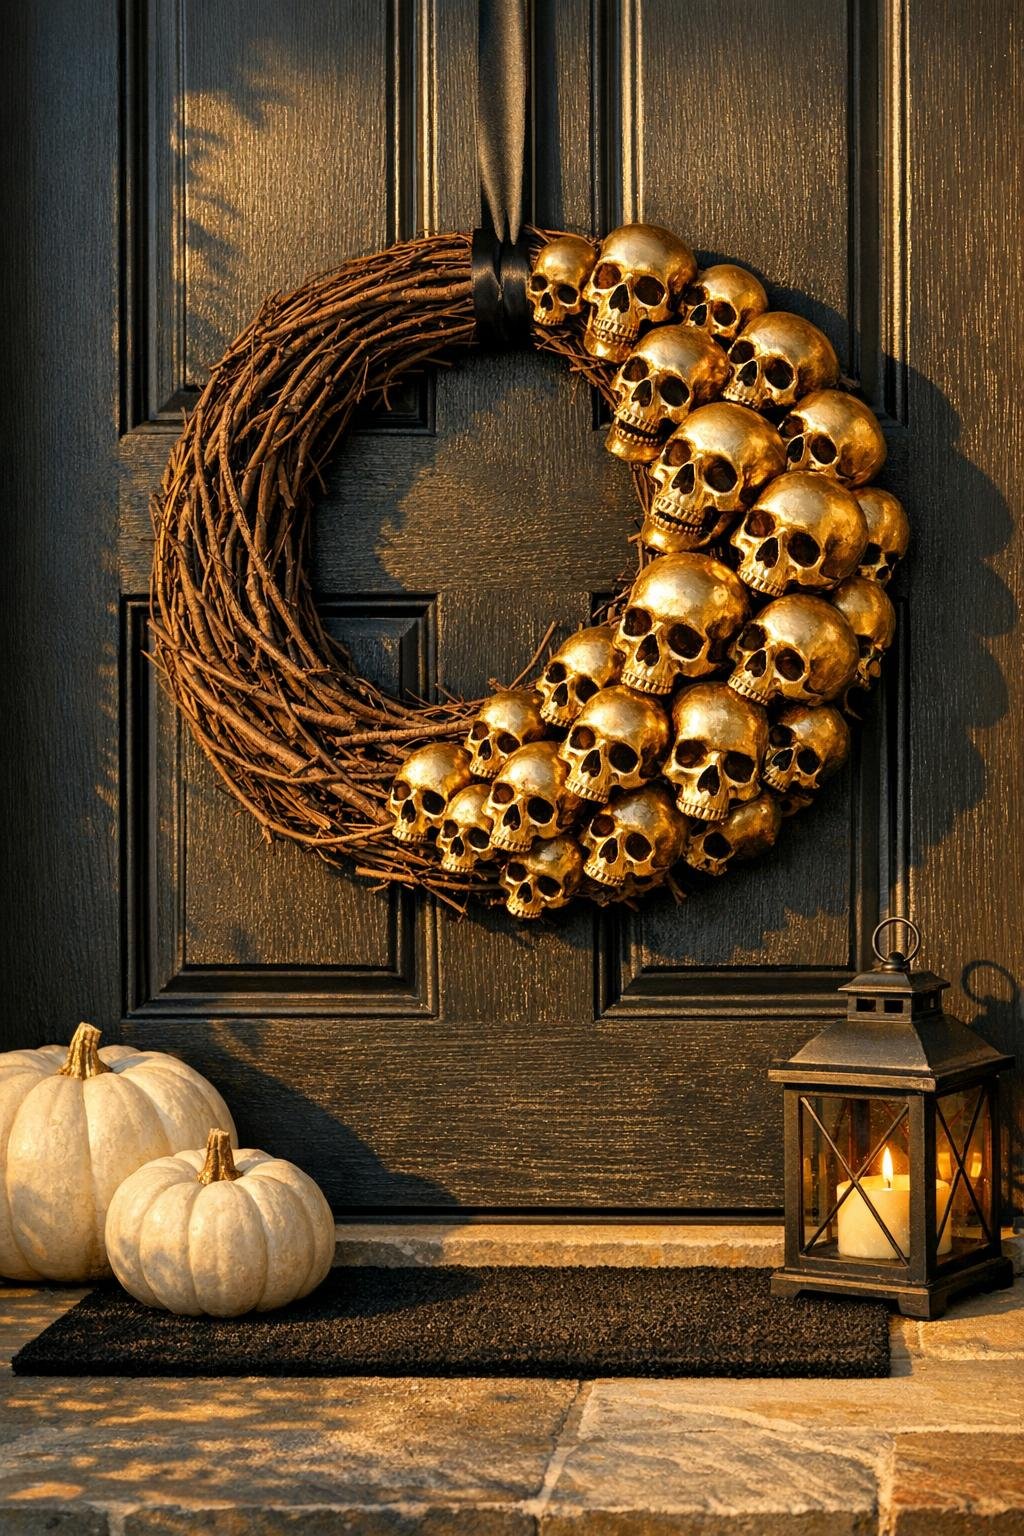
If you want a front door piece that feels bold, polished, and just a tiny bit spooky without being fussy to make, this is a good one. I built this design in a crescent shape on one side of the grapevine ring so it looks full and eye-catching, but it still goes together in an afternoon and hangs easily with a simple ribbon.
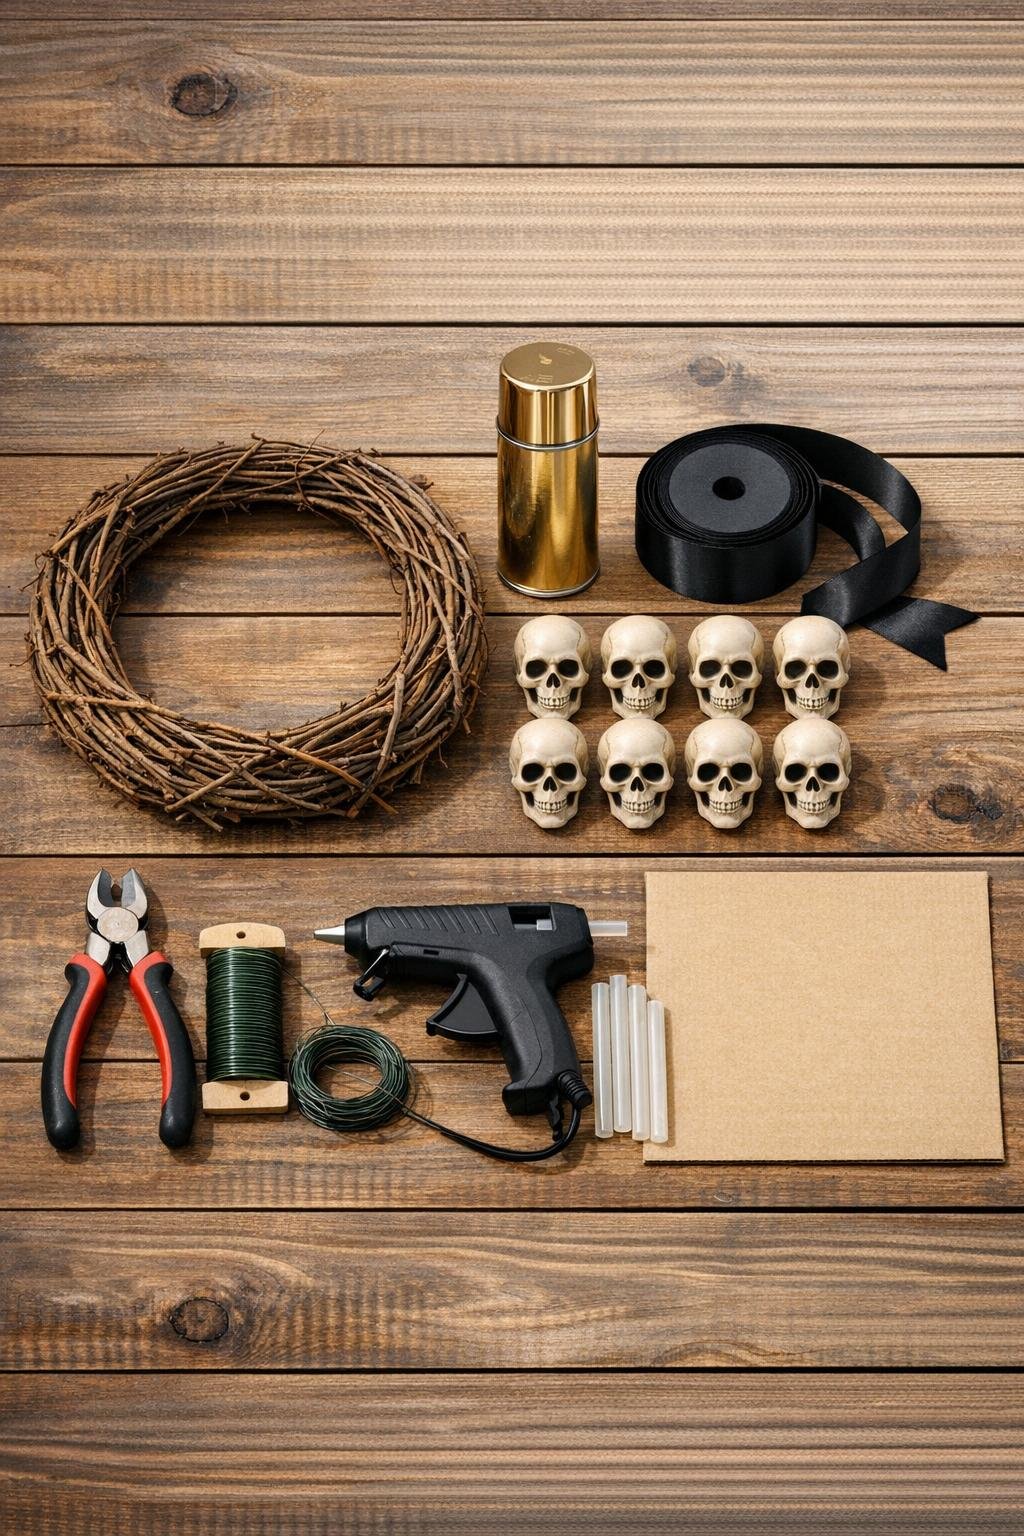
Materials
Instructions
1. Set the skulls on cardboard in a well-ventilated area, wipe off any dust, and spray them with light coats of gold paint until fully covered; let them dry completely between coats and after the final coat.
2. If any skulls have extra-shiny spots where glue may struggle to grab, lightly scuff just the contact area on the back or side with fine sandpaper.
3. Lay the grapevine ring flat and arrange the skulls in a crescent sweeping from about the 10 o’clock position down to the 4 o’clock position, overlapping them slightly so the cluster looks full and layered.
4. Start with the center skull of the crescent and cut a 10- to 12-inch piece of floral wire; push the wire through the grapevine, bring it around the skull through an opening or around the narrowest part, and twist it tightly on the back.
5. Add a generous bead of hot glue behind that wired skull where it meets the grapevine, then press it in place for a few seconds so the glue works as a stabilizer and not the only support.
6. Attach the remaining skulls one at a time, wiring each one first and then hot gluing it, tucking them close together and slightly angled so the crescent looks lush instead of flat.
7. Fill any awkward gaps by nudging the skull placement tighter or tucking short bits of trimmed grapevine from the wreath itself behind the cluster to keep the shape soft and full.
8. Cut a 24-inch length of black ribbon, loop it through the top of the wreath, and knot it securely for hanging; trim the ends into neat angles or dovetails.
9. Check the front for visible glue strings or wire ends, peel or snip them away, and give the wreath one final gentle shake to make sure every skull is firmly anchored.
Variations & Tips
For a fuller look: Use 11 or 12 small skulls on the same 14-inch ring and keep the crescent shape; I think that gives the biggest visual payoff without making the wreath feel crowded or too heavy.
For picky decorators: If bright gold feels too flashy for your porch, use champagne gold or brushed bronze spray paint instead. You still get that dressed-up Halloween feel, just a little softer.
Make it sturdier: On a door that gets a lot of slamming, wire every single skull, even the small filler ones. The glue makes it neat, but the wire is what keeps this project together through weather changes.
Add a little polish: A small black velvet bow tucked near the top of the skull crescent looks especially pretty and helps tie the hanging ribbon into the design.
Keep paint looking nice: Make sure you use spray paint labeled for plastic, and let the skulls cure fully before assembling. In my experience, rushing this part is what leads to chips and fingerprints.
Store it safely: Wrap the finished wreath loosely in tissue paper or a clean pillowcase before boxing it up. That keeps the gold finish from getting scuffed when you pack away your Halloween things.