
I have a soft spot for projects that make a room feel festive without asking you to spend much, and this cardboard faux fireplace mantel is exactly that kind of project. If you’ve got three big boxes, a little tape, and a free weekend for painting, you can turn plain packing leftovers into a mantel that adds so much charm to a living room, playroom, entryway, or holiday corner.
What I love most is that this is a big visual payoff project without being complicated. You’re basically building a lightweight three-sided arch, adding a simple shelf, and finishing it so it reads like a cozy fireplace. It’s perfect for anyone decorating on a budget, for families who want a magical seasonal backdrop, or for those of us who hate seeing a good sturdy box go to waste.
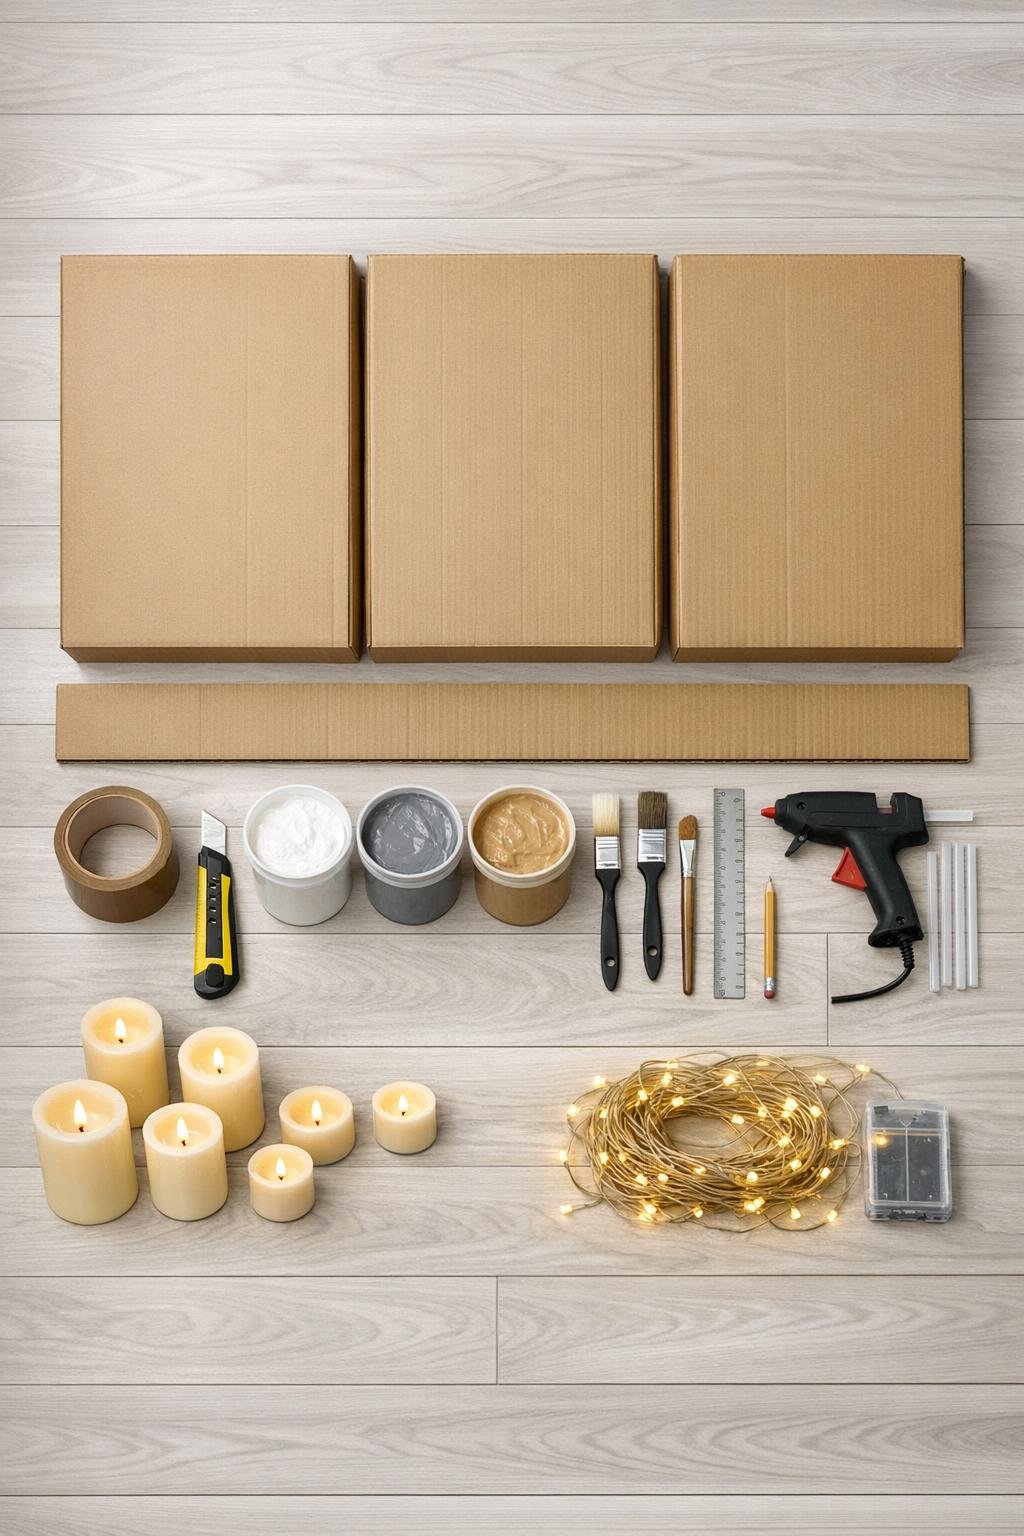
Materials
Instructions
1. Stand the two tall boxes upright for the fireplace sides and place the third box horizontally across the top to form a wide upside-down U shape. Adjust the spacing so the opening feels generous, usually about 30 to 36 inches wide.
2. Tape the side boxes together at the bottom and back first, then tape the top box securely onto both side boxes with long overlapping strips of packing tape. Add tape along every inside and outside seam so the arch feels rigid when you gently wiggle it.
3. Cut away any top flaps or crushed sections that stick out, then tape over the trimmed areas to keep the front face clean and straight. If one side is dented, glue on a flat scrap of cardboard as a patch and tape the edges smooth.
4. Cut a mantel shelf from scrap cardboard about 4 to 6 inches deep and long enough to overhang the fireplace body by 1 to 2 inches on each side. For a thicker-looking shelf, glue two identical cardboard strips together before attaching it.
5. Center the shelf on top of the horizontal box and glue it down, then reinforce the underside with folded cardboard tabs every 6 to 8 inches. Run packing tape along the back and underside so the shelf stays level but still lightweight.
6. Add a facing strip across the front top edge and down the outer front edges if you want a chunkier mantel look. This extra layer makes the fireplace read more like a finished piece instead of stacked boxes.
7. Cut a piece of black poster board or dark-painted cardboard to fit the back of the opening and tape or glue it in place. Darkening that interior panel gives instant depth and helps the candles and lights glow better later.
8. Paint the entire outside with a solid base coat of white, including the shelf and front trim, and let it dry fully. If the cardboard graphics show through, add a second coat for a cleaner fireplace finish.
9. Mark horizontal brick rows lightly in pencil across the front and sides, staggering the vertical joints like real brick. Keep the bricks fairly large, around 3 inches high by 7 inches wide, so the pattern shows up clearly from across the room.
10. Paint the brick pattern using soft gray and tan variation over the white base, or leave the body white and draw the mortar lines with a black marker for a cleaner painted-brick style. Don’t make every brick identical; that little bit of uneven color is what sells the faux finish.
11. Deepen the inside opening with black paint around the inner edges and lower area so it looks more shadowed like a real firebox. If you want extra dimension, dry brush a little gray near the opening edges to mimic soot-softened brick.
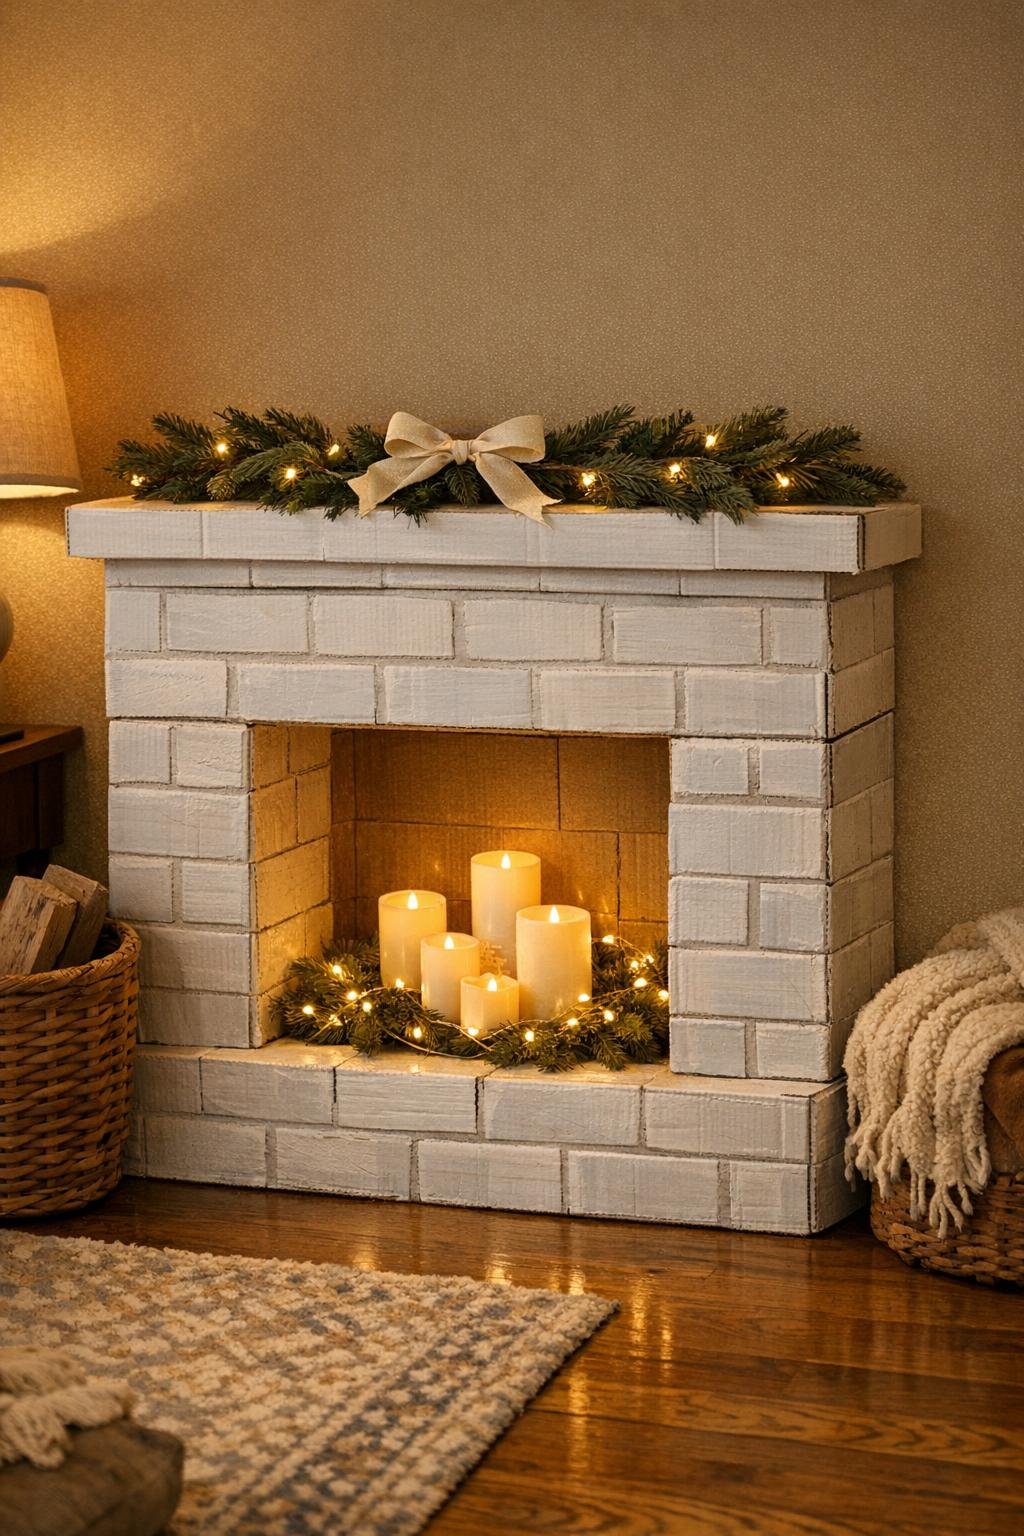
12. Let all paint dry completely, then tuck the battery string lights inside the opening and arrange the battery candles in a clustered group at the center. Keep the shelf decorations light, such as ribbon, greenery, or a small garland, since this piece is for display and not for heavy storage.
Variations & Tips
For a stone look: Skip the brick pattern and paint irregular stone shapes in soft gray, beige, and cream. This is a nice option if your painted lines don’t come out perfectly straight.
For holiday decorating: I like adding a lightweight garland, paper stockings, or a strand of beads across the mantel. Just keep everything very light so the cardboard shelf doesn’t sag.
For picky little decorators: If you’re making this for kids, let them help paint a few bricks in slightly different shades. It’s a fun way to involve them without handing over the box cutter part.
To make the shelf sturdier: Glue two or even three layers of cardboard together with the corrugation running in opposite directions. That little trick makes a big difference in keeping the shelf flatter.
If your boxes don’t match: Use the tallest two for the sides and trim the third to fit across the top. A little unevenness disappears once everything is taped, patched, and painted.
For a cleaner finish: Cover rough seams with narrow strips of plain paper or painter’s tape before painting. I’ve found that this helps hide lumpy tape edges under the final coat.
Safety note: Use only battery-operated candles or cool LED lights inside the opening. Real flames and cardboard should never mix.
Storage tip: If you want to save it for next season, leave the back mostly open and store it against a wall or carefully cut one side seam so it can fold flatter. A quick tape touch-up next year is usually all it needs.