
There is something so satisfying about taking a flimsy little seasonal decoration and turning it into something that feels heavy, permanent, and surprisingly polished. This project starts with a pair of inexpensive plastic skulls and a small batch of concrete, and with a little patience you end up with décor that looks like it came from a specialty shop instead of a dollar store bin.
I especially love projects like this because the hands-on work is simple, but the payoff is big. If you are comfortable mixing pancake-batter-thick concrete, waiting for it to cure, and adding a quick painted finish at the end, you can absolutely make this over a weekend. The trick is keeping the skulls level while they cure and using paint in a soft, layered way so the final texture reads like aged stone instead of plain cement.
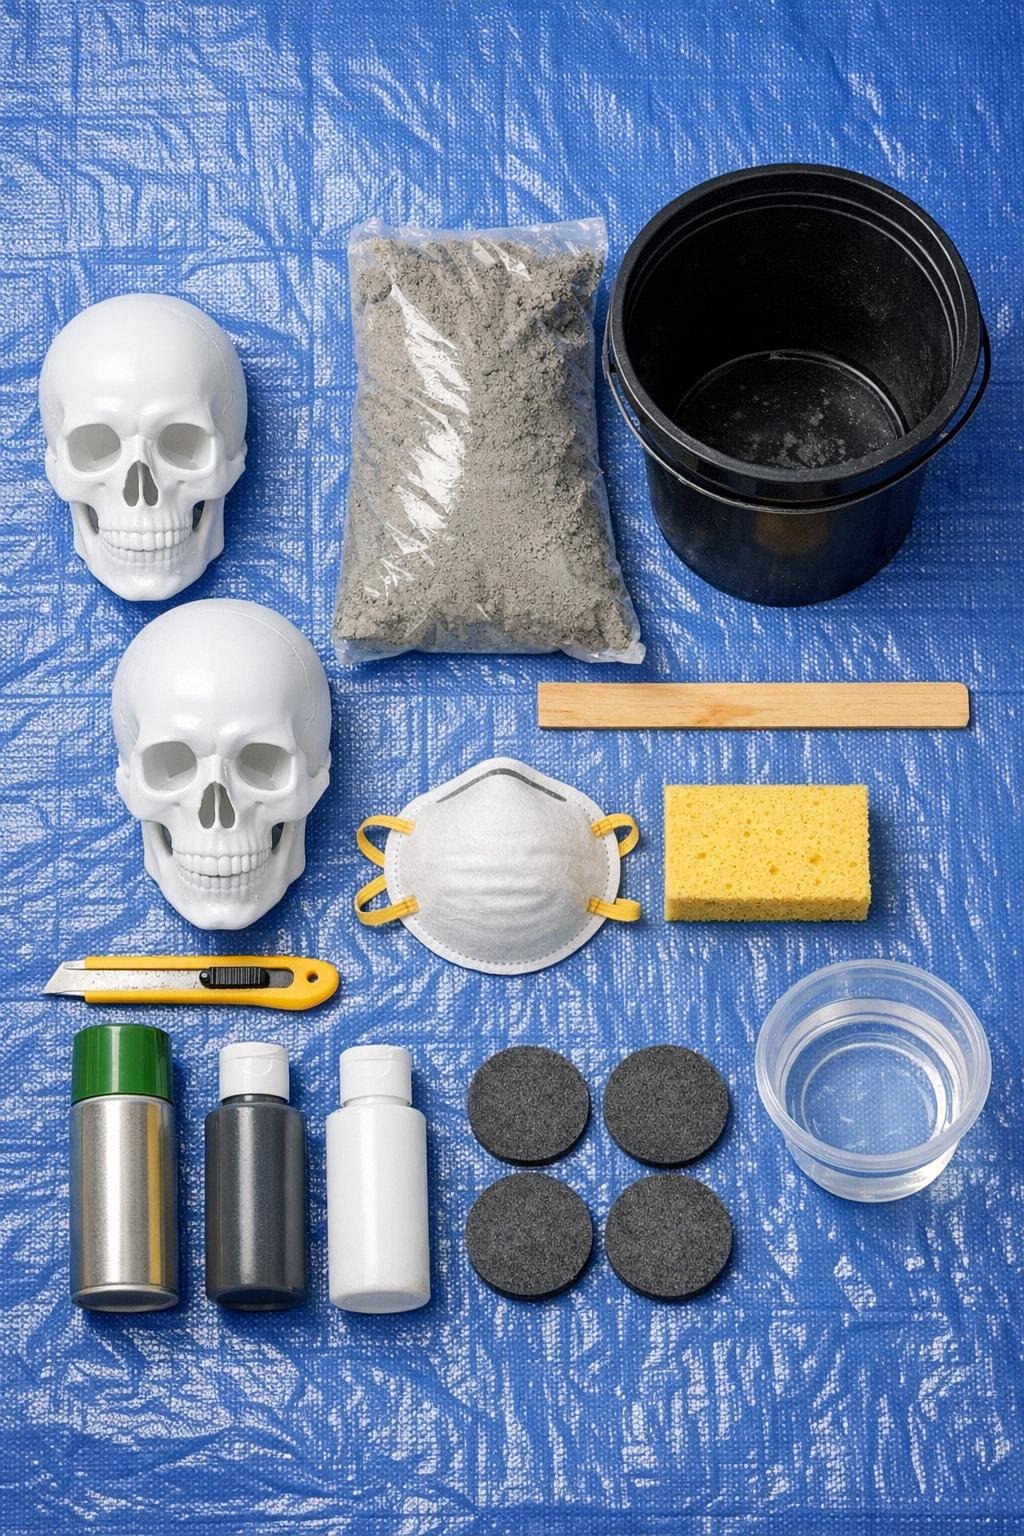
Materials
Instructions
1. Spread out your tarp in a well-ventilated workspace, put on the dust mask, and set each plastic skull upside down in its own bowl so the open bottom faces up and sits level.
2. Spray the inside of both skulls thoroughly with cooking spray, coating the interior surfaces all the way up into the forehead, cheekbones, and jaw area.
3. Pour quick-set concrete mix into the bucket, add water a little at a time, and stir until it reaches a thick, smooth consistency like brownie batter that will pour but not run watery.
4. Pour the concrete slowly into the first skull, pausing often to tap the sides with your fingers or the handle of the stir stick so trapped air bubbles rise out.
5. Fill the skull only to the top edge of the opening, not above it, so the plastic does not bulge and the cured piece forms a flat base that will stand cleanly on a shelf.
6. Repeat with the second skull, then tap both molds several more times and smooth the exposed concrete at the opening with the stir stick if needed.
7. Leave the skulls undisturbed for 24 to 48 hours, checking that they stay upright in the bowls and letting the concrete harden fully before unmolding.
8. Once cured, carefully cut into the plastic skull with the utility knife and peel it away in sections, working slowly around the nose, teeth, brow, and jaw so you do not chip the concrete.
9. Let the bare concrete skulls dry another few hours if they feel cool or damp, then wipe away any loose dust with a dry or barely damp sponge.
10. Brush dark gray craft paint lightly over the entire skull, pushing it into the eye sockets, nose cavity, and between the teeth, then wipe back the high spots with the sponge so the texture stays varied.
11. Dry-brush white craft paint across the forehead, cheekbones, brow ridge, jawline, and teeth using a very light hand to create a weathered stone look with dimension.
12. Press two felt pads onto the flat base of each finished piece so they will slide more easily and protect the shelf surface from scratches.
Variations & Tips
For a darker finish: Use mostly dark gray paint and just a whisper of white on the highest points. This gives the skulls a moodier, old-stone look that works beautifully on darker shelves.
For a lighter stone look: Start with a diluted gray wash, then build up more white dry-brushing over the whole surface. I like this version when I am decorating with lighter books, pumpkins, or candles.
For extra stability: If one base cures slightly uneven, rub it gently on a piece of coarse sandpaper set on a flat surface until it sits without rocking.
To avoid air pockets: Tap longer than you think you need to, especially after the skull is half full and again when it is nearly full. The nose and brow area are where bubbles love to hide.
To protect the details: Always slice the plastic shell away instead of trying to tug the whole mold off at once. The nose, teeth, and brow edges can chip if you get impatient.
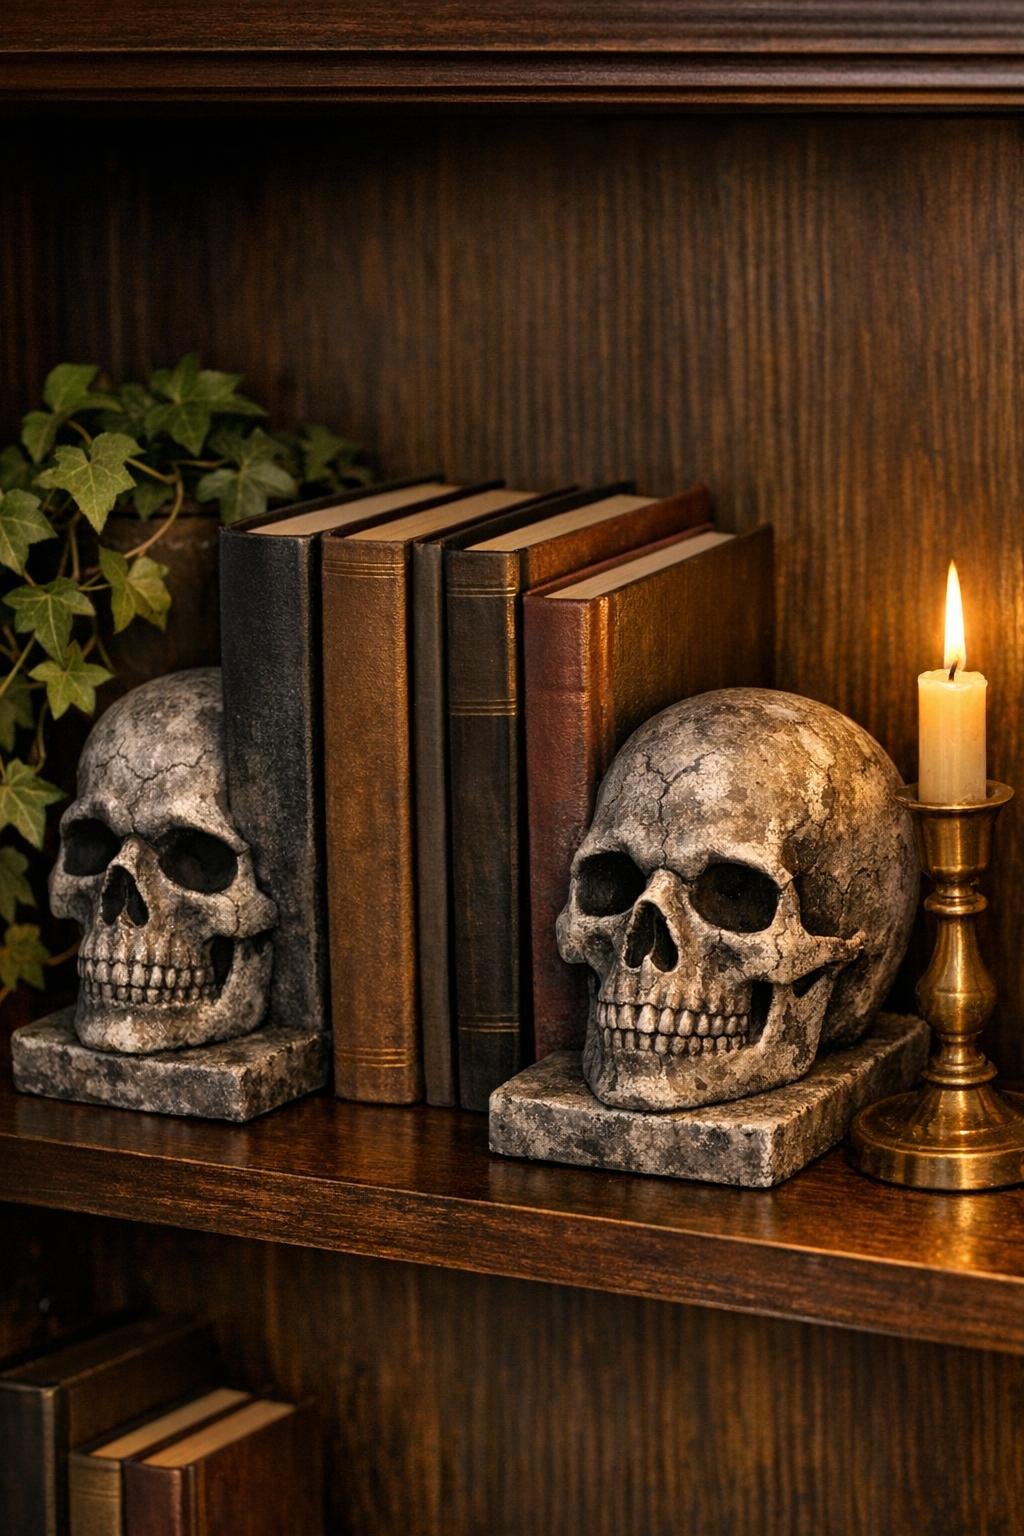
Bookend tip: These are heavy enough for a nice row of novels or cookbooks, but I still like to place the flattest side inward against the books for the neatest hold.
Kid- and pet-safe placement: Because each piece weighs several pounds, display them on a sturdy shelf where they cannot be knocked down. They are decor, not toys, and the concrete edges can chip if dropped.
Gift idea: Make a pair for a friend who loves spooky décor, then tuck them into a bookcase with a few mystery novels. It is one of those handmade gifts that looks far more expensive than it is.