
There’s something so satisfying about taking a handful of inexpensive supplies and turning them into a holiday piece that looks like you spent far more than you did. This project starts with a plain dollar store rubber glove and a small batch of quick-set concrete, and with a little patience, you end up with a spooky, sturdy Halloween accent that’s practical too.
I love projects like this because they feel a little magical without being complicated. If you can mix pancake batter, you can handle this one. It’s a great weekend craft for anyone who wants bold Halloween décor on a tiny budget, and it’s especially fun if you like decorations that are a little creepy, a little clever, and still easy enough to pull off at the kitchen table or in the garage.
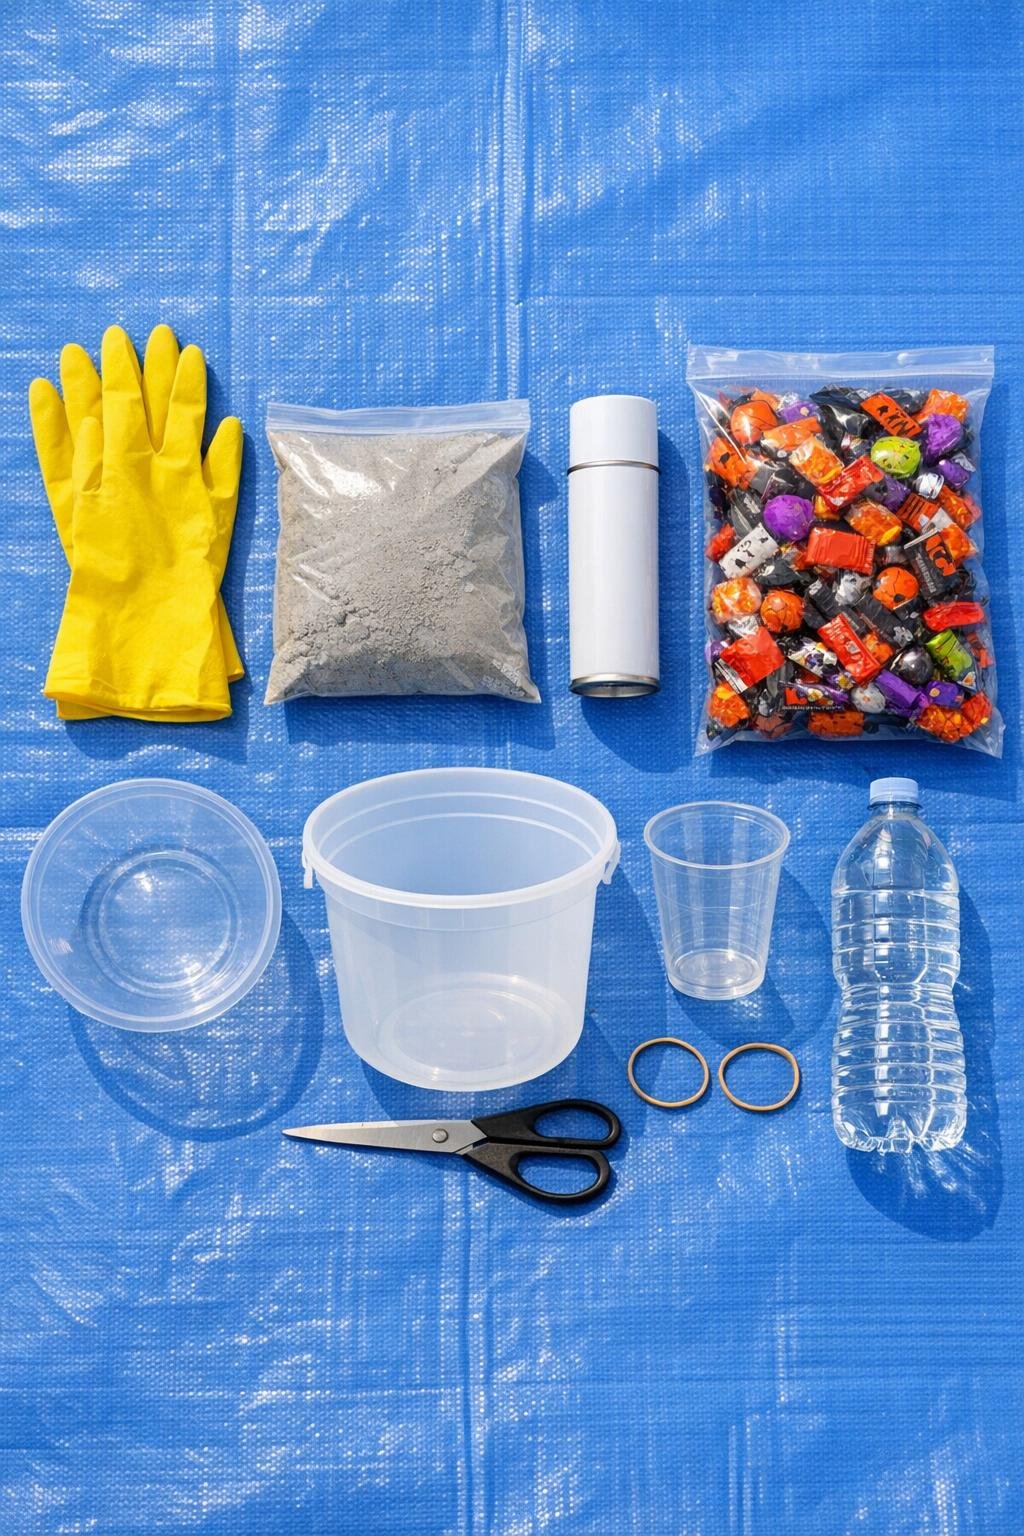
Materials
Instructions
1. Spread out a tarp or work surface in a well-ventilated area, then set your rubber glove, bowl, rubber bands, and scissors within easy reach so you can move quickly once the concrete is mixed.
2. Place the plastic bowl on the table and test-fit one empty glove inside it, curling the fingers inward and slightly upward until the palm forms a deep cupped shape that could hold a generous pile of wrapped candy.
3. In the mixing bucket, combine the quick-set concrete with water a little at a time until it reaches a smooth, pourable texture like thick cake batter; you want it fluid enough to flow into the fingers but not watery.
4. Scoop the wet concrete into the plastic cup, then slowly pour the first stream into the glove cuff, keeping the glove upright as the concrete begins to fill the palm.
5. Gently squeeze and massage each finger from the outside as you add more concrete so the mix reaches all the way to the fingertips and pushes out trapped air pockets.
6. Fill the glove until the palm is full and the fingers are solid, stopping about 1 inch below the cuff so you have room to close it without overflow.
7. Twist the cuff closed and secure it tightly with a rubber band right away; this keeps the concrete from backing out while the hand shape sets.
8. Nestle the filled glove into the plastic bowl, then adjust the fingers so they curl up and inward toward the palm to create a bowl-like hand shape with a generous center well.
9. Leave the glove undisturbed to cure for 24 to 48 hours until the concrete is completely hard; don’t rush this part, because thin fingers can snap if you peel the glove off too early.
10. Once fully cured, snip the rubber glove away with scissors a little at a time, cutting from the cuff down and peeling back small sections carefully around each finger instead of tugging hard.
11. If you find a small chip or a broken fingertip, glue it back in place and let it dry fully before finishing; I always like to mention this because concrete fingers can be fragile, and having glue handy saves the day.
12. Move the concrete hand to a well-ventilated painting area and spray on 2 light coats of white chalk spray paint, letting the first coat dry before adding the second so the finish looks even and bone-like.
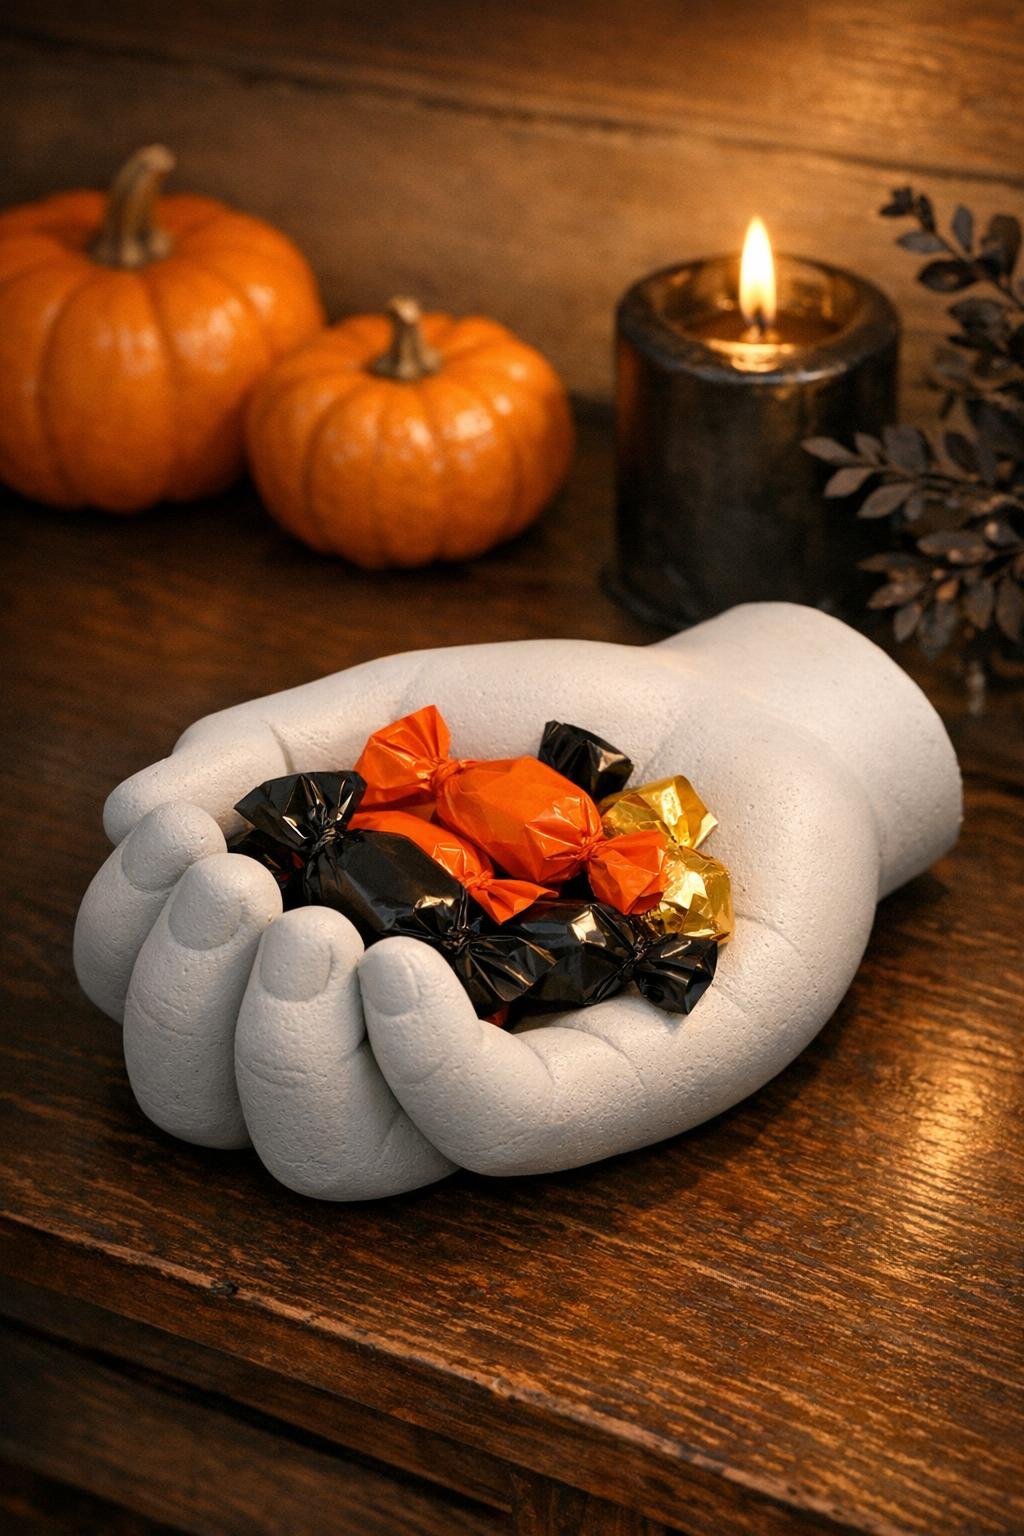
13. Let the paint dry completely, then set the finished hand in its display spot and fill the cupped palm with wrapped Halloween candy only, since raw concrete is not food-safe for unwrapped treats.
Variations & Tips
For a darker look: Skip the white paint and use flat gray or bone beige spray paint if you want the hand to look more aged and stone-like.
For picky candy grabbers: I like to fill this with a mix of chocolate bars and fruity wrapped candy so everyone in the family or neighborhood finds something they actually want to take.
If a finger breaks: Don’t toss it. A clean break usually glues back together very well, especially after painting, and the repair often disappears once the dish is filled with candy.
To make the dish deeper: Curl the fingers more tightly inward when you set the glove in the bowl, and lift the thumb slightly so it helps hold candy in the palm.
For a bigger display: Make the second glove too and arrange both hands on a tray with extra candy, battery candles, and a few faux spiders for a more dramatic Halloween centerpiece.
Important safety note: Only use wrapped candy in the finished dish, because concrete is not a food-safe surface for loose treats.