
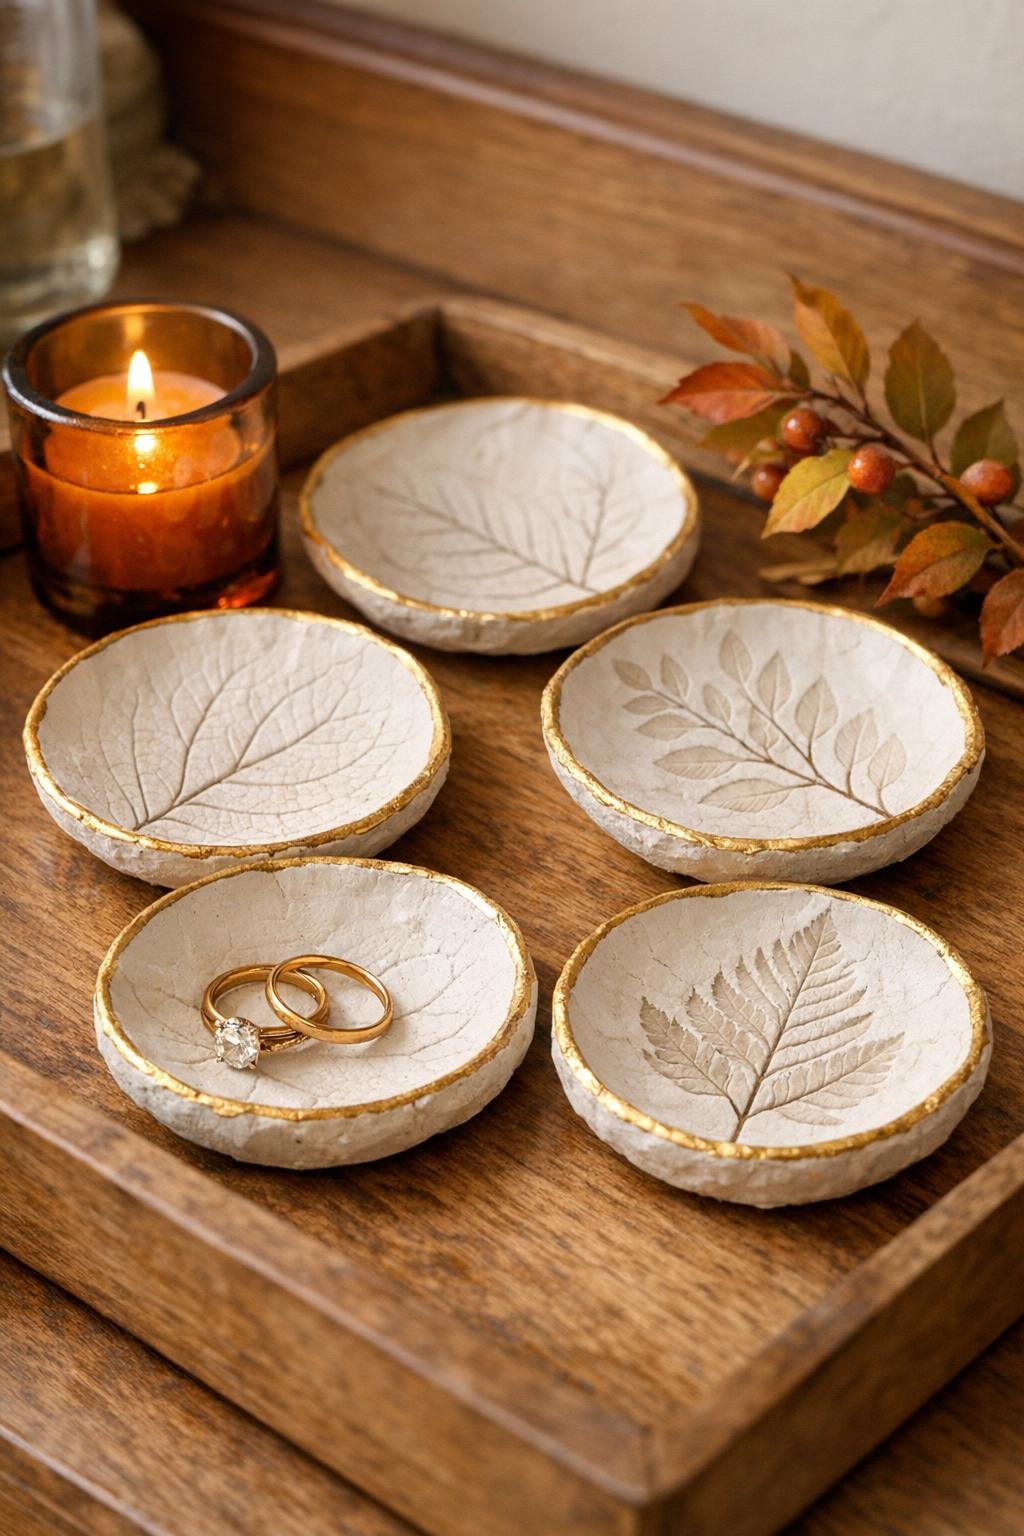
There is something so satisfying about turning a tiny piece of the season into something you can use every day. For these little trinket dishes, I press a fresh fall leaf into air dry clay to capture all those lovely veins and natural details, then shape the clay over a bowl so it dries into the sweetest catch-all dish.
This is an easy afternoon project for anyone who likes simple crafts with a polished finish, and it is especially nice if you want handmade gifts that feel thoughtful without being fussy. I love projects like this because they look special on a nightstand, by the kitchen sink, or tucked onto a holiday table, and the materials are inexpensive enough that I never mind making a whole batch.
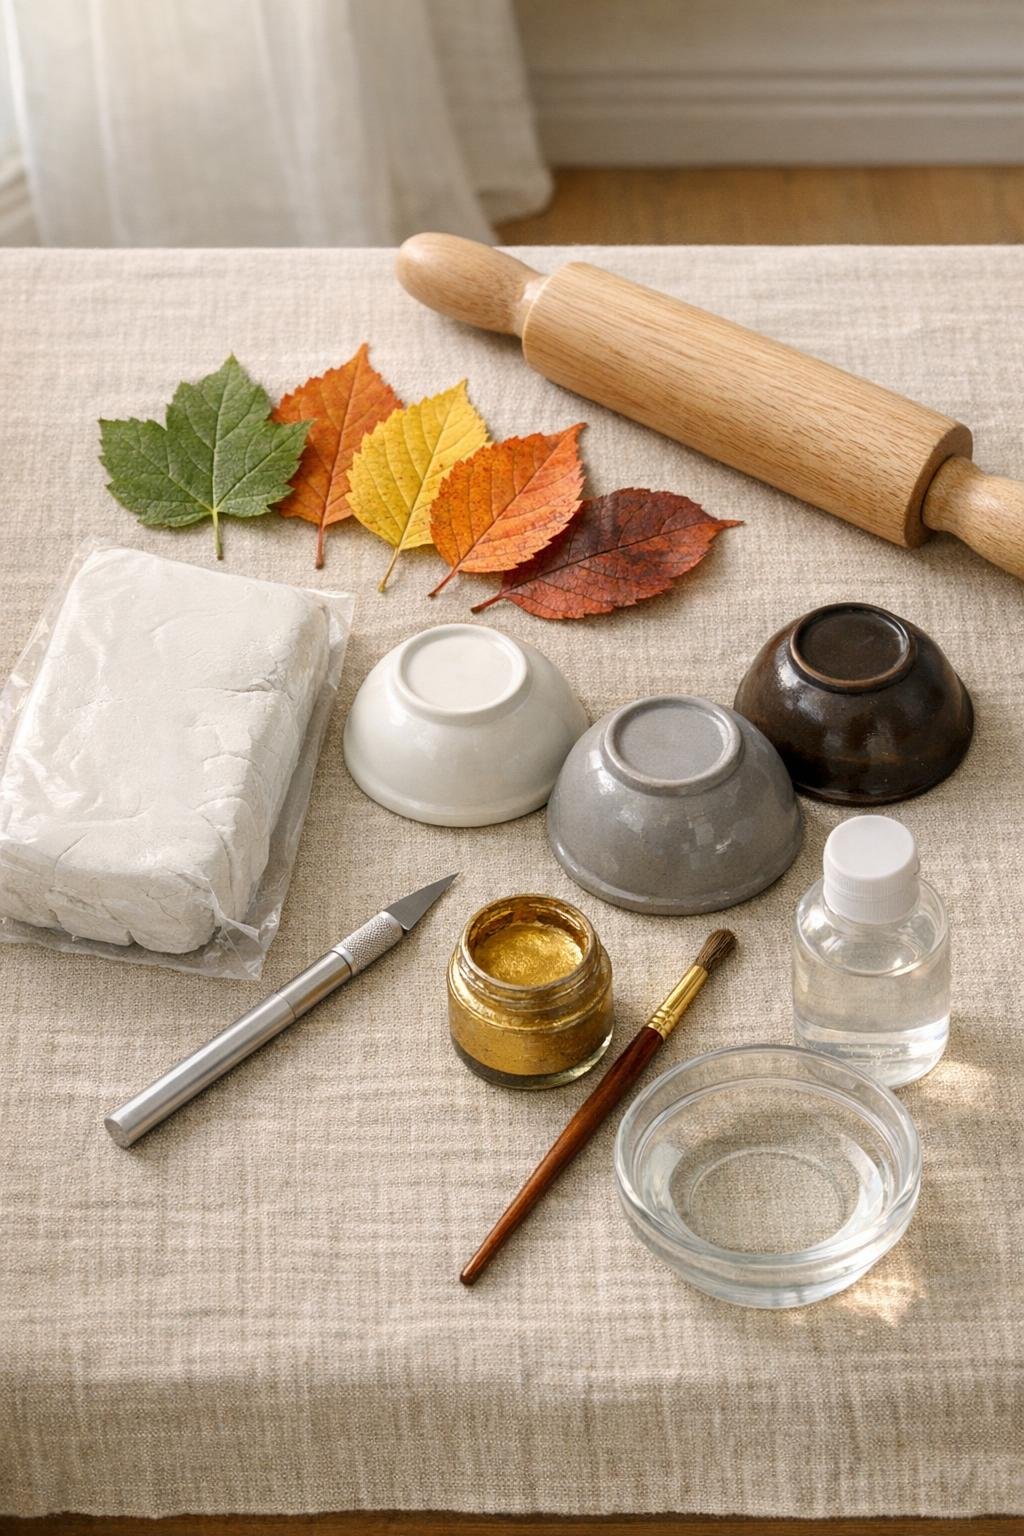
Materials
Instructions
1. Tear off a piece of air dry clay about the size of a large orange, roughly 6 to 8 ounces, and knead it in your hands for 1 minute until smooth and pliable.
2. Place the clay on parchment paper or a craft mat and roll it into an even round about 5 to 6 inches wide and 1/4 inch thick. Keep the thickness consistent so the edges stay sturdy while drying.
3. Lay one fresh leaf vein-side down onto the clay so the raised veins press in clearly. Roll firmly over the leaf once or twice with the rolling pin, pressing enough to transfer the full pattern without thinning the clay too much.
4. Peel the leaf away slowly while the clay is still soft, starting at the stem end and lifting carefully so the imprint stays crisp. If a small bit sticks, ease it off gently with your fingertips.
5. Use the craft knife to trim the clay into a circle around the leaf imprint, leaving about 1/2 inch of space around the design. Smooth the cut edge with a fingertip dipped lightly in water.
6. Drape the clay round gently over an upside-down small bowl, centering the leaf imprint on top. Let the edges fall naturally to form a shallow dish, and adjust any uneven spots with your fingers.
7. Leave the clay to dry on the bowl for 24 to 48 hours, or until completely hard. If the room is dry, check after the first day and smooth any tiny rough spots before the clay fully sets.
8. Lift the dry dish off the bowl and sand the rim very lightly with fine sandpaper to soften any rough edges or tiny bumps. Wipe away the dust with a dry cloth.
9. Paint a thin line of metallic gold around the rim, and if you like, lightly brush a touch of gold over the highest leaf veins for a little extra definition. Let the paint dry completely.
10. Seal the dish with a light coat of clear sealer and let it dry fully before using it for rings, earrings, or other tiny treasures. Make a few at once if you want a pretty matching set.
Variations & Tips
Best leaf choice: Pick fresh leaves with strong veins and flexible bodies, since dry or brittle leaves tend to crack and do not press as cleanly. Maple, pear, and similar broad leaves usually give the prettiest detail.
For picky perfectionists: If you are crafting with kids or anyone who gets frustrated by little imperfections, make two or three extra rounds of clay right from the start. It takes the pressure off, and one of them almost always comes out beautifully.
Keep the clay thick: I really do recommend staying close to 1/4 inch thick. Thinner edges may look delicate at first, but they are much more likely to curl, chip, or crack as they dry.
Shape options: Instead of trimming a perfect circle, you can cut around the outline of the leaf with a small border for a more organic shape. Just make sure the dish still has enough width to sit nicely over the bowl while drying.
Finish choices: Gold on the rim gives this project that little store-bought touch, but copper, champagne, or soft bronze paint are lovely too. For a simpler look, leave the dish plain white and just seal it.
Using the dish: These are best for lightweight items like rings, earrings, hair pins, or wrapped candies at each place setting. Because they are made from air dry clay, I do not use them for food prep or anything that will sit in water.
Gift idea: I like making a set of three in slightly different leaf patterns, then stacking them with a ribbon for a thoughtful hostess or teacher gift. They look especially sweet tucked into a basket with hand soap or a candle.