
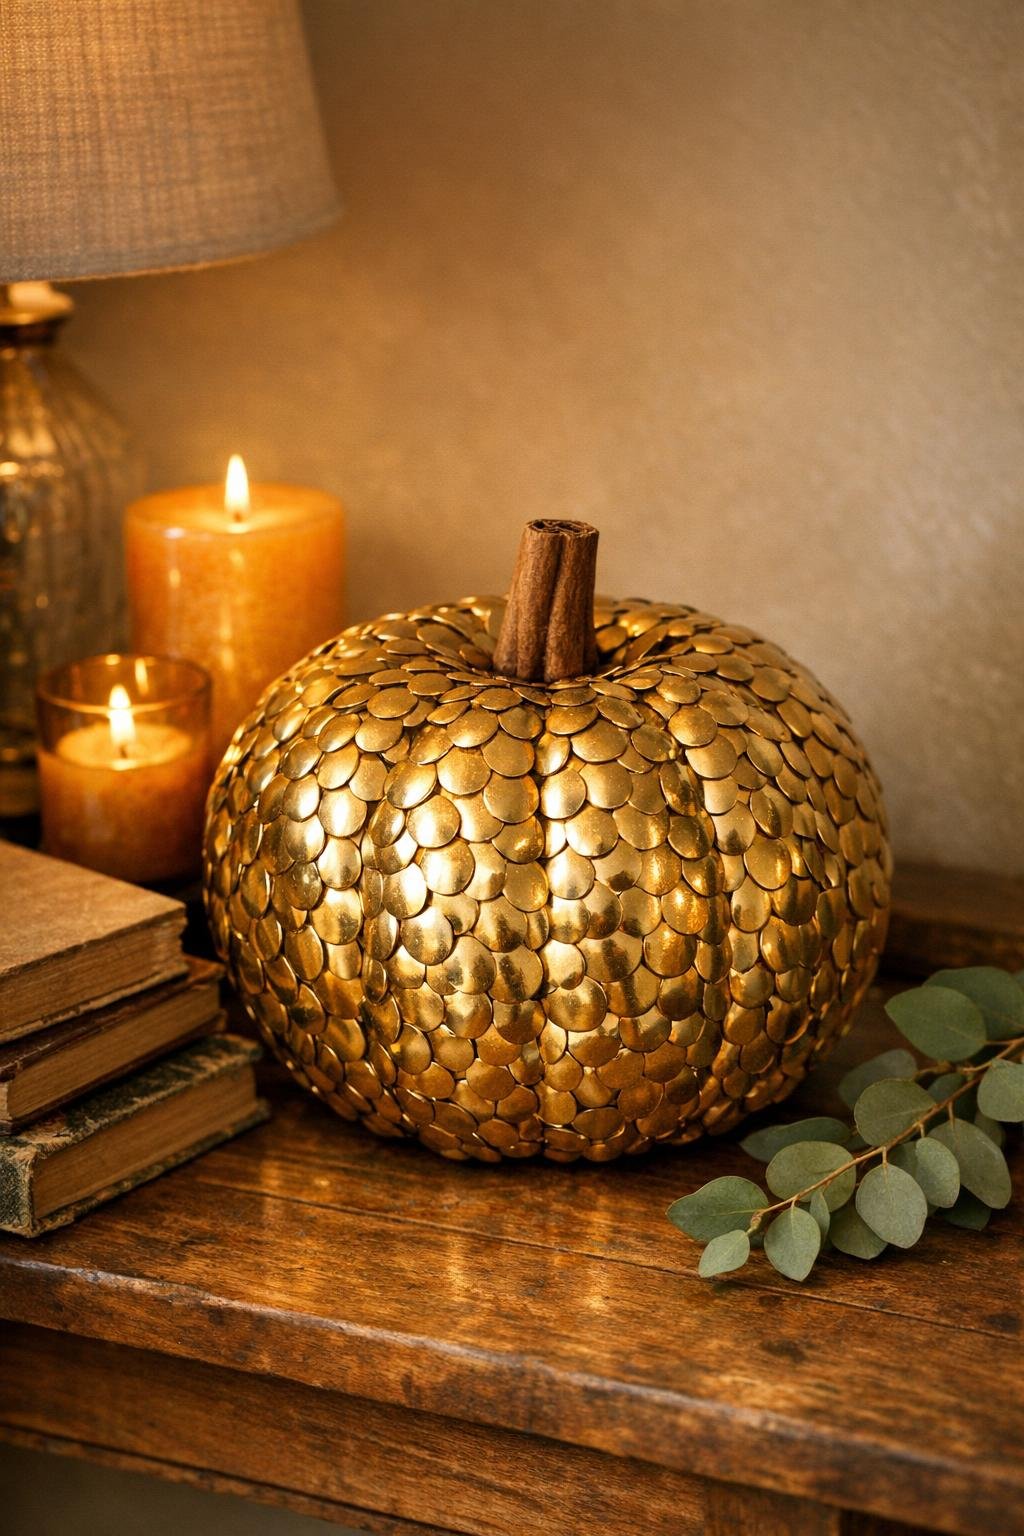
This is one of those projects that looks wildly fancy when it’s done, but the process is wonderfully straightforward: you’re simply covering a solid foam pumpkin with rows of gold thumbtacks until the whole surface gleams. If you like easy, repetitive crafts that you can do while catching up on a show or listening to a podcast, this is a very satisfying little weekend project.
I also love that it turns a basic craft-store pumpkin into something that looks rich and dramatic for fall decorating without needing paint, glitter, or complicated tools. The only real trick is patience and good coverage, and I’ll show you exactly how to place the tacks so you get that fully studded, magical finish with no white foam peeking through.
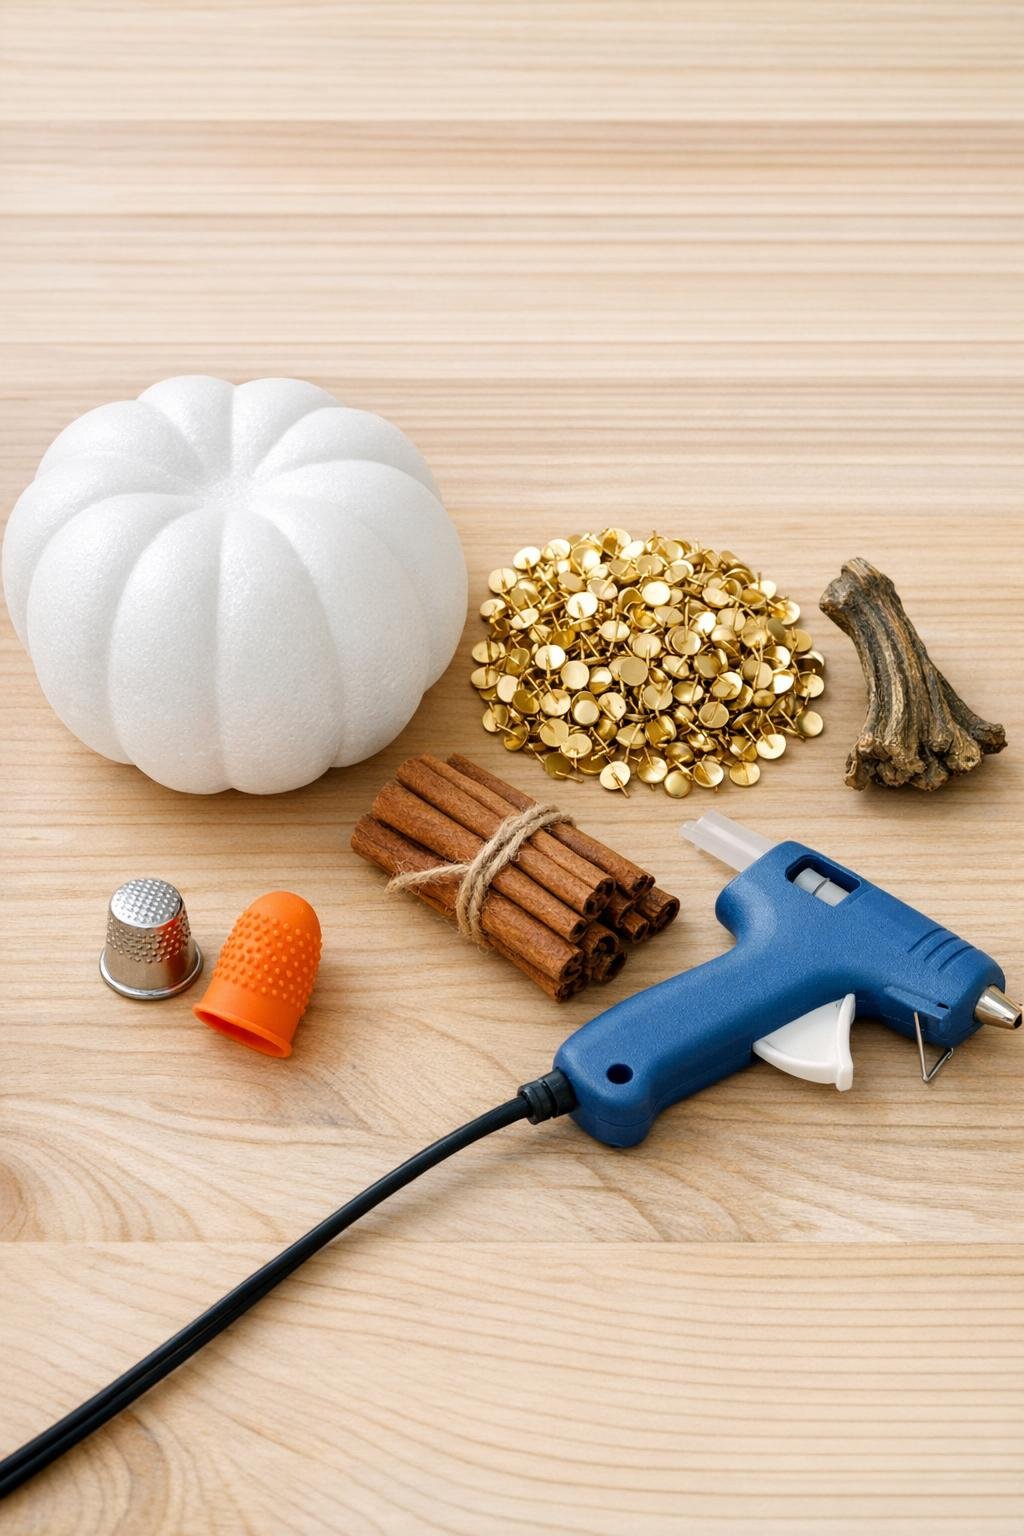
Materials
Instructions
1. Set your pumpkin on a sturdy table and pour the thumbtacks into a small bowl or tray so they’re easy to grab one at a time. If your foam pumpkin has a flimsy stem, pull it off now so the top is clear for tacking.
2. Put on your thimble or rubber finger grip before you begin pressing in tacks. Dense foam takes more pressure than it looks like it should, and this one little step makes a huge difference by the halfway point.
3. Start at the very top center of the pumpkin and press in your first thumbtack near the stem area. Keep it straight and seated firmly so the gold head lies flat against the foam.
4. Continue down one rib of the pumpkin, adding tacks in a tight row from top to bottom. Overlap each tack head slightly with the one above it so there’s no white foam showing between them.
5. Build a second row right beside the first row on that same rib, again overlapping the tack heads just enough to hide the foam. Think fish scales, but neat and consistent.
6. Repeat row by row until that entire rib is covered from the top all the way to the bottom edge. If a tack bends, pull it out and replace it right away instead of forcing it.
7. Move to the next rib and work from the stem area downward in the same way. Keep each new row tucked close to the previous section so the gold surface looks continuous and full.
8. Rotate the pumpkin as you go, covering one rib at a time until the whole pumpkin is studded. Check it from several angles every so often and fill any tiny gaps with an extra tack.
9. Cover the top around the stem opening last, placing the tacks in a tight circular pattern so that area looks finished too. You want the pumpkin to read as completely gold from every normal viewing angle.
10. Once all the thumbtacks are in place, test your cinnamon stick bundle or real stem on top to see what size looks best. Trim or adjust if needed so it looks proportional to the pumpkin.
11. Add a generous dab of hot glue to the top center opening and press the cinnamon stick bundle or real stem into place. Hold it steady for a few seconds until the glue grabs.
12. Let the glue cool completely, then give the pumpkin one final inspection and add a few extra tacks anywhere the foam still peeks through. Display it indoors where it can shine, but keep it out of reach of kids and pets since all those tack points are real.
Variations & Tips
Use extra thumbtacks: I strongly recommend buying more than 300 if you can. A few usually bend, and having extras lets you fill tiny gaps at the end without rationing.
Choose the right pumpkin: This only works well on a solid foam pumpkin. A hollow plastic pumpkin won’t grip the tack points properly, and the finished surface won’t look nearly as clean.
Work in sections: When I do repetitive projects like this after work, I like to cover two or three ribs, take a break, and come back fresh. It keeps your hands from getting tired and helps you stay neat with placement.
Try a real stem: If you want a more natural, high-end look, a dried real pumpkin stem is beautiful on top. Cinnamon sticks are lovely too and add just a little harvest charm.
Keep coverage dense: The magic is in the overlap. If you leave even narrow slivers of white between rows, the finished pumpkin won’t have that rich solid-gold look.
Display safely: This is definitely indoor decor only, and I’d style it on a mantel, shelf, or entry table where curious hands and paws can’t grab it. It’s sturdy, but those sharp tack points mean it’s better admired than handled.