
This is one of those projects that looks far fussier than it really is, which is honestly my favorite kind of craft. You start with a plain dollar store picture frame, draw your design right onto the glass with hot glue, and then fill the little sections with translucent color so the whole thing catches the light like stained glass. It feels a bit magical every single time, especially when the sun hits it for the first time.
I love projects like this for a busy weekend afternoon because the supply list is short, the cost stays low, and you still end up with something that looks polished enough to hang in a window or prop on a shelf. If you've never worked with glass paint or alcohol ink before, this is a very forgiving place to start because the raised glue lines do a lot of the hard work for you.
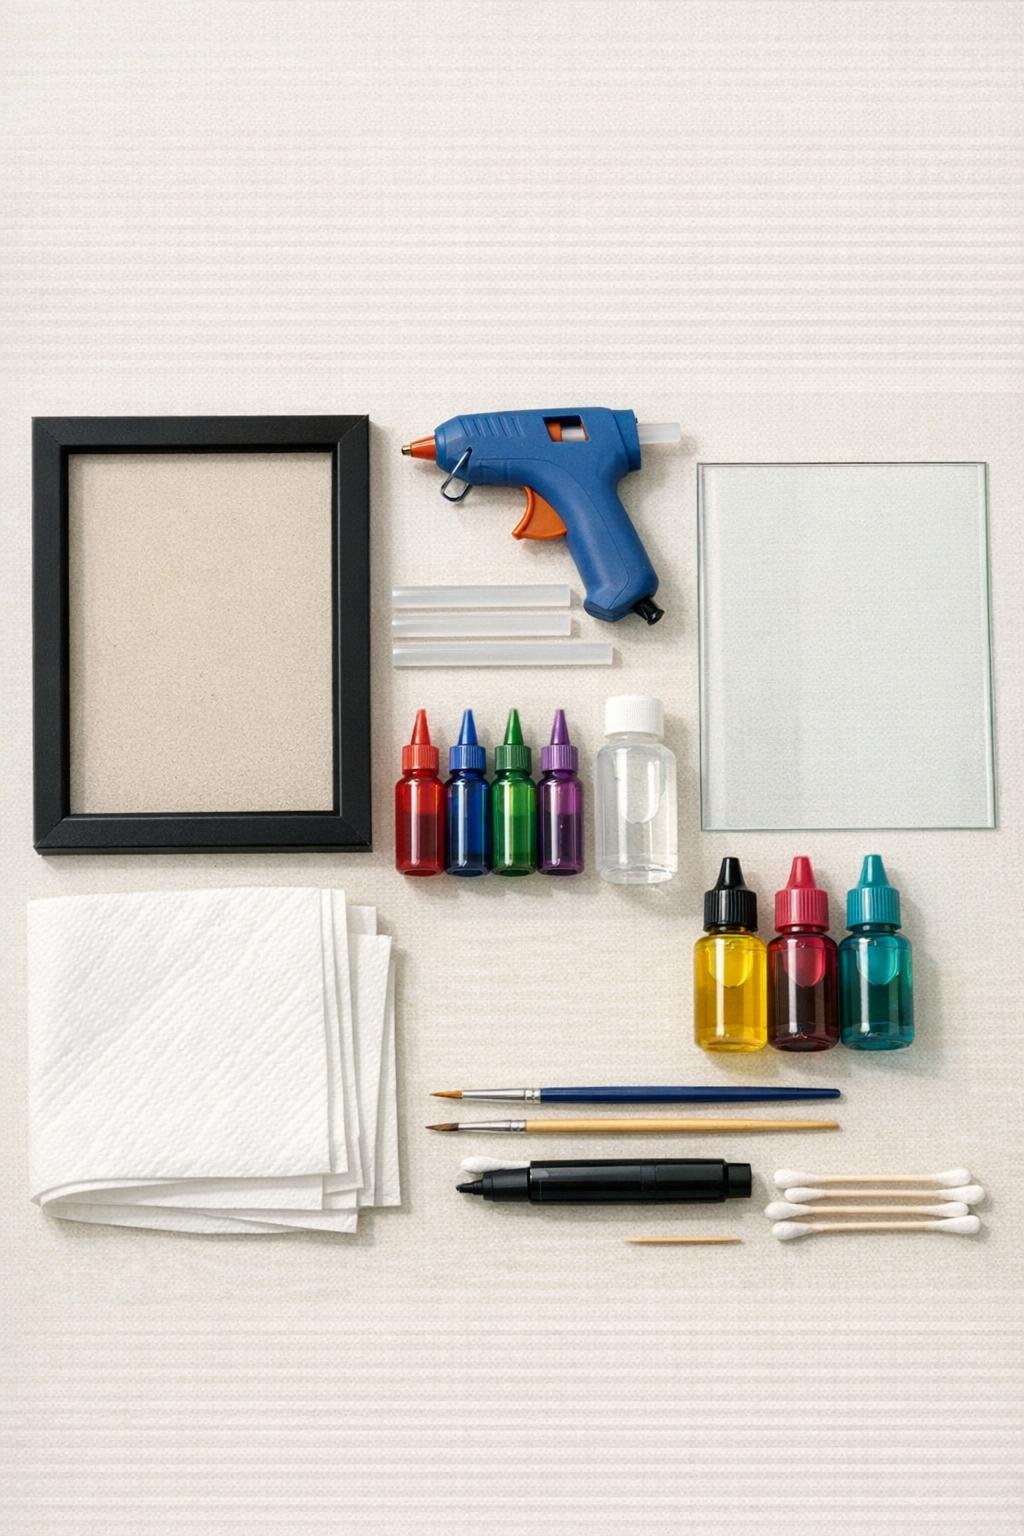
Materials
Instructions
1. Remove the frame backing and glass, then clean both sides of the glass thoroughly with rubbing alcohol and a paper towel so the glue and color will stick well.
2. Sketch a simple design on scrap paper sized to fit behind the glass, using bold shapes like petals, leaves, arches, or abstract curved sections rather than tiny fussy details.
3. Tape the sketch under the glass so you can see it through the front, then place the glass flat on your work surface with the side you'll decorate facing up.
4. Heat the glue gun and trace the design directly onto the glass with a thin steady bead, working slowly so the lines stay raised and connected like faux lead came.
5. Let the glue cool completely for 10 to 15 minutes, then gently peel away any glue strings or tiny blobs with your fingers or a toothpick to clean up the lines.
6. If any section has a gap in the glue outline, add a tiny bit more glue to close it and let that spot cool fully before painting.
7. Brush glass paint into one outlined section at a time, nudging the color right up to the glue edges without flooding over them.
8. Alternate colors across the design so similar shades do not touch too much, and use a clean brush or cotton swab to lift extra paint if a section starts to puddle.
9. For extra depth, drop a little alcohol ink into still-wet glass paint or use alcohol ink alone in a few sections, then tilt the glass slightly to help the color marble softly inside each shape.
10. Continue filling every section until the panel looks balanced and richly colored, leaving the raised hot glue lines visible as the dark leading once dry.
11. Leave the glass flat to dry undisturbed for several hours or overnight, because moving it too soon can cause the color to slide or pull away from the edges.
12. Once dry, reassemble the frame with the painted glass in front, keeping the decorated side facing inward if you want extra protection from dust and handling.
13. If desired, add a light coat of clear sealer to the painted side according to the product directions, then let it dry completely before framing or hanging.
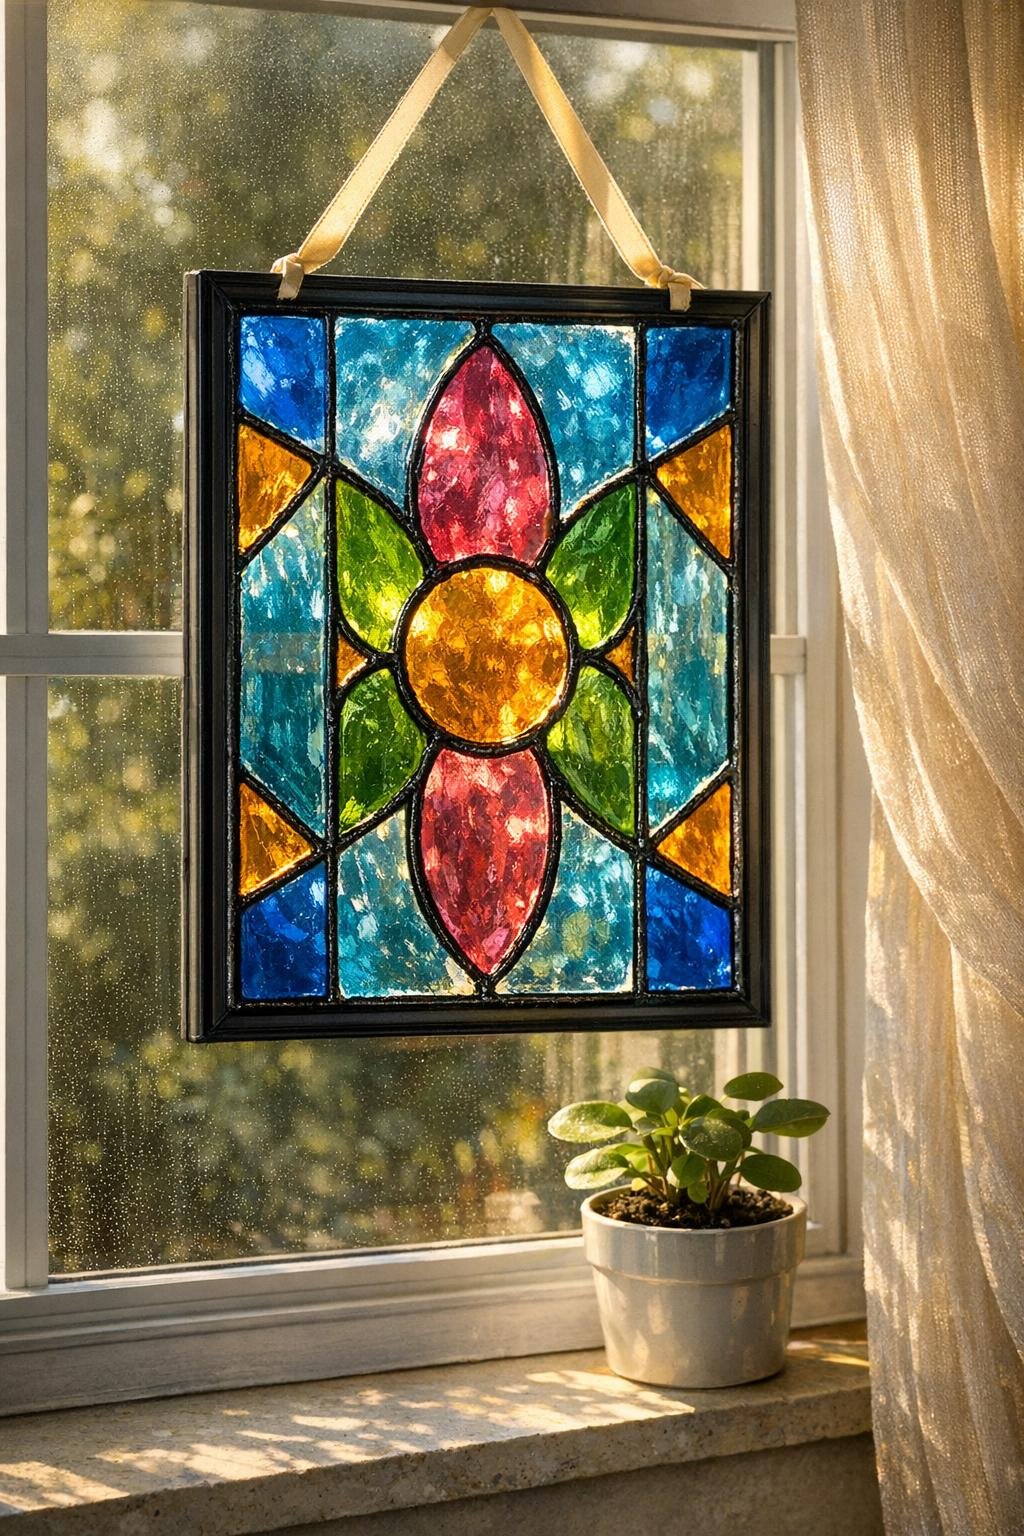
14. Hang the finished panel in a bright window or display it on a shelf where sunlight can shine through and show off the color.
Variations & Tips
Easy design choice: If freehand drawing feels intimidating, go with simple abstract arches, a flower with chunky petals, or a leaf pattern. Big shapes are much easier to glue and paint cleanly than tiny ones.
Best glue temperature: I get the cleanest lines with a low-temp setting or by letting a hot gun rest for a minute if it's running too hot. When the glue is overheated, it tends to string more and flatten out on the glass.
Color payoff: Use generous color so each section looks saturated, but not so much that it domes up heavily. I aim for an even glossy layer that reaches the glue edges without spilling over.
Marker shortcut: If you want darker “leading,” trace over the cooled glue lines with a black permanent marker before painting the sections. It gives a more traditional stained glass look with almost no extra effort.
Seasonal version: Change the pattern and colors to match the season: soft florals for spring, citrus colors for summer, amber leaves for fall, or icy blue snowflakes for winter. This is an easy frame to swap out through the year.
Display tip: These look best with light behind them, so a kitchen window, sunroom shelf, or bright bathroom window is ideal. I would avoid a dark hallway wall unless you plan to prop it in front of a lamp or sunny mirror.
Cleaning note: Wipe the finished panel gently with a dry microfiber cloth instead of spraying cleaner directly on it. That keeps the painted sections looking crisp and glossy longer.