
There are some little projects that feel like pure childhood to me, and this is one of them. A bottle of white school glue, a sheet of wax paper, and an evening at the table can turn into something that catches the light in the prettiest way. If you want an easy Halloween craft that doesn’t ask much of you besides a steady hand and a bit of patience, this one is just right.
I especially love this for families, grandparents crafting with the kids, or anybody who wants a cheerful Halloween touch without hauling out a bin of decorations. The real secret is in making the lines thick enough and letting them dry all the way through. Once you do that, these little shapes peel up beautifully and can be pressed right onto your windows, mirrors, or even a glass storm door.
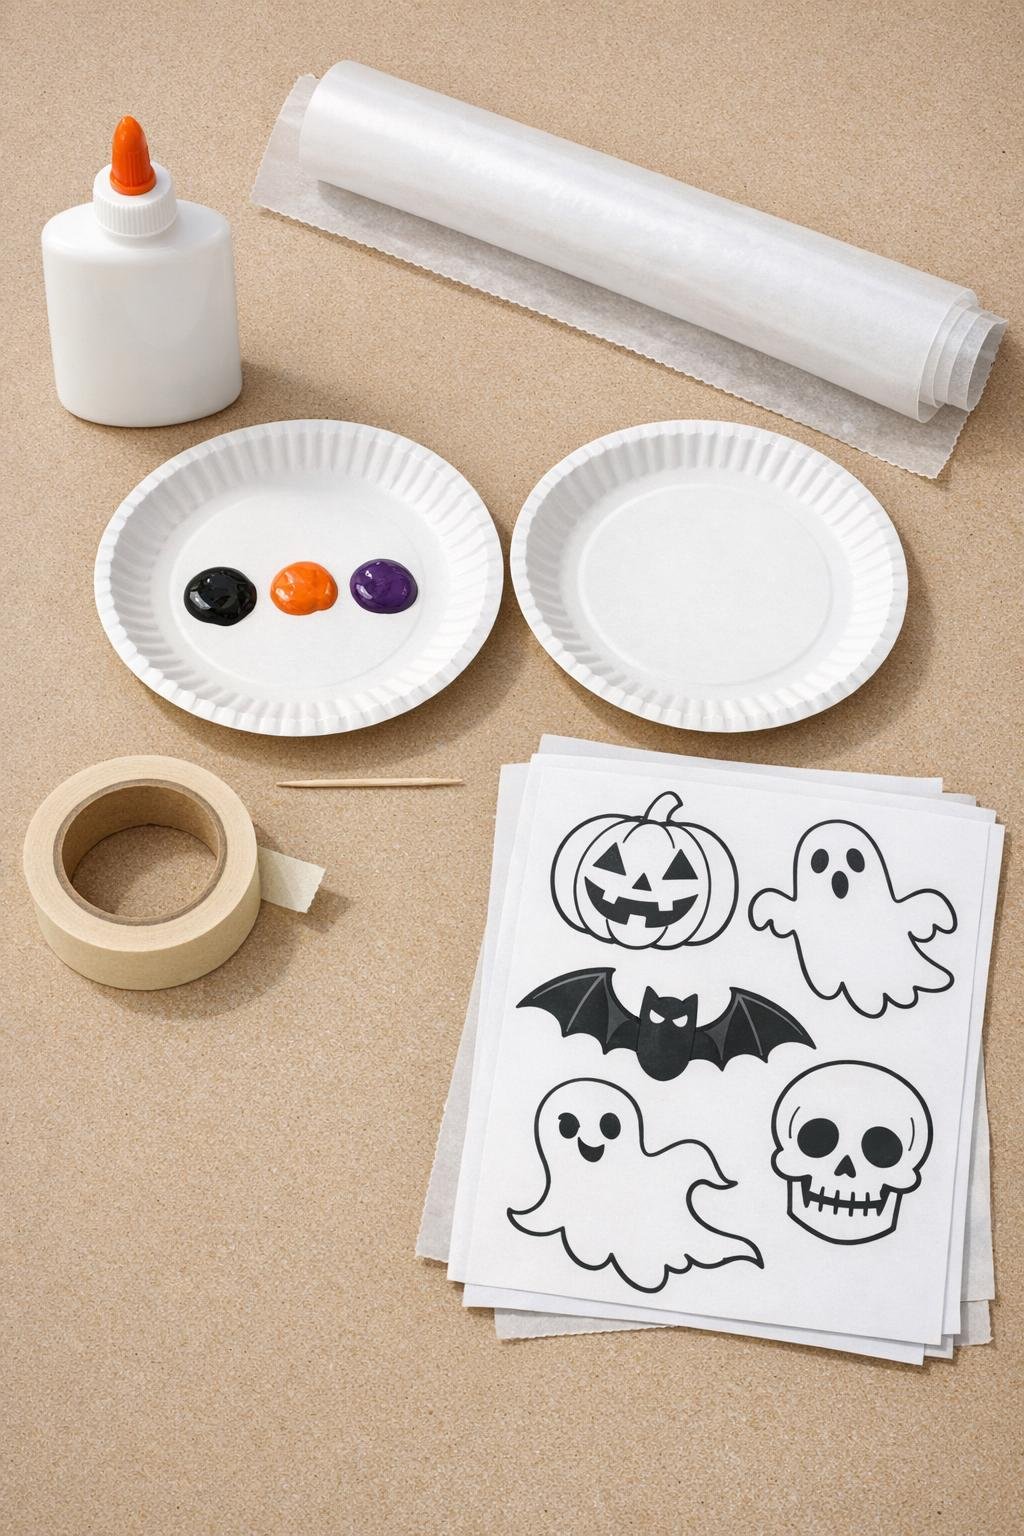
Materials
Instructions
1. Set your printed outline on the table and tape the corners down so it won’t scoot around while you work.
2. Tear off a sheet of wax paper about 12 x 16 inches and lay it over the printed outline, then tape the wax paper at the corners so it stays smooth and flat.
3. Squeeze a few tablespoons of white school glue onto a paper plate and divide it into 3 small puddles for black, orange, and purple.
4. Mix black, orange, and purple color into the glue until each puddle is fully blended; use acrylic paint for bold opaque shapes or food coloring for a more translucent stained-glass look.
5. Start with one shape and squeeze or dab the colored glue onto the wax paper, tracing the outline with a line about as wide as a pencil so it will be sturdy enough to peel later.
6. Fill in any narrow points, ears, stems, or corners with the toothpick, and pop any visible air bubbles before they dry.
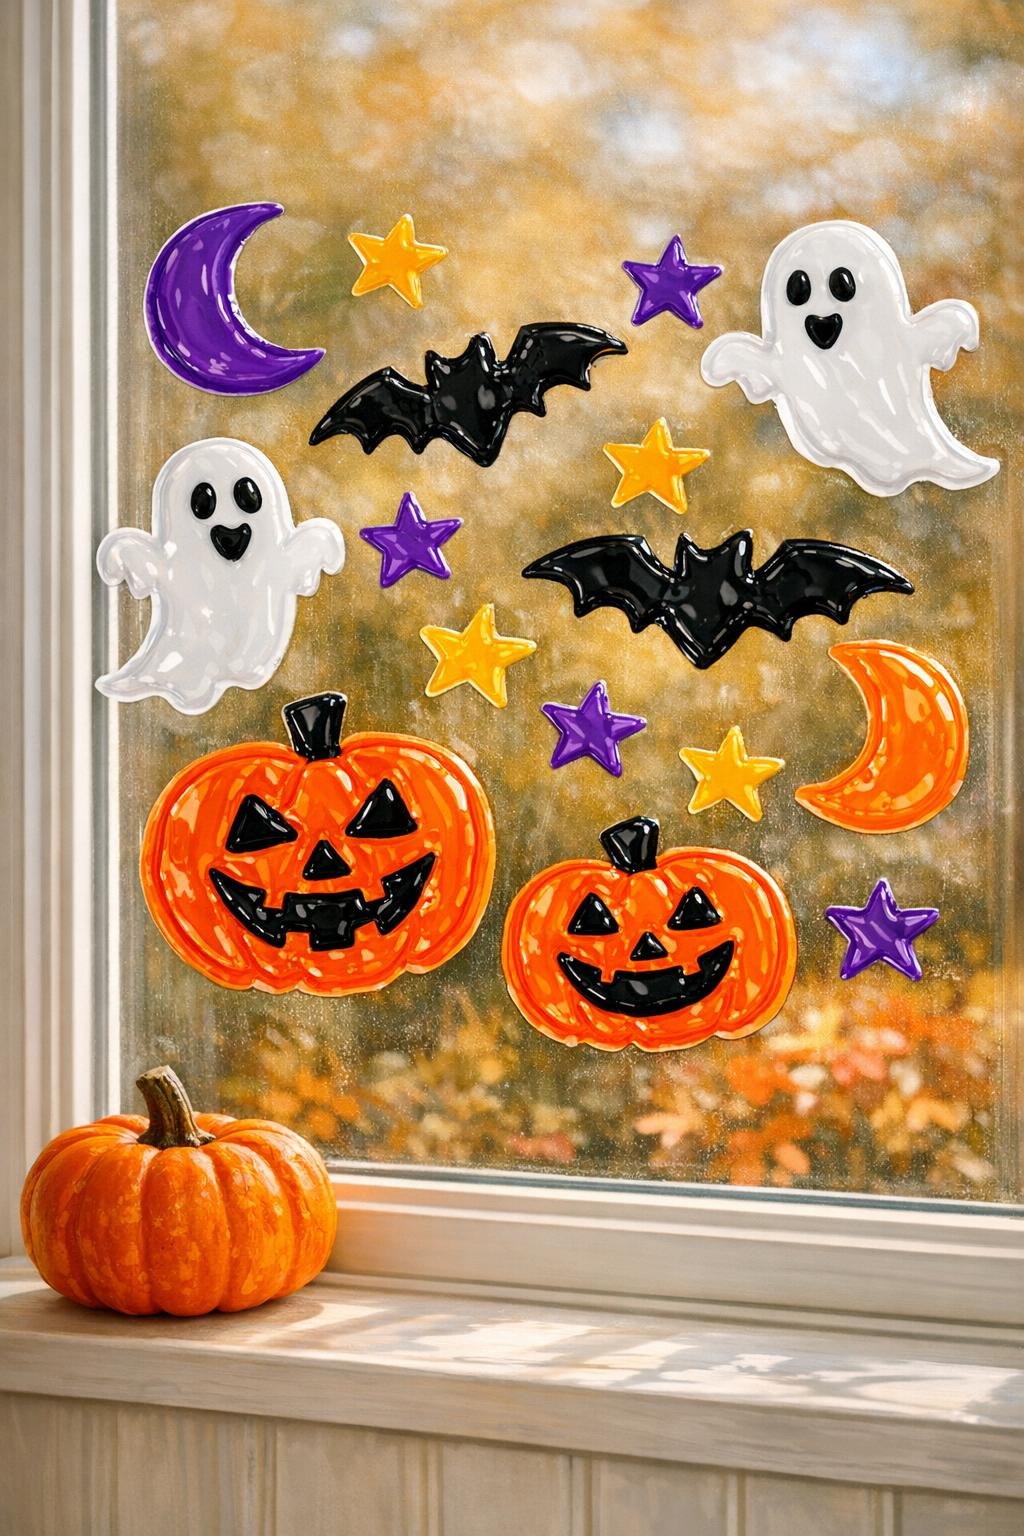
7. Keep tracing and filling shapes until you’ve used the full sheet well; a nice full batch is usually 8 to 12 medium clings such as 3 pumpkins, 3 bats, 2 ghosts, 2 moons, and a few stars.
8. Check every shape for thin spots and add a little more glue anywhere the line looks stringy or skimpy, because those are the places most likely to tear.
9. Leave the wax paper flat in a safe spot to dry for 24 to 48 hours, and wait until there are no white or milky spots left anywhere in the glue.
10. Gently peel each dry shape off the wax paper by lifting one edge slowly, supporting delicate points with your fingers as you go.
11. Press the clings onto a clean window or mirror, smoothing lightly so they stick flat and catch the light nicely.
12. Store any extras back on a clean sheet of wax paper when the season is over so you can use them again next Halloween.
Variations & Tips
Best color choice: If you want a bolder look from across the room, use acrylic paint in the glue. If you want that pretty light-through-the-window effect, food coloring gives a softer stained-glass finish.
Good beginner shapes: Pumpkins, full moons, candy corn triangles, and chunky stars are the easiest to peel successfully. Very skinny spider legs or fancy swirls can tear if you make them too thin.
Make them sturdier: I always tell folks to think “pencil-width or a bit thicker.” In my experience, generous lines are what make the difference between a cling that peels neatly and one that breaks your heart at the last minute.
Drying patience: On a humid day out here in the country, glue takes its sweet time. If you see even a little milkiness, leave it longer; clear all the way through means it is ready.
Easy cleanup: If glue strings or drips show up where you don’t want them, let them dry and peel them away later instead of smearing them while wet.
Reuse and storage: Lay the finished clings back onto wax paper and stack them flat in a pie tin, shallow box, or large envelope. That keeps them from curling or collecting lint.
Make a fuller display: Instead of just a few shapes, fill a whole window corner with mixed sizes. A cluster of moons, stars, bats, and pumpkins looks far more magical than one or two pieces standing alone.