
There’s a particular kind of pleasure in taking something plain from the pantry shelf and coaxing it into something tender and lovely with your own hands. Dried corn husks may not look like much at first glance, but once they’ve had a little soak in warm water, they soften up beautifully and become as easy to shape as ribbon. This is the sort of little handwork that feels old-fashioned in the best way, simple, thrifty, and quietly charming.
I especially love this project for autumn afternoons, when the house is calm and you want something useful for your hands that doesn’t ask too much of you. These little figures come together with just a few materials, and while the first one may wobble a bit, by the third or fourth you’ll have the knack. They’re sweet tucked into a centerpiece, tied onto gifts, or gathered in a bowl on the sideboard when harvest season rolls around.
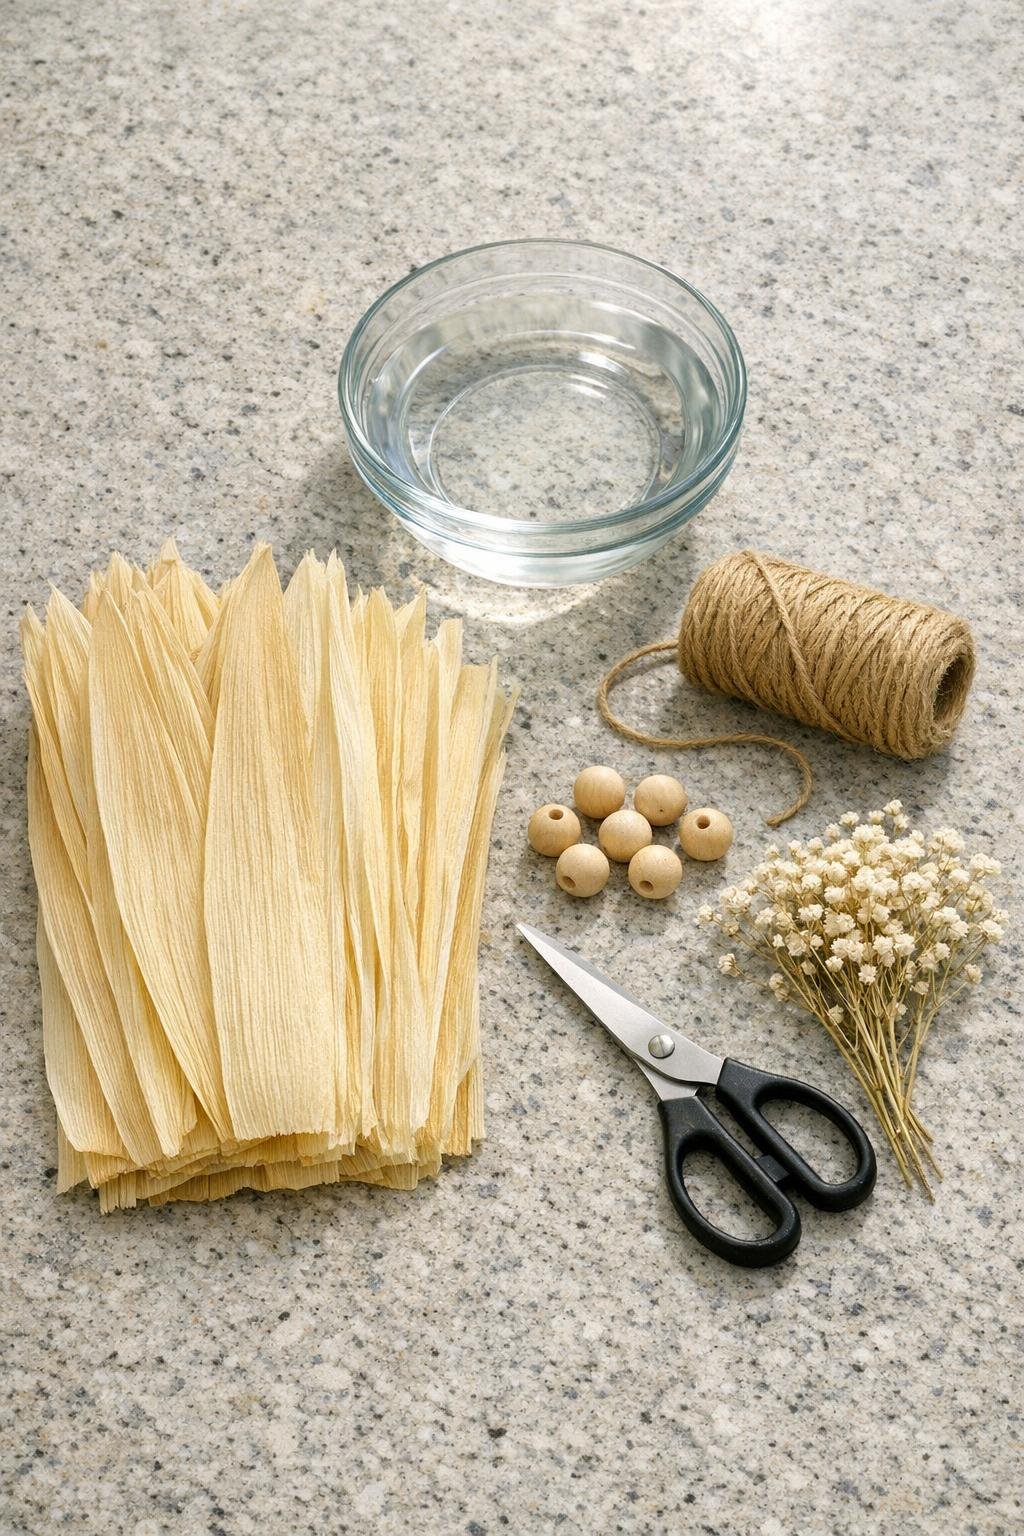
Materials
Instructions
1. Fill the shallow glass dish with warm water and soak 6 corn husks for 10 to 15 minutes, just until they bend easily without cracking. Leave the remaining husks dry for now so they don’t get too limp while you work.
2. Lift out one softened husk and pat it lightly with your hands so it’s damp but not dripping. Place 1 wooden bead near the wider end of the husk.
3. Fold the husk up and over the bead, then smooth it down so the bead forms a neat round head at the top. Gather the husk just below the bead and tie it tightly with one 8-inch piece of jute twine to make the neck.
4. Take a second damp husk and roll it lengthwise into a slim tube about 4 inches long for the arms. Slide this roll behind the neck and under the folded body husk so it stretches evenly out on both sides.
5. Tie another piece of twine around the body just below the arms to hold them in place and create the waist. Pull the outer husk layers downward and smooth them into a full, even skirt.
6. For the wings, take a third damp husk and trim the pointed tip if needed, then split the husk lengthwise into two narrow halves. Layer the halves behind the figure’s upper back so they fan out like wings.
7. Tie the wings in place with a short wrap of twine across the back and under the arms, knotting it snugly but gently so the husk does not tear. Spread the wings open with your fingers until they look balanced.
8. Trim the bottom edge of the skirt if it looks uneven, but leave it generous and full so the figure stands or nests nicely. If any husk edges begin to dry and split, dip just those sections back into the warm water for a minute.
9. Tuck a tiny sprig of dried baby’s breath at the neck like a bouquet, or curve a small piece above the head like a halo and secure it under the twine. Keep the accent delicate so the corn husk shape still does most of the talking.
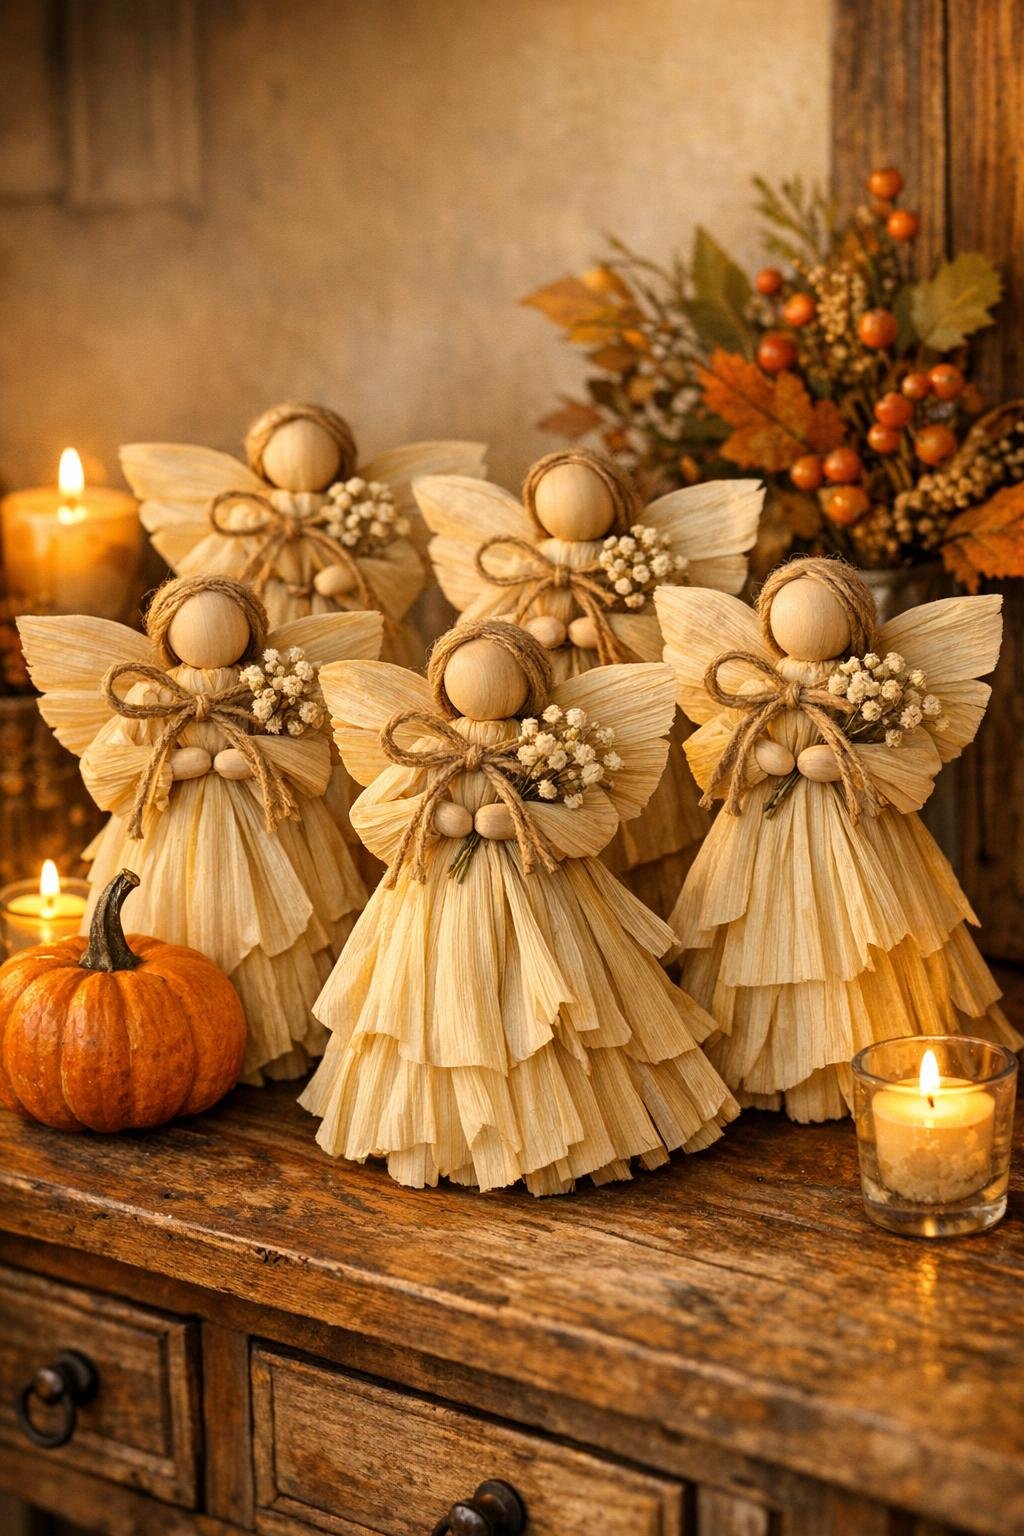
10. Repeat with the remaining beads and husks to make a set of 6 figures, refreshing the soak water if it cools off. Let all the finished pieces dry overnight, untouched, until they lighten to a soft cream color and hold their shape.
Variations & Tips
For a fuller skirt: Use two body husks instead of one around the bead head. I like this when I want the figures to look a little more dressed up in a centerpiece.
If your first ones look crooked: Don’t fuss too much. Corn husks have a mind of their own, and the old handmade look is part of their charm; by the second or third angel, your folds will get much more even.
For hanging ornaments: Tie a 6-inch loop of jute at the back of the neck before the figure dries. Then they’re ready for a branch display, cabinet knob, or package topper.
To keep husks workable: Only soak a few at a time and cover the waiting damp husks with a barely moist towel. That little trick saves a lot of splitting while you shape.
For a softer halo: Use the tiniest cloud of baby’s breath and tuck it loosely rather than making a stiff ring. A little goes a long way, and it keeps the figure looking sweet instead of crowded.
For seasonal display: I like to gather several together in odd numbers and set them near pumpkins, seed pods, or a crock of dried grasses. They have that quiet harvest-table feeling that reminds me of the simple decorations we used to make from whatever the season gave us.