
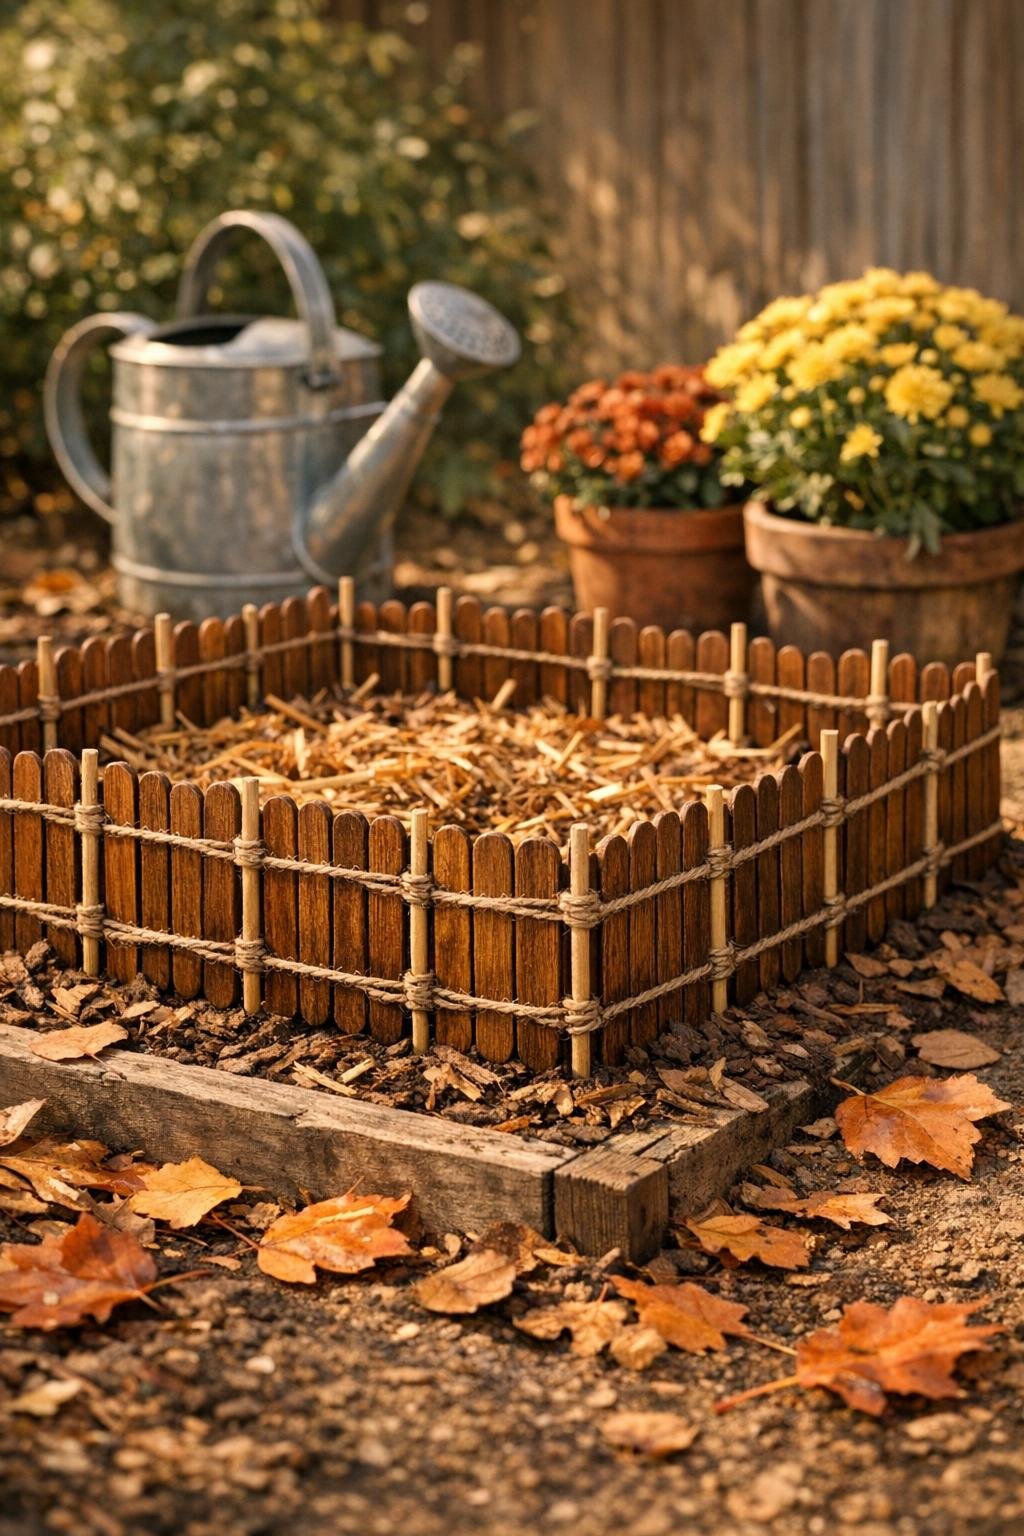
At the end of garlic season, I’m always looking for one last practical task that makes the bed look tidy and gives the next planting a little protection. This simple critter deterrent does exactly that: soaked wooden popsicle sticks become a dense, low “spiky” barrier around the garlic bed, and with two inexpensive dollar store additions, it ends up looking surprisingly neat and intentional instead of like a quick fix.
I like this project for gardeners who want something easy, useful, and budget-friendly without dragging out power tools or building a full fence. The soaked sticks help add scent and weathering resistance, the twine keeps the layout crisp, and the bamboo skewers anchor everything firmly so squirrels, chipmunks, and curious neighborhood cats are less tempted to dig in freshly cleared or newly mulched soil.
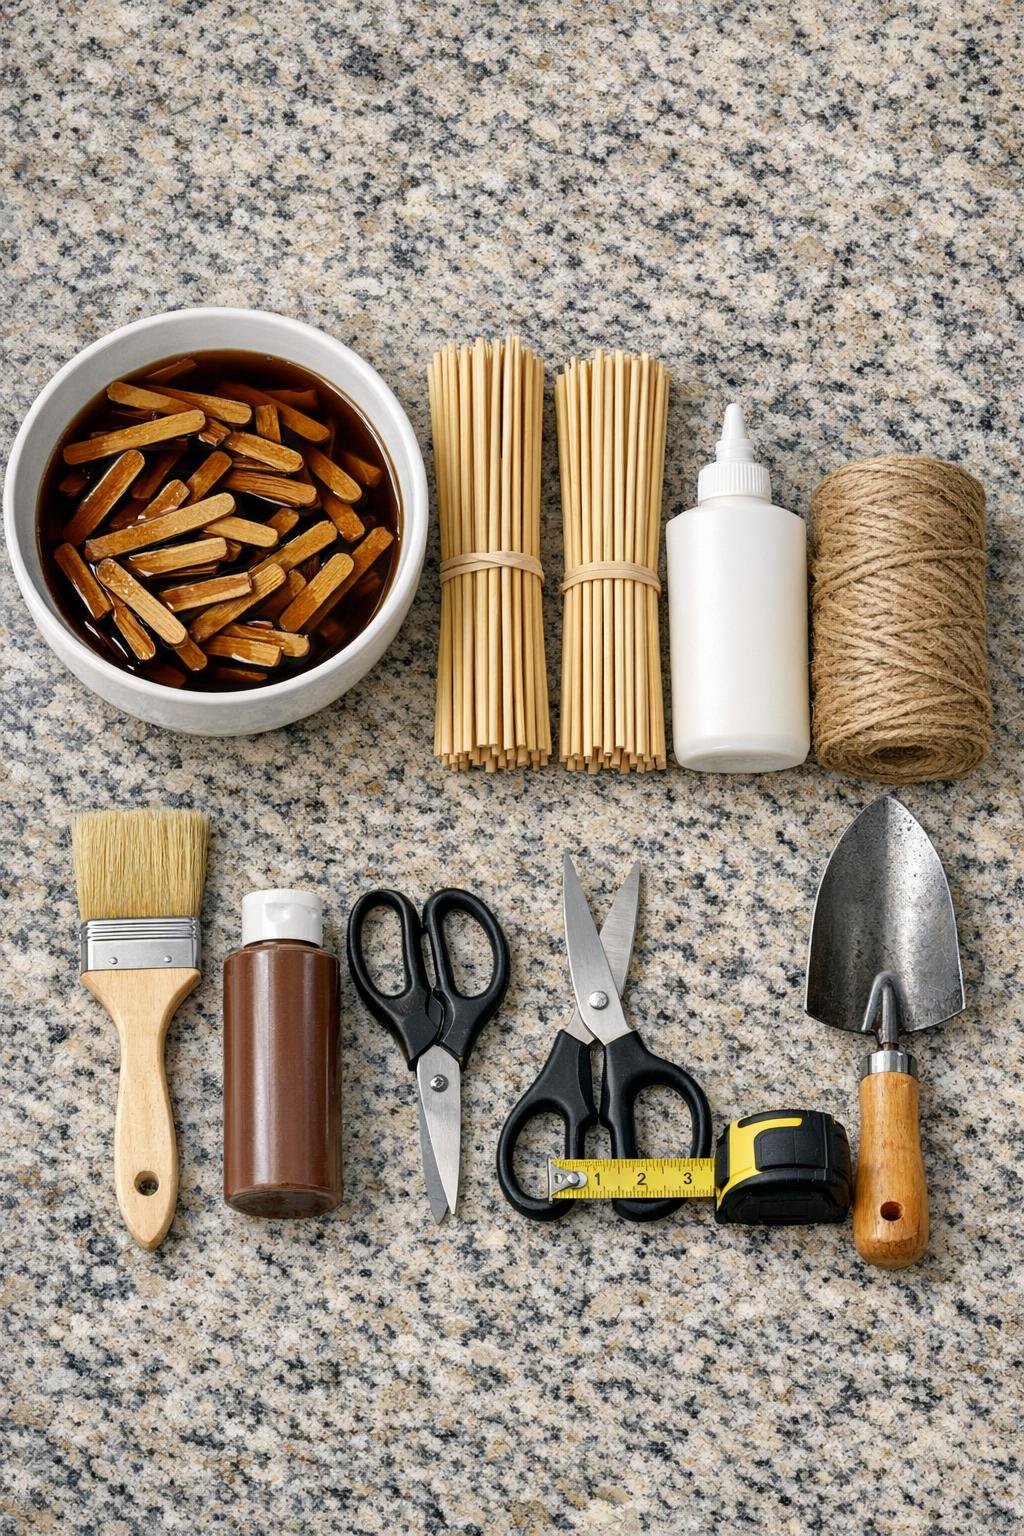
Materials
Instructions
1. Brew or pour 4 cups of very strong coffee into a large bowl, then add the 250 wooden popsicle sticks and let them soak for 2 to 4 hours until they deepen to a warm brown color.
2. Lift the sticks out and spread them on a towel to dry completely, then flip them once so both sides dry evenly and stay mostly flat.
3. Measure the exposed edge of your garlic bed and cut two lengths of jute twine for each side you want to protect, making each length about 12 inches longer than the bed edge.
4. Lay two twine lengths parallel on a table, spaced 3 inches apart, and glue popsicle sticks across them side by side with a 1/4-inch gap between each stick to create a flexible panel.
5. Continue until each panel is as long as the bed edge it will cover, then let the glue set for 20 to 30 minutes so the panel can be moved without shifting.
6. Thin the brown outdoor craft paint with a little water and lightly brush it over the twine and stick joints so the panels read as one finished piece instead of separate parts.
7. Brush the front and back of each panel with clear matte outdoor sealer and let them dry fully; this step helps the soaked sticks hold up better through fall rain and damp garden soil.
8. Push bamboo skewers into the soil around the garlic bed every 8 to 10 inches, leaving 4 to 5 inches above the soil line to support the panels.
9. Tie each popsicle stick panel onto the skewers with short lengths of jute twine, keeping the bottom edge just touching the soil so small animals can’t easily nose underneath.
10. Overlap panel ends by one stick where two sections meet, then tie them together so the barrier looks continuous and stays firm at the corners.
11. Tuck a thin layer of fine mulch or straw along the inside edge of the barrier to finish the bed neatly and make the deterrent look built-in rather than temporary.
12. Check for any loose spots, press the skewers deeper where needed, and adjust the spacing so you end up with a dense, low border all the way around the garlic bed.
Variations & Tips
For larger beds: Make several shorter panels instead of one very long one. I find 24- to 30-inch sections much easier to tie on neatly and replace later if one gets damaged.
For stronger scent: Swap 1 cup of the coffee for 1 cup of strong garlic-peel tea or diluted vinegar in the soaking bowl. It adds a little extra odor without changing the basic look.
For a cleaner finish: Paint the bamboo skewers the same brown as the sticks before installing them. That one small detail makes the whole barrier read more like a purchased garden edging piece.
For wetter climates: Add a second coat of matte outdoor sealer to the bottom third of each panel. That is the area that takes the most splashing and soil contact.
For easier storage: Untie the panels at season’s end, brush off the soil, and store them flat in a dry shed or garage. Because they’re flexible, they stack nicely without taking up much room.
My practical tip: Keep the barrier low but dense rather than tall and sparse. In my experience, critter deterrents work better when they interrupt easy access and make digging feel awkward right at soil level.