
There are a few crafts I love simply because the setup is so ordinary that nobody expects much from it. A sheet of parchment paper, a baking sheet, and a hot glue gun definitely fall into that category. But this little project turns those pantry-adjacent basics into something wonderfully eerie, glossy, and dramatic for Halloween decorating, party tables, wreaths, or tucked into houseplants and centerpieces.
What makes this one worth trying is how fast it is once you get the motion down. You’re essentially drawing with hot glue, but the trick is building the shape so it peels off in one sturdy piece. I like projects like this because they feel a bit like kitchen prep: a simple method, repeated a few times, gives you a whole batch before you know it.
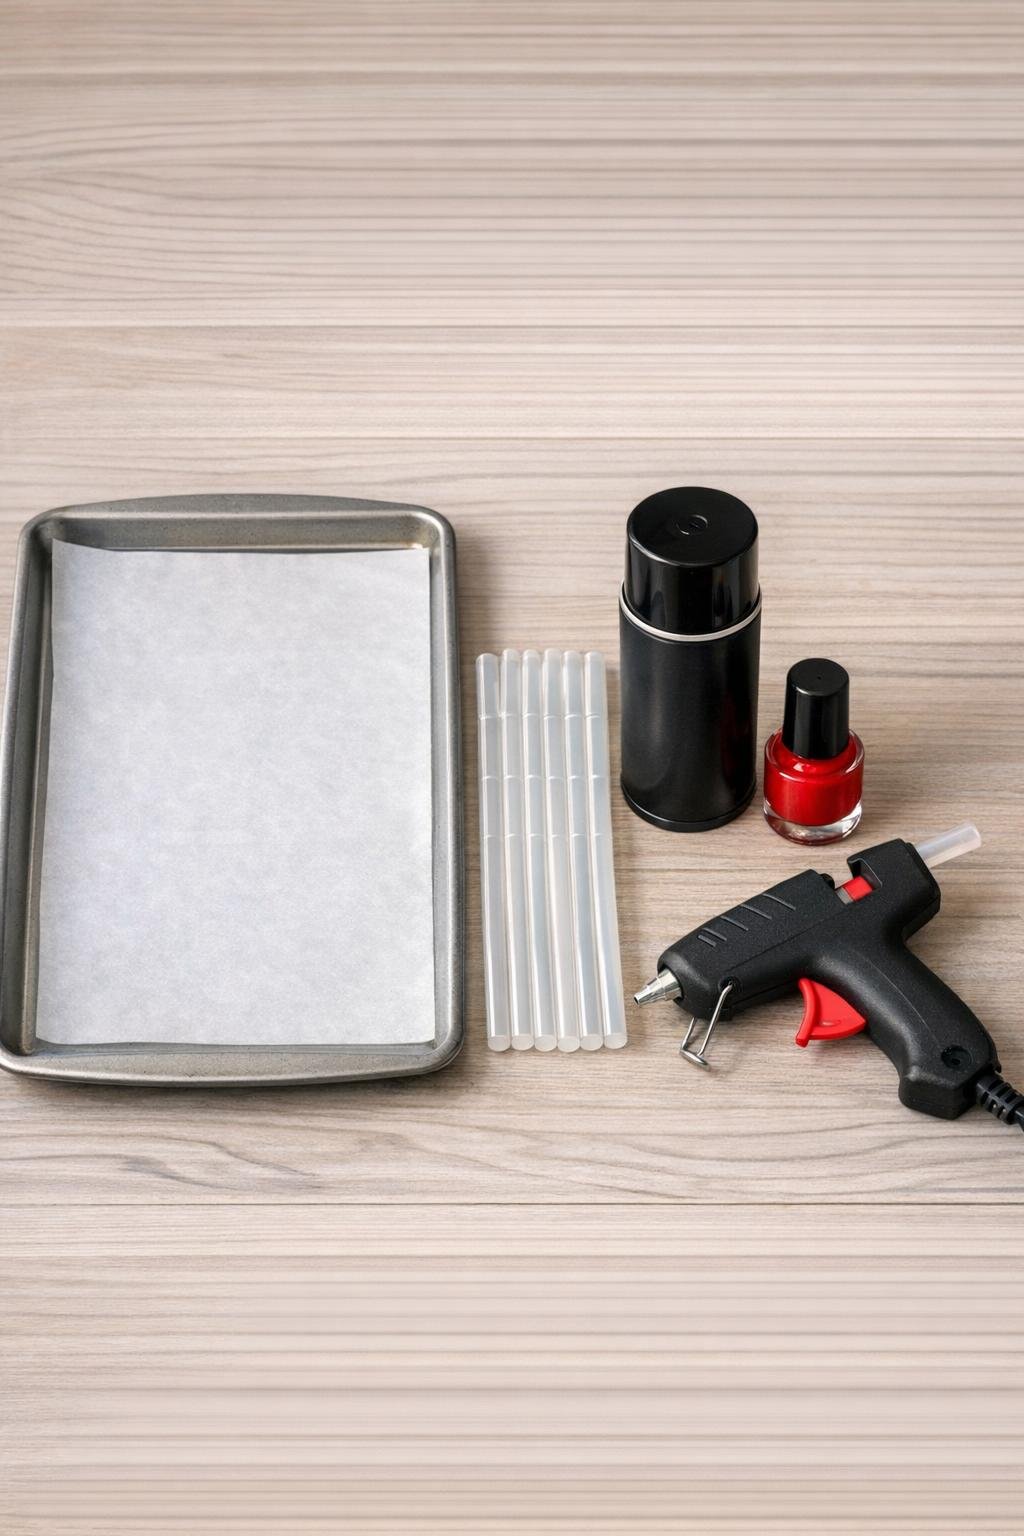
Materials
Instructions
1. Lay the parchment paper flat on the baking sheet and smooth it with your hands so it stays wrinkle-free while you work. Plug in the hot glue gun and let it heat fully so the glue flows in a steady, thick line.
2. Start your first spider by squeezing one thick round blob of hot glue about 1 to 1 1/4 inches wide for the body. Immediately add a slightly smaller blob touching it for the head so the two sections fuse together.
3. Pull out four legs from one side of the body and four from the other, making each leg in one continuous motion with two gentle bends. Keep the leg bases thick where they join the body, because slightly heavier legs peel up much better than thin delicate ones.
4. Make each spider about 3 to 4 inches across so the legs have enough thickness to stay intact. Repeat the same shape across the parchment, leaving at least 1 inch between spiders so they do not accidentally touch.
5. Continue until you have used most or all of the glue sticks, working in batches if needed. A full sheet usually holds a generous cluster of spiders, and using the whole batch of glue gives you enough for decorating instead of just a sparse handful.
6. Let the spiders cool on the parchment for 3 to 5 minutes until fully firm and no longer flexible at the center. Peel each one off slowly from a leg tip toward the body, supporting the thicker middle with your fingers.
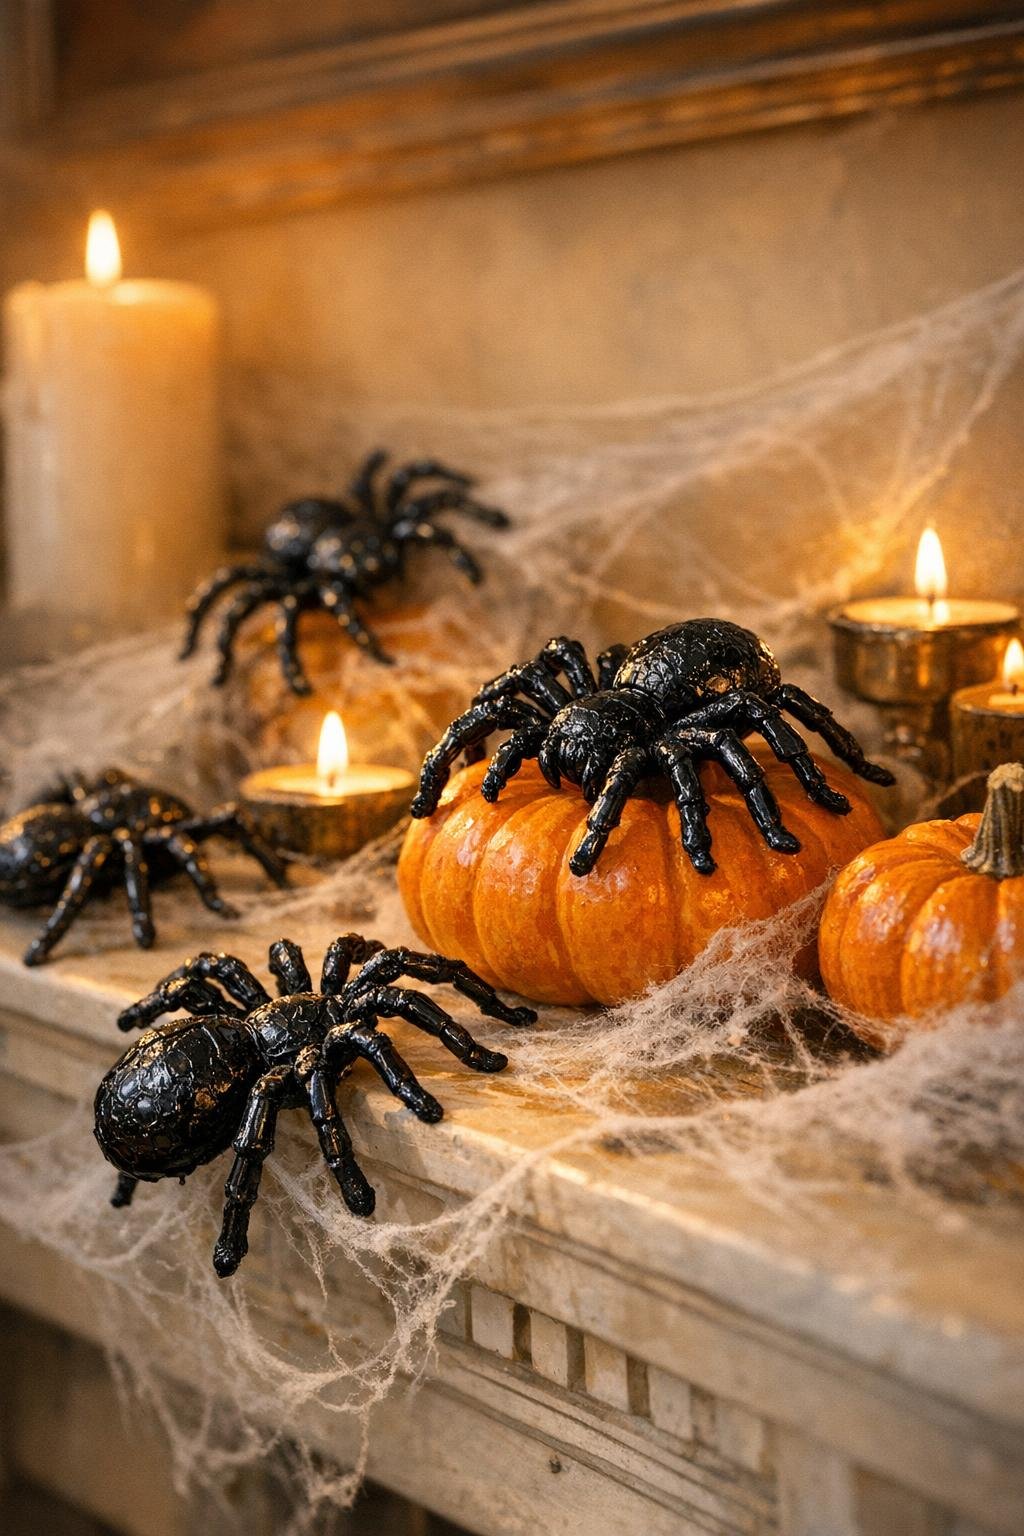
7. Move the spiders to cardboard or a drop cloth in a well-ventilated area and spray them with a light coat of black paint. Let that dry for a few minutes, then add a second coat so the glue loses its clear look and turns fully rich black.
8. Once the top side is dry, flip the spiders and spray the backs with one even coat of black paint. Let them dry completely before adding the final detail.
9. Turn each spider belly-up and use red nail polish with a toothpick or fine brush to paint a small hourglass on the underside of the body. Let the polish dry flat for 10 to 15 minutes before using the spiders in your display.
Variations & Tips
For sturdier legs: If your first spider looks a bit elegant and spindly, make the next one thicker than feels natural. In my experience, hot glue almost always needs more body at the leg joints than you think.
For cleaner shapes: Work quickly but not frantically, and finish one spider completely before starting the next. The warm body helps each leg melt into place, which is what keeps the whole piece together.
For a bigger batch: Keep a second parchment-lined baking sheet ready if you want to make a full decorating set in one session. This is especially handy if you’re dressing a wreath, staircase garland, or party buffet and need a dozen or more.
For paint coverage: Two light coats look better than one heavy coat. A thick spray can puddle between the legs and soften those nice raised glue lines that make these look so convincing.
For indoor use: Tuck the finished spiders onto mantels, table runners, shelf displays, or wreaths with a dot of removable adhesive if needed. I like scattering them in clusters rather than spacing them evenly, because that looks much more natural and a lot more striking.
For safe handling: Let the glue gun get fully hot before you start, because half-melted glue makes stringy weak legs. And as with any hot glue project, keep fingers clear of fresh glue until it loses that glossy molten look.