
There’s something awfully satisfying about making a spooky decoration from the humblest little supplies, and this haunted chain garland is one of those projects that looks far fussier than it really is. You start with simple hot glue rings piped right onto parchment paper, then link them together one by one until you have a long, clanking-looking chain that’s actually feather-light and easy to hang. Once the paint goes on, it takes on that old iron, cellar-door, forgotten-in-the-crypt look that makes Halloween decorating so much fun.
I especially love this one for mantels, mirrors, doorways, and old picture frames because it gives you a lot of dramatic texture without weighing anything down. It does take a little patience—rather like shelling peas on the porch, one repetitive motion after another—but the process is easy, and the finished garland has that handmade magic that makes folks lean in for a second look.
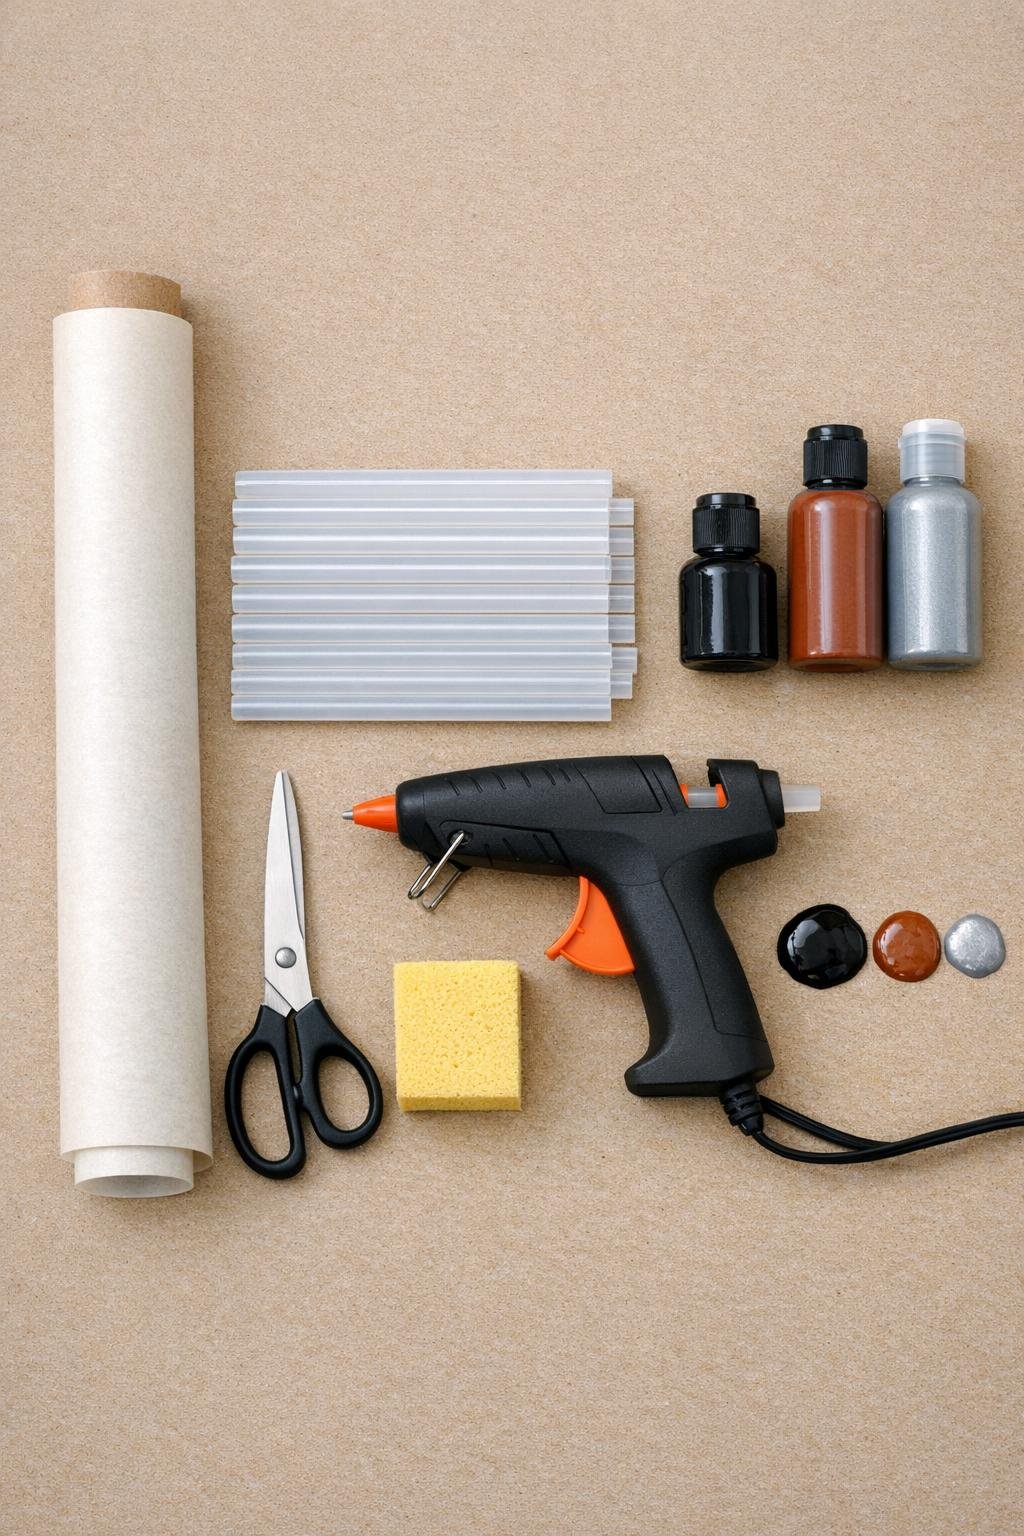
Materials
Instructions
1. Unroll a generous sheet of parchment paper onto your work surface and smooth it flat so the glue won’t puddle or run. Plug in the glue gun and let it heat fully before you begin.
2. Pipe thick oval rings directly onto the parchment, making each one about 2 to 2 1/2 inches long and 1 1/2 inches wide. Keep the glue bead fairly chunky—about the width of a pencil eraser—so the links will hold their shape.
3. Continue making rings until you have 30 to 40 links for a garland about 3 to 4 feet long. Let all the rings cool completely for 5 to 10 minutes before lifting them.
4. Peel the cooled glue rings gently off the parchment and sort out any that are too thin or misshapen. If needed, pipe a few extra rings now so your chain stays full and substantial.
5. Snip one ring open at a narrow spot with the scissors, hook it through a second ring, and overlap the cut ends slightly. Add a small dab of hot glue over the cut to seal that link closed.
6. Repeat the linking process, always opening just one ring at a time and sealing it after threading it through the next. Work steadily until you have one long connected chain in the length you want.
7. Check every joint and reinforce any weak spots with another tiny bead of hot glue. Let the full chain cool flat for another 10 minutes so all the seams are firm before painting.
8. Sponge black acrylic paint over the entire chain, turning it as you go to cover the front, back, and inner curves of each link. Don’t brush it on too neatly—the dappled sponge texture helps it look more like rough cast iron.
9. Let the black paint dry for about 15 minutes, then dab rust-brown paint lightly over the links, focusing on seams, edges, and random patches. Build the color in thin layers so it looks like natural rust instead of solid brown paint.
10. Add the faintest touches of metallic silver with a clean corner of sponge, just on a few raised spots where old metal would catch the light. Keep this part sparing—just enough to suggest worn iron under the rust.
11. Allow the chain to dry completely, then lift and flex it gently to make sure no painted links are stuck together. If you want a longer garland, make a second section and glue the two lengths together link to link.
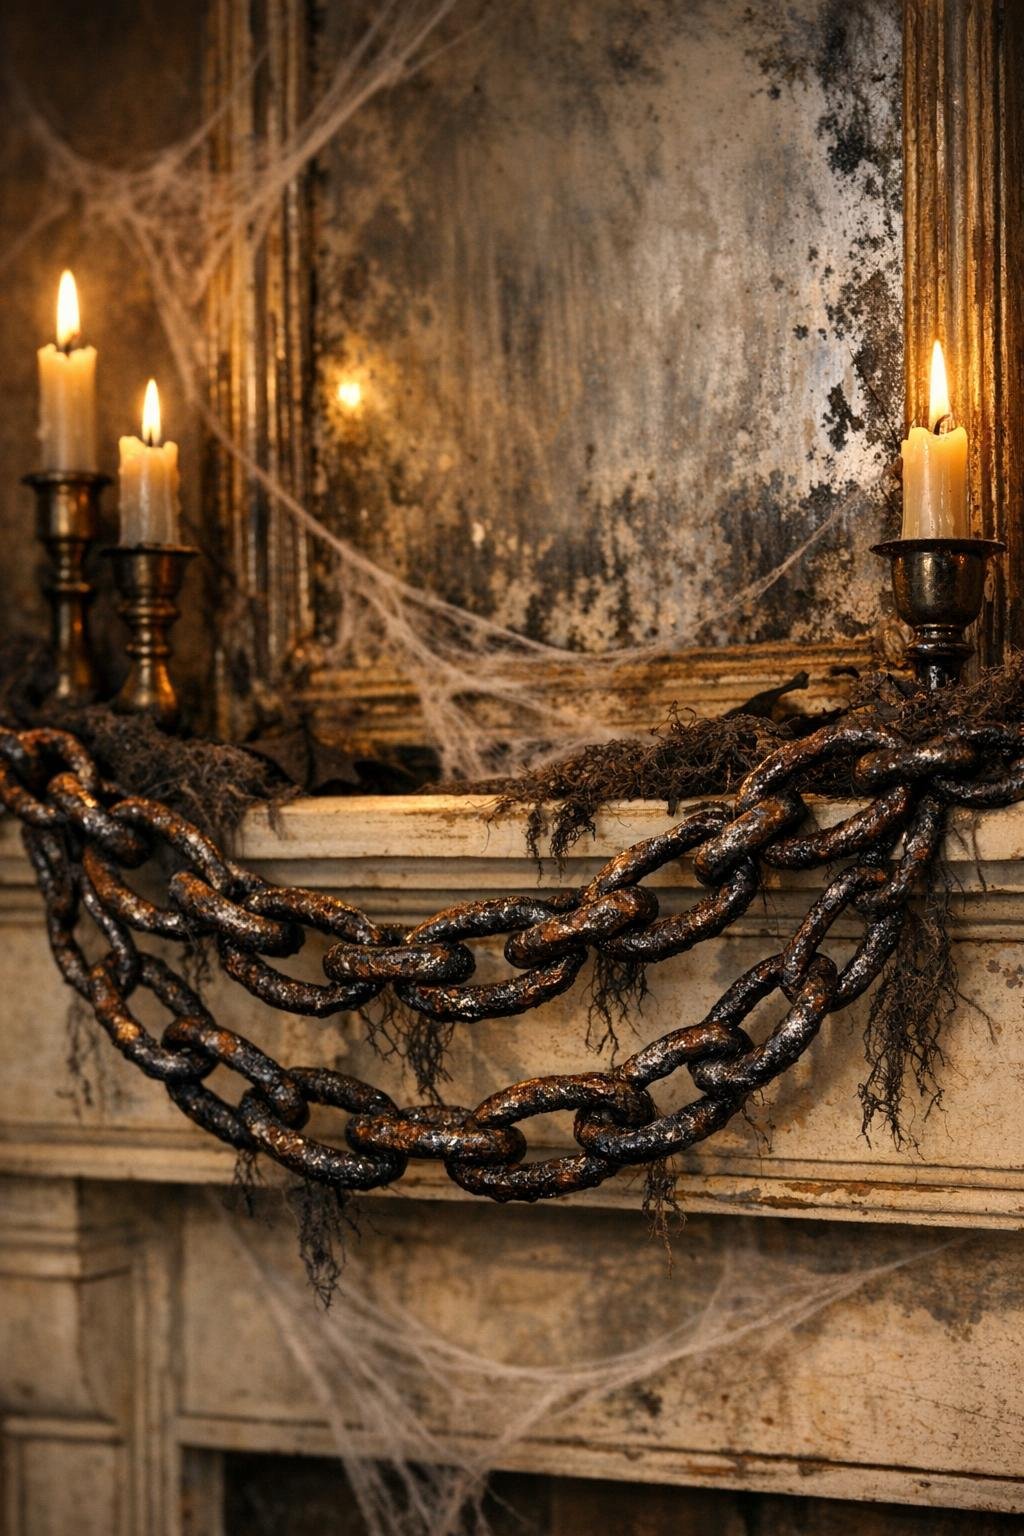
12. Drape the finished chain over a mirror, mantel, doorway, or picture frame using removable hooks if needed. Arrange it with a little swag and overlap so it looks heavy and dramatic, like something rescued from an old haunted crypt.
Variations & Tips
For a heavier look: Make your rings slightly larger and use a double pass of hot glue on each oval before they cool. A chunkier bead gives the finished chain that wonderfully overdone haunted-house look.
For faster assembly: Work in batches of 10 links at a time instead of trying to connect everything at once. I find it keeps the chain from tangling on the table and makes the whole job feel less fiddly.
For extra age: Dab a little dark brown into the rust areas before the final silver touches. That layered color reminds me of old farm hardware after a few decades in the weather.
For hanging safely: Because the chain is lightweight, removable hooks or small bits of painter’s tape usually do the trick. I wouldn’t hang it where it will be tugged often, especially around busy doorways.
For storage: Coil the garland loosely in a shoebox lined with tissue or parchment so the paint finish stays nice. Don’t crush it under heavier decorations, or the links can bend out of shape.
Best Halloween pairing: This garland looks especially good with black candles, gauzy cheesecloth, antique frames, or a moody mirror. A little contrast goes a long way, and that rusty finish really shines against dark decor.