
There’s something about a project made from candy that brings out the child in all of us. This Halloween candy topiary starts with the plainest little dollar store foam ball, and with a bit of patient poking and arranging, it turns into a cheerful centerpiece that looks far fancier than the cost would suggest. I especially love projects like this for a party table, a kitchen counter, or by the front door where trick-or-treaters can admire it before anyone sneaks a piece.
This is a good one for folks who want a big payoff without any hard crafting skills. If you can glue, poke, and keep your rows tidy, you can make this. The trick, just as I learned after a little trial and error at my own counter, is to glue each toothpick right onto the candy wrapper twist so every piece goes into the foam nice and straight, and to pack the candies close enough that not a speck of white shows through.
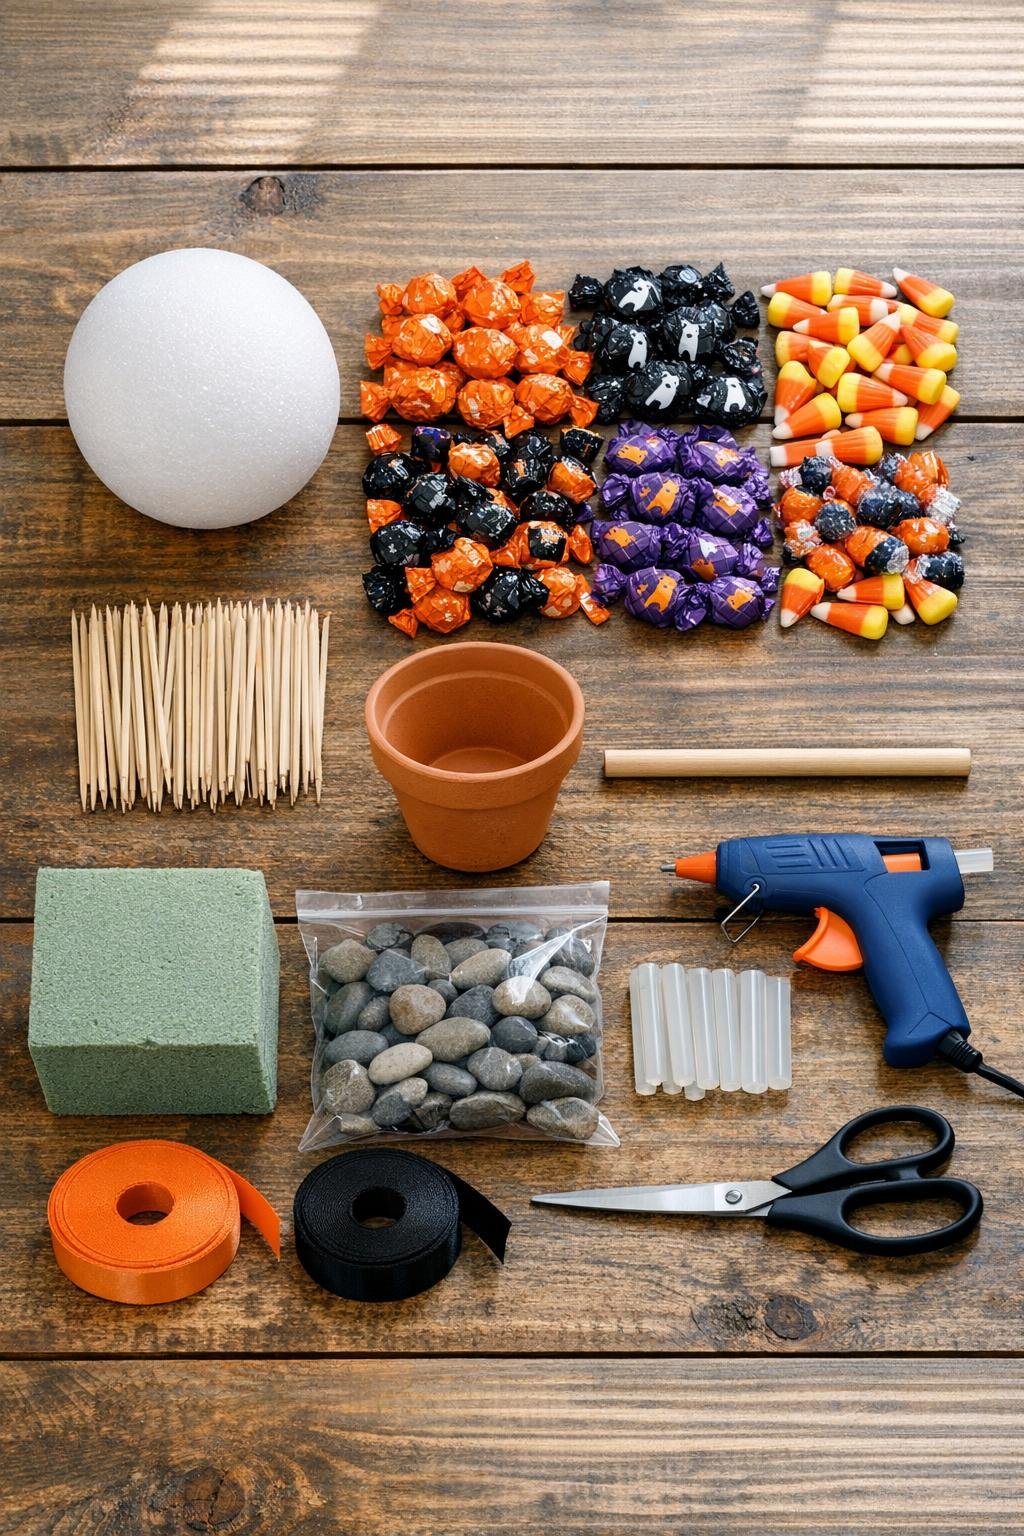
Materials
Instructions
1. Sort your wrapped candies by color and set aside any torn wrappers or oddly shaped pieces so the finished ball looks full and even.
2. Plug in the hot glue gun, then glue one toothpick along the twisted end of each candy wrapper, placing the toothpick so it extends straight out from the candy like a little stem.
3. Let the glue cool for a minute or two, and make a small batch of 20 to 25 candy picks at a time so the wrappers stay tidy and you can adjust your pattern as you go.
4. Push the plain end of the wooden dowel 2 to 3 inches into the bottom of the foam ball to create the stem, then remove it once to open the hole and set the ball aside for a moment.
5. Fill the flower pot with floral foam or tightly packed rocks, then push the dowel down into the center until it stands upright and feels steady.
6. Slip the foam ball back onto the top of the dowel and press it down firmly so it sits straight, then add a dab of hot glue in the hole if you want extra hold.
7. Start at the top center of the ball and push in the first candy pick, then keep adding candies in a tight ring around it so the wrappers touch and cover the foam.
8. Continue working in snug rows around the ball, alternating colors in a simple pattern or keeping all the wrappers similar for a cleaner, more polished look.
9. Turn the pot as you work and angle each toothpick slightly toward any bare spots, packing the candies close enough that no white foam peeks through.
10. Cover the lower curve of the ball last, checking all sides at eye level and filling any gaps with an extra candy or two until the shape looks round and generous.
11. Tuck tissue paper around the dowel at the top of the pot to hide the floral foam or rocks, then secure it with a little glue if needed.
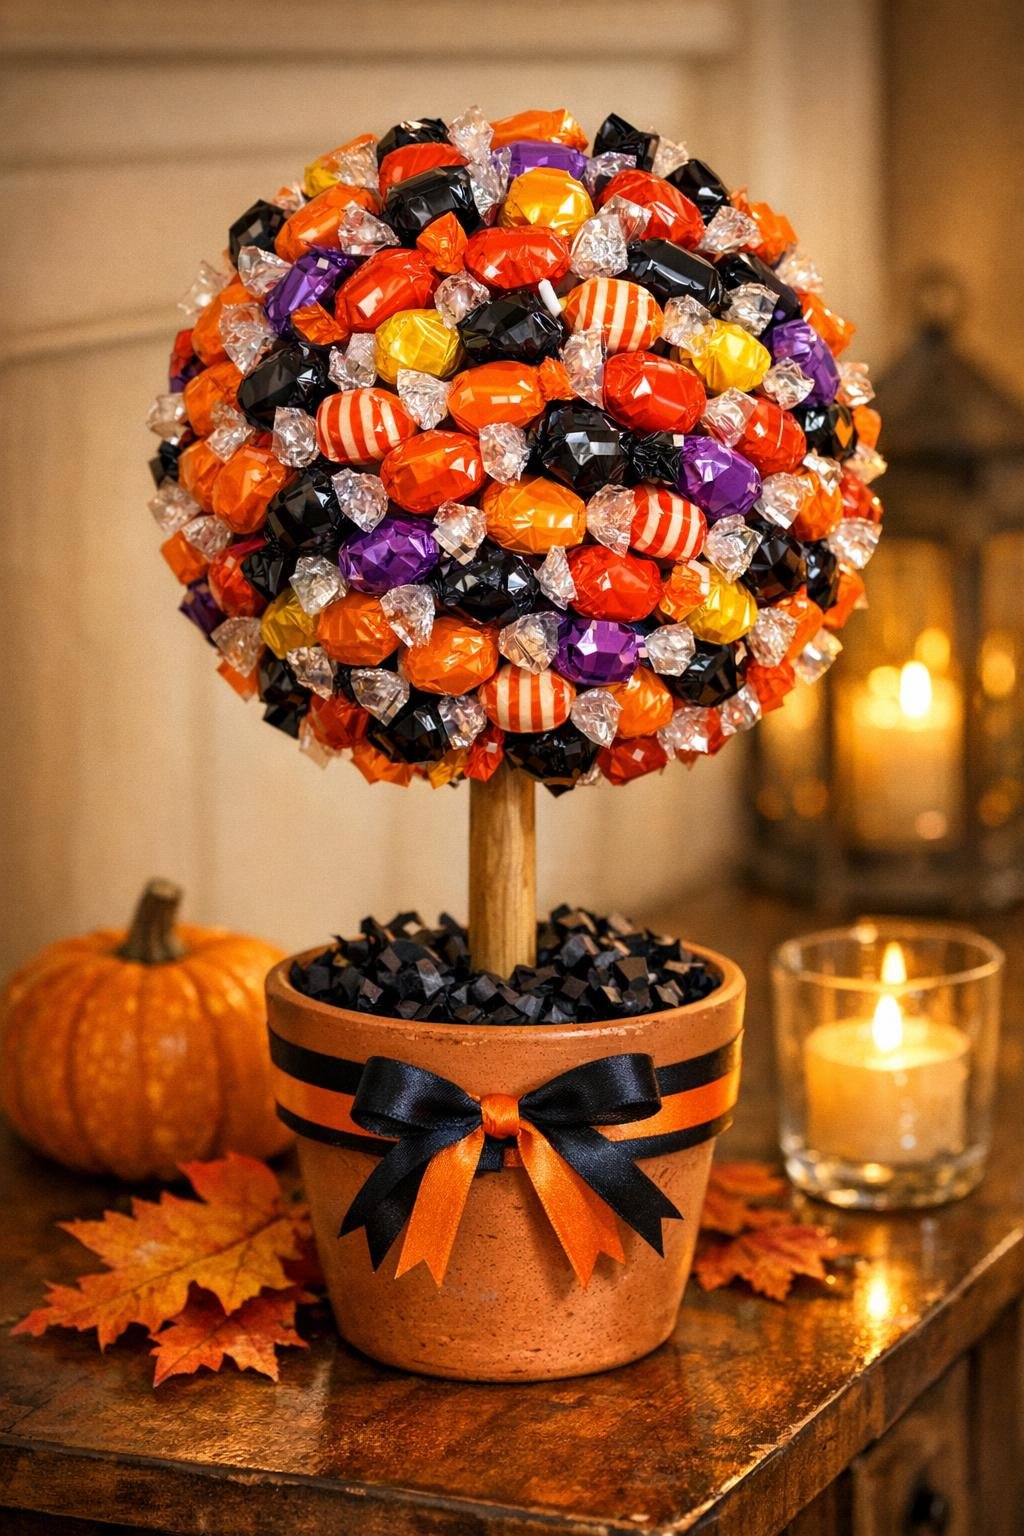
12. Tie the ribbon around the pot or around the dowel just under the candy ball, add the bow, and fluff the wrappers gently with your fingers so the whole topiary looks full and festive.
Variations & Tips
Pick one wrapper family: If you use candies with mostly black, orange, purple, or lime-green wrappers, the finished topiary looks much more intentional than if every piece is a different color.
Choose flatter candies: Smaller wrapped candies with neat twisted ends are the easiest to place in close rows, and they help you get that full, round shape without awkward gaps.
Make it sturdier: If your ball feels top-heavy, use rocks in the pot instead of floral foam, or use both together with the rocks packed on top for extra weight.
Hide gaps neatly: If a little white still shows, angle the next toothpick into that space instead of forcing candies straight in; that small adjustment makes a world of difference.
Keep it display-only at first: Since the wrappers are glued to toothpicks, I treat this as decor rather than a snack bowl; if you want guests to take candy, make a second loose bowl alongside it.
Add a fuller finish: A ribbon bow, tucked tissue paper, and careful wrapper fluffing are the simple touches that make this look charming instead of homemade in a hurry.