
This snowy starburst tree topper is one of those holiday crafts that looks surprisingly special for how little it costs. You start with a plain foam star and a big pile of dollar store cotton swabs, then build all that soft, frosty texture one poke at a time. The result has that vintage winter sparkle I always fall for, and it gives a tree a finished, designer-looking top without needing fancy supplies.
I especially love projects like this during busy December weeks, because the steps are simple and repetitive in the best way. I can put on a movie, make something warm to drink, and just work my way around the star until it turns into something magical. If you want a Christmas topper that feels sweet, snowy, and a little dramatic without being hard to make, this is a really good one.
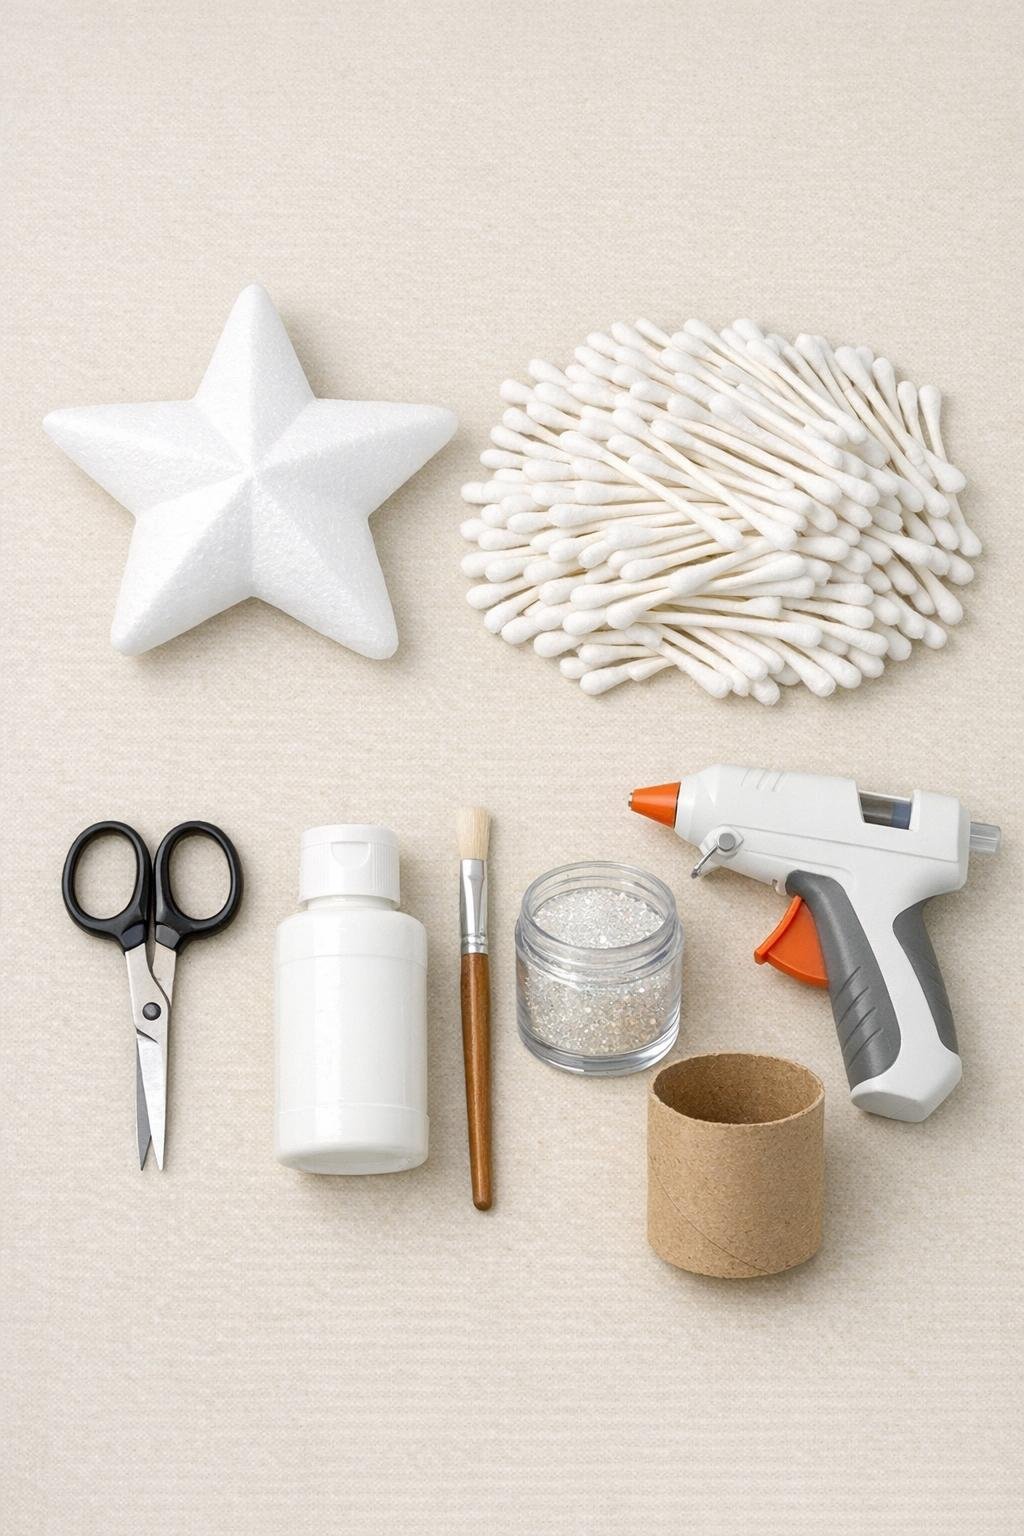
Materials
Instructions
1. Set your foam star flat on the table and make sure the surface is clean and dry. If you want a guide, lightly sketch a smaller star in the center so you know where to keep the longest swabs.
2. Cut most of the cotton swabs in half so each piece keeps one cotton tip and one blunt cut end for poking into the foam. Leave about 20 to 30 swabs uncut for the center area where you want the fullest height.
3. For the star points, trim 30 to 40 of the halved pieces a little shorter, removing about 1/4 to 1/2 inch from the stem. This helps the outline stay sharp instead of getting fluffy and rounded.
4. Start at the outer edge of one star point and push the cut end of a short swab piece straight into the foam. Place the next pieces close enough that the cotton tips nearly touch, then continue around the entire perimeter.
5. Fill the rest of each point with short pieces, angling them slightly toward the tip so the shape reads clearly. Keep the spacing dense so very little foam shows through.
6. Move inward and begin using the regular half pieces to build the middle sections of the star. Push them in row by row between the points and the center, keeping the cotton tips snug and even.
7. Use the full-length swabs in the center of the star to create the highest, fullest area. Cluster them tightly so the middle looks plush and starburst-like rather than flat.
8. Step back and check for thin spots, especially along the edges and in the valleys between the star points. Add extra half pieces anywhere the foam still peeks through.
9. Paint any visible bare foam with white acrylic paint using a small brush, dabbing carefully between the swabs. Let the paint dry completely before adding sparkle.
10. If you want a frosty finish, lightly mist the swab tips with white spray paint from at least 12 inches away. Use a very quick pass so you haze the cotton without soaking the foam underneath.
11. Sprinkle clear glitter over the painted tips while they are still slightly tacky, or brush on a thin line of glue in small sections and add glitter that way. Tap off the extra onto scrap paper so the sparkle stays delicate instead of clumpy.
12. Turn the star over and hot glue the cardboard tube vertically to the back center so it can slide onto the top branch of your tree. Hold it in place until firm, then let the whole piece rest for 15 to 20 minutes before displaying.
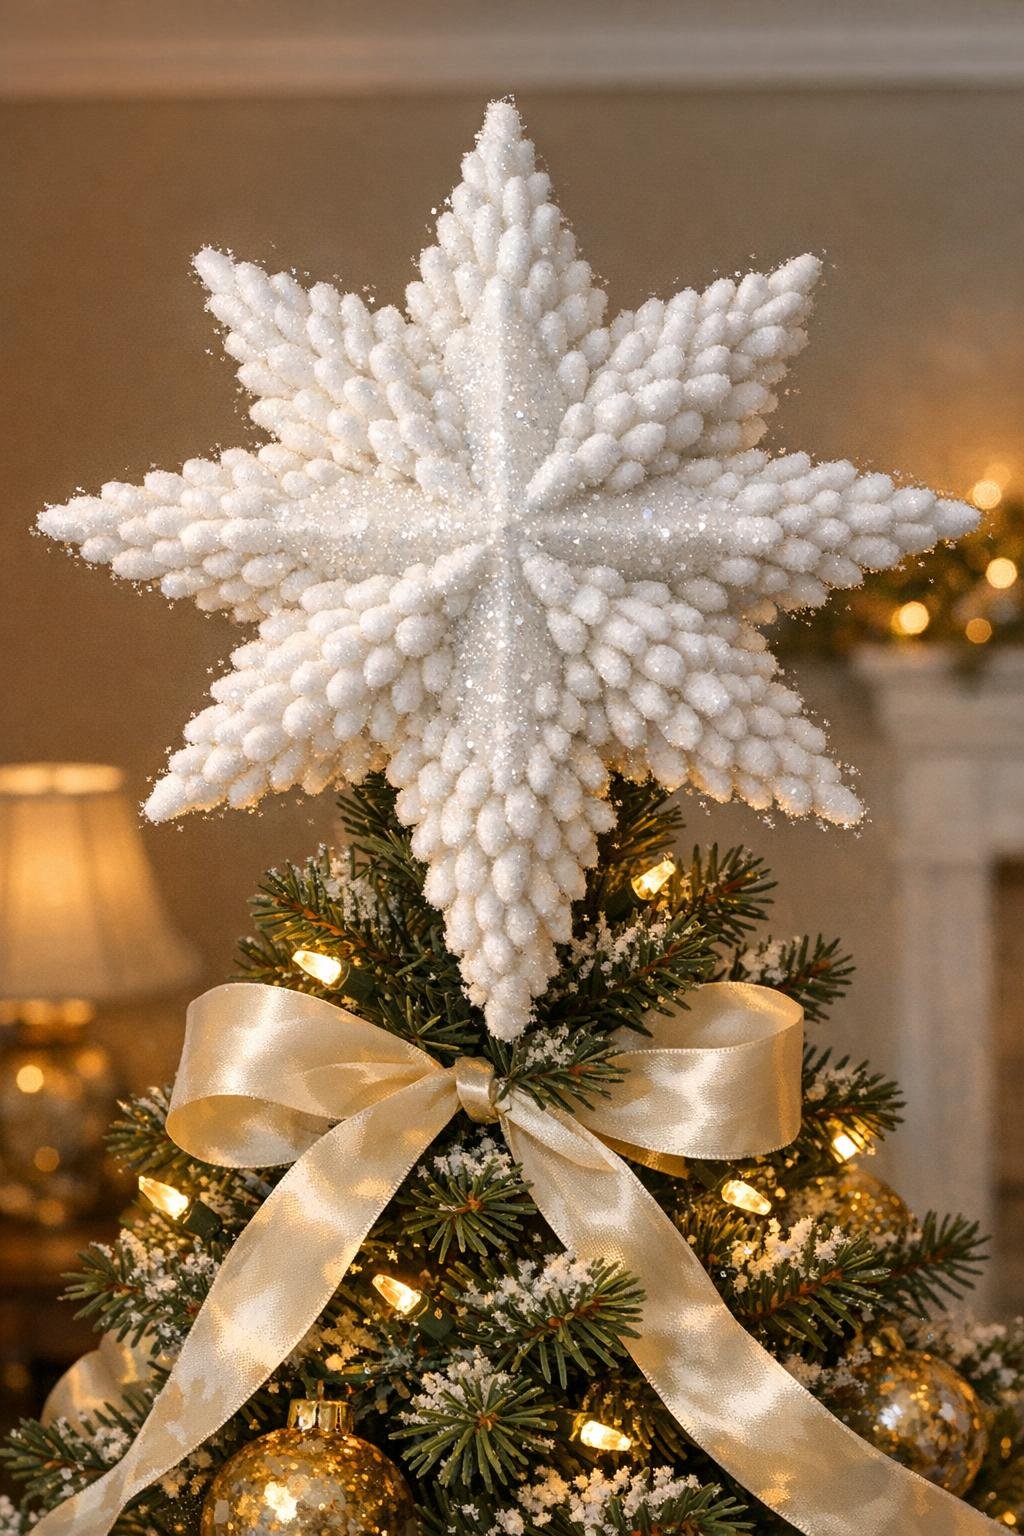
Variations & Tips
Silver sparkle version: Swap the clear glitter for fine iridescent or silver glitter if you want a colder, icier look. I still keep it light so the cotton texture stays the star of the show.
Extra secure assembly: If your foam feels crumbly, add a tiny dot of hot glue to the cut end of a few key swabs before inserting them. I usually do this near the tips and center where pieces are most likely to get bumped.
Right size for your tree: A 10-inch star works well on most medium trees, while a 12-inch star gives you a more dramatic topper for a fuller tree. Just make sure the cardboard tube fits snugly over the top branch.
Cleaner finish: Don’t rely on spray paint to cover exposed foam. Acrylic craft paint is the safer fix, because aerosol too close to foam can melt it and leave dents.
Make-ahead tip: This is a great one to do over two evenings if your schedule is packed. I like to cut and sort all the swabs one night, then do the poking, painting, and glitter the next night while dinner is in the oven.
Storage tip: Store the finished topper in a deep gift box or sweater box with tissue around the points. That keeps the cotton tips clean and helps all that fluffy dimension stay pretty for next year.