
These hollow string lanterns are one of those inexpensive little projects that feel almost too simple while you're making them, and then absolutely charm the room once evening rolls around. You start with balloons and yarn, build up a sturdy crisscross shell, and end up with a set of glowing fall decorations that look far more special than their price tag.
I like this project for anyone who wants a cozy autumn decoration without needing fancy tools or a craft room full of supplies. It’s especially good if you enjoy easy, hands-on crafting and don’t mind giving glue enough time to dry properly; that patience is what turns a sticky balloon into something sturdy and lovely.
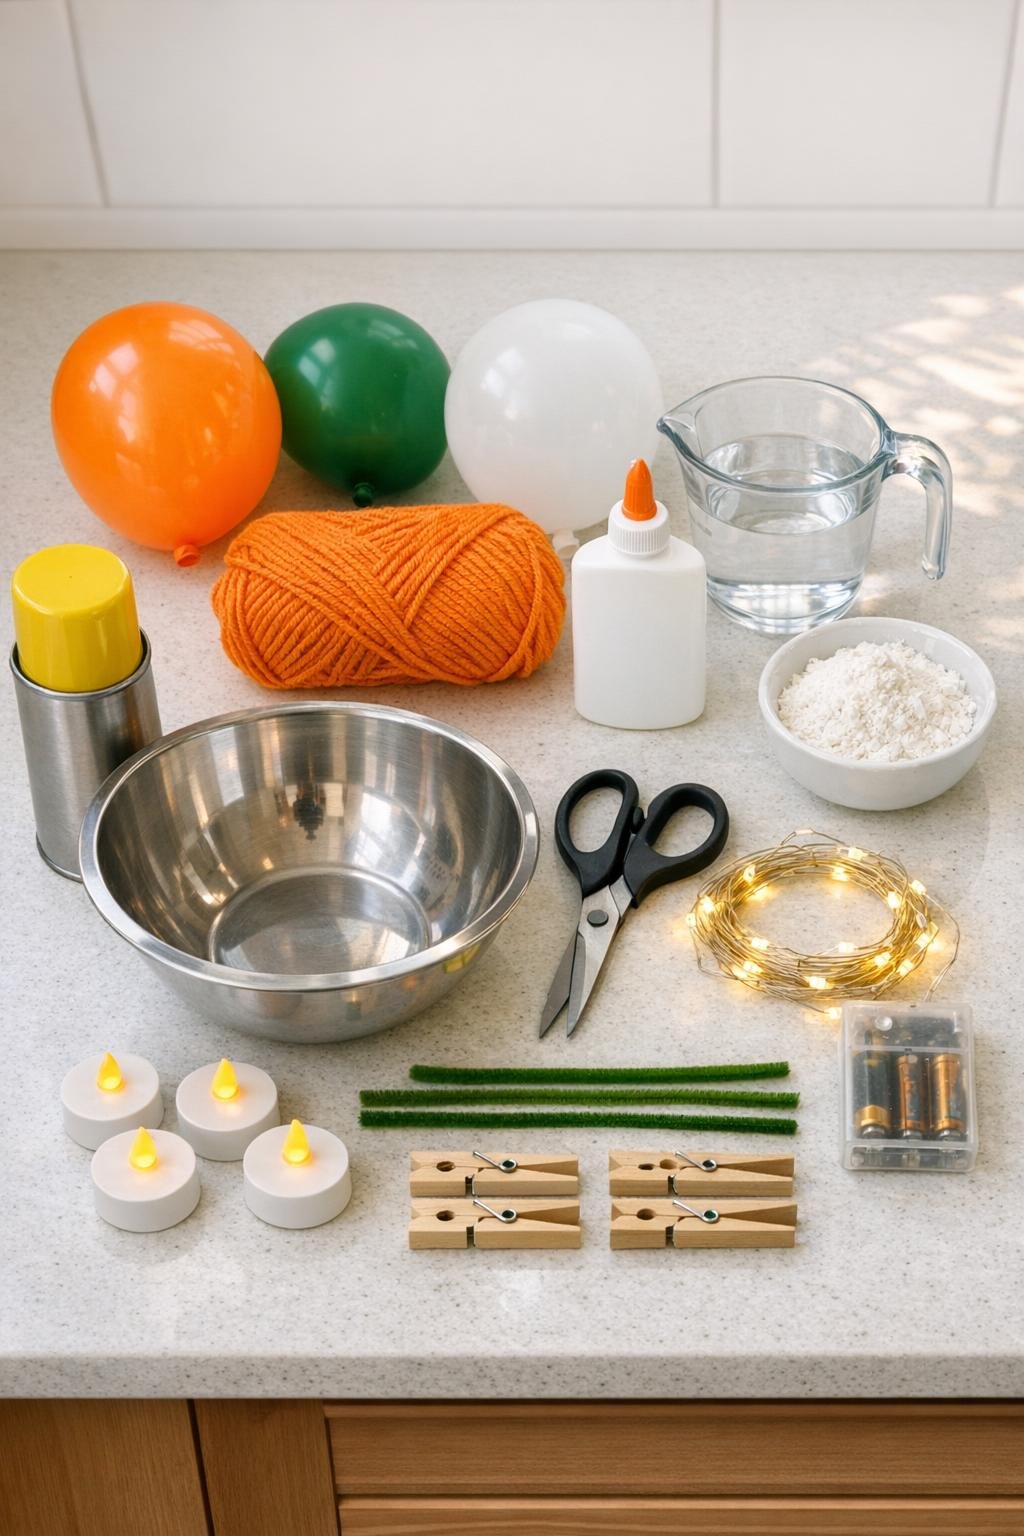
Materials
Instructions
1. Cover your counter with wax paper or a plastic table cover, then inflate all 3 balloons to a round shape about 8 to 9 inches across and tie them off.
2. Spray each balloon lightly but completely with cooking spray, then rub it around with clean fingers so the whole surface is slick; this is what helps the yarn release later instead of bonding to the balloon.
3. In the mixing bowl, stir together the 8 ounces of white school glue, 1 cup of water, and 1 tablespoon of cornstarch until smooth and fully combined.
4. Cut the orange yarn into 3 lengths of about 55 to 65 yards each so you can make one pumpkin at a time without a giant tangle.
5. Drop the first yarn length into the glue mixture and press it down gently until it is fully soaked from end to end.
6. Pull the wet yarn through your fingers to remove just the heavy drips, then begin wrapping it around one balloon in different directions, crossing the strands constantly instead of circling only one way.
7. Keep wrapping until the balloon is covered in many crisscrossing layers with small openings throughout, aiming for a dense shell that still lets light peek through; the balloon should look mostly orange from every side.
8. Pin the yarn tail under an existing strand, then clip the balloon by its knot with clothespins and hang it to dry where it can drip a little and get good airflow.
9. Repeat the soaking, wrapping, and hanging process for the remaining 2 balloons, adding more of the glue mixture to the yarn in the bowl as needed so every section stays fully coated.
10. Let all 3 wrapped balloons dry for 24 to 48 hours, and do not rush this step; if the yarn still feels cool or tacky, give it more time.
11. Once fully dry and stiff, press one finger gently into a gap near the tied end and pop the balloon with scissors, then pull the deflated balloon out through one of the openings.
12. Shape the lantern into a pumpkin by pressing the top down slightly with both hands so it flattens just a bit and becomes wider through the middle.
13. Twist one green pipe cleaner around the top opening of each pumpkin and curl the free end around a finger or pencil to make a simple vine.
14. Set a battery tealight inside each pumpkin, or thread a short battery fairy light strand through all 3, and adjust the pumpkins so they sit steadily and glow through the openings.
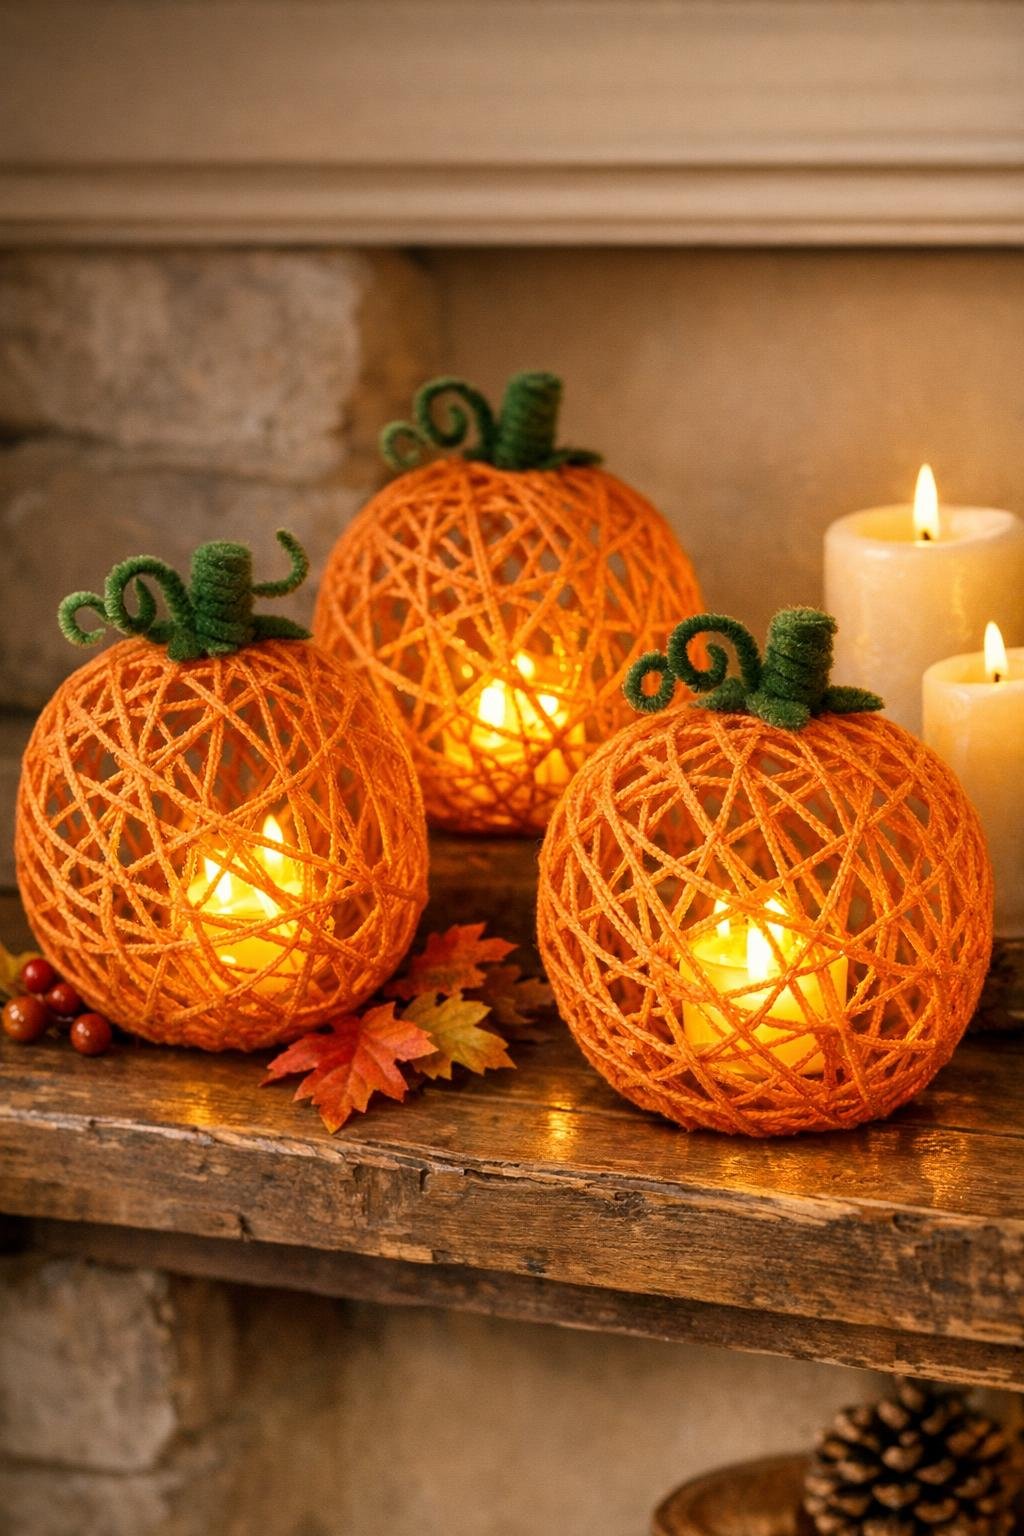
Variations & Tips
For sturdier pumpkins: If you’re tempted to stop wrapping early, don’t. I’ve learned the hard way that extra crisscross layers are what keep these from sagging after the balloon is popped.
For humid homes: If your kitchen tends to stay damp, move the hanging balloons to a drier room or near a fan. Drying can easily stretch to 48 hours, and waiting is much easier than remaking a collapsed one.
For a more pumpkin-like shape: Make one balloon slightly larger than the others so your finished trio has a nice varied look, almost like a little pumpkin family grouped together.
For kid-friendly glow: Battery tealights are the easiest option if little hands will be helping decorate. I always skip real candles here, because these need a cool light source only.
For a brighter display: Use warm white fairy lights if you want the whole set to shimmer on a mantel or buffet. One short strand woven through all three gives a lovely evening glow.
For a neater finish: Trim any fuzzy yarn ends once the shells are fully dry, and tuck the cut ends under nearby strands. That tiny cleanup step makes them look much more polished.
For picky decorators: If bright orange feels a little bold for your room, try softer pumpkin shades like rust or burnt orange yarn. You’ll still get the same cozy effect, just with a quieter look.